Lets just take a moment to think about all that your dining room or kitchen table has done for you over the years…from chowing down some Chinese eating on it, to making Christmas cookies, to discussing what college your kids will attend…it’s been through a lot. At least ours has. Welcome to our DIY Refinished Dining Table Top tutorial!
Boy if that table could talk, I bet it would tell some pretty wild, sad, and funny stories. Unfortunately, it’s beginning to show it’s age, but look at it now…

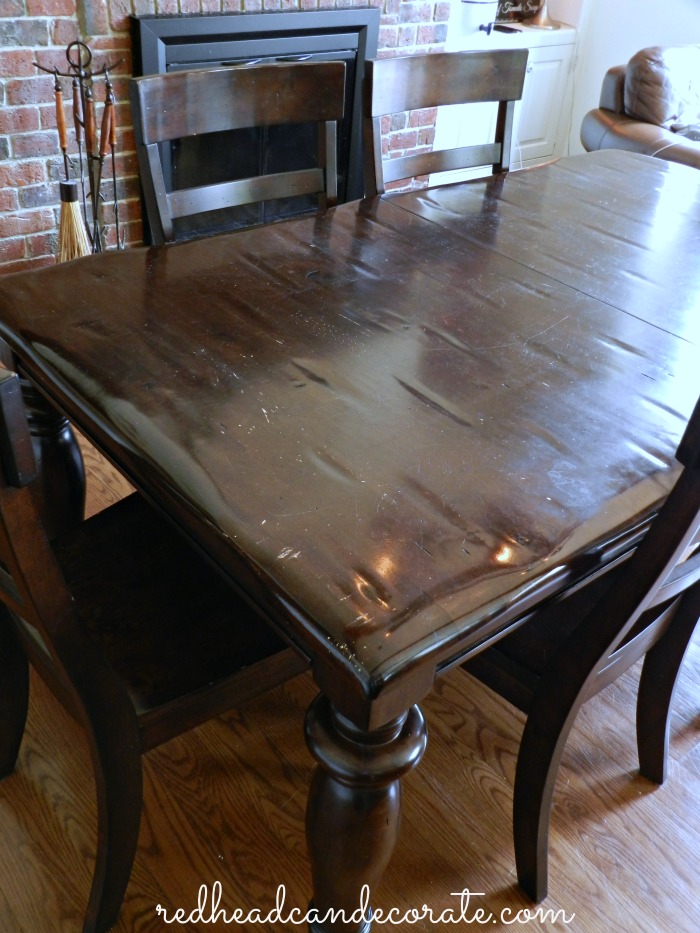
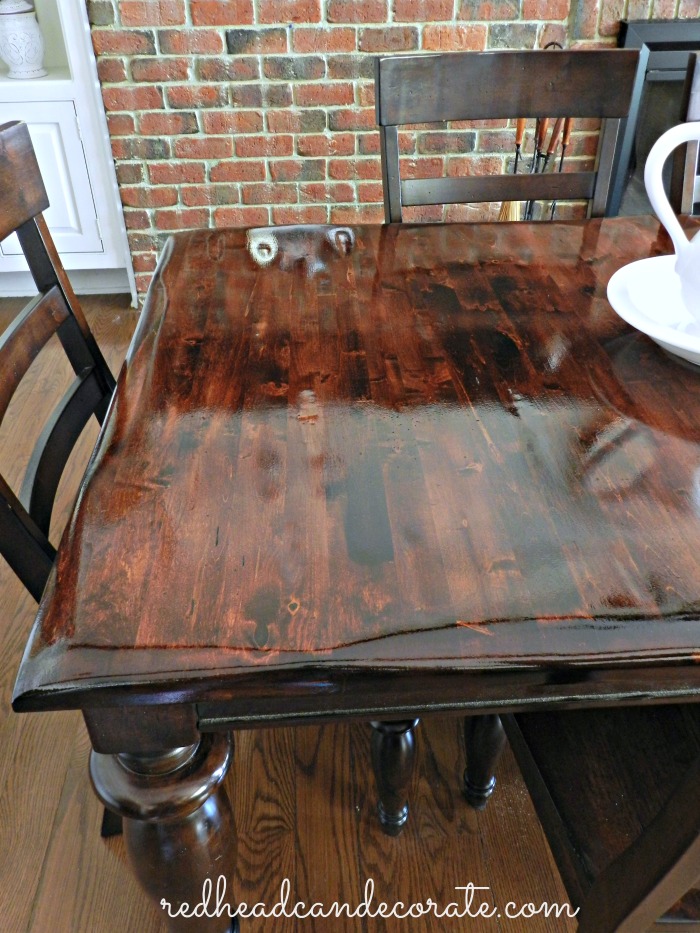
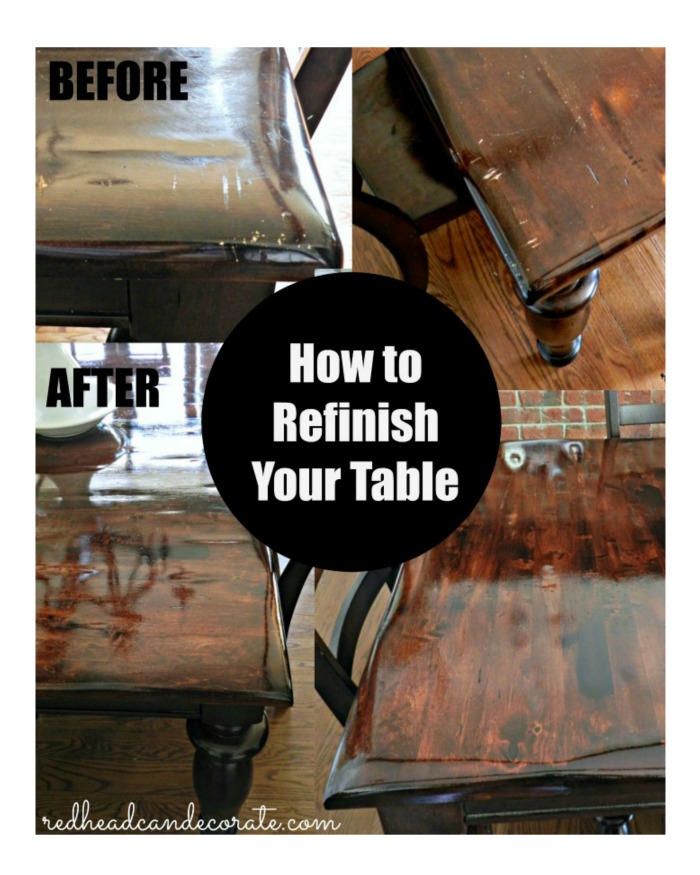
Here’s the dining table top before…
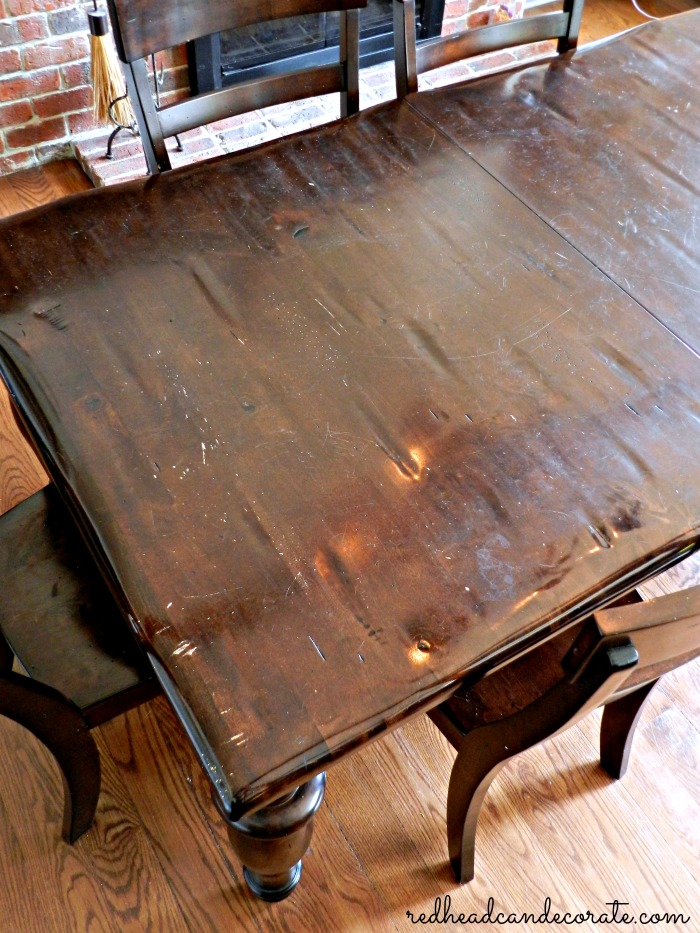
This next one makes my kitchen feel dirty…yuck.
Guess all those tablescapes have really taken their toll.
Here’s Sylvia the kitty’s paw marks…
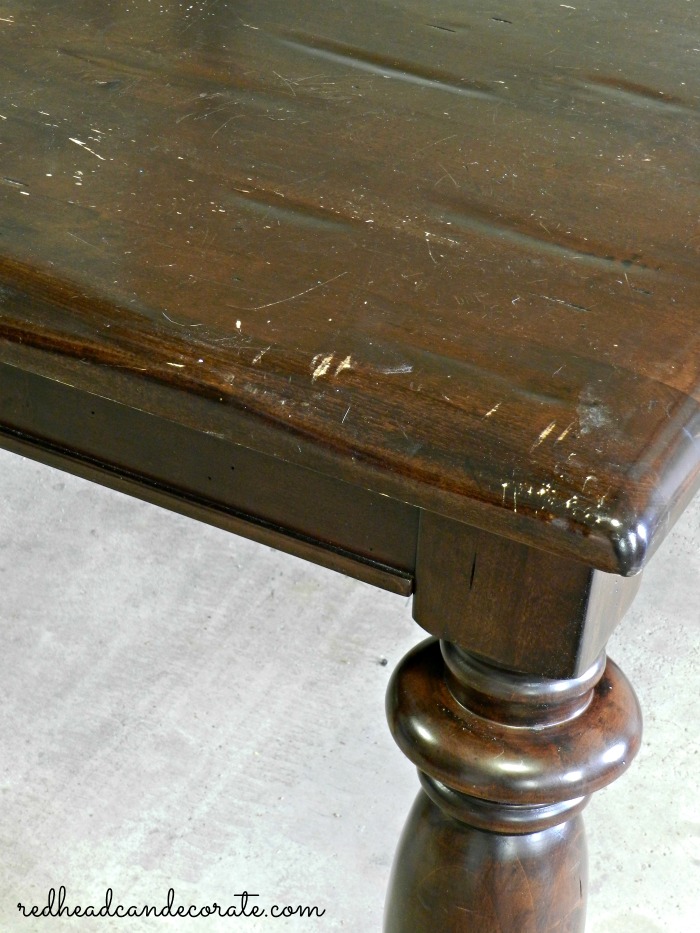
Here’s where I do a lot of my projects…
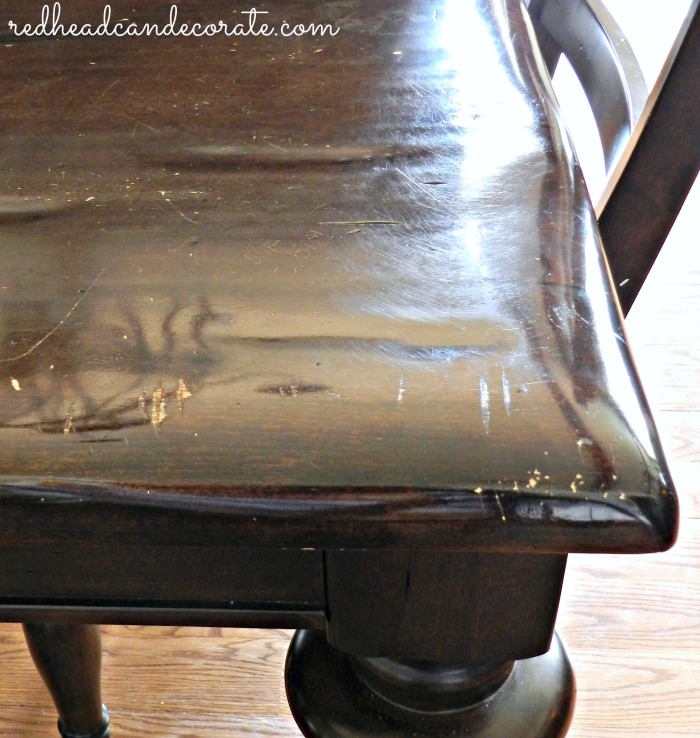
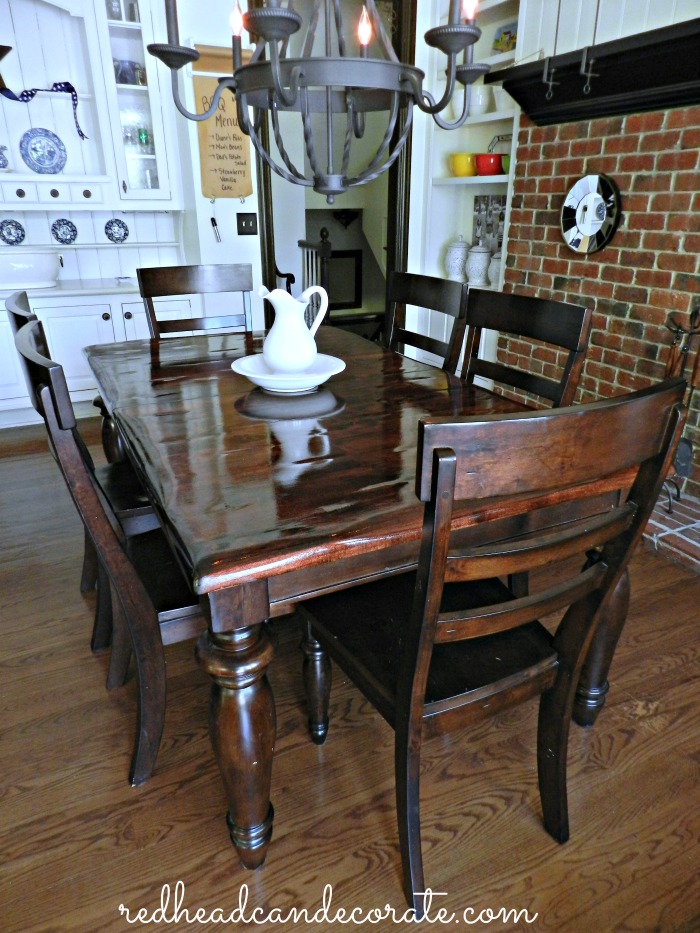
You get the idea. For a while I tried to just say, “It shows we have a history, and all those marks mean something.” Blah blah blah. Forget that. I want a table like this.
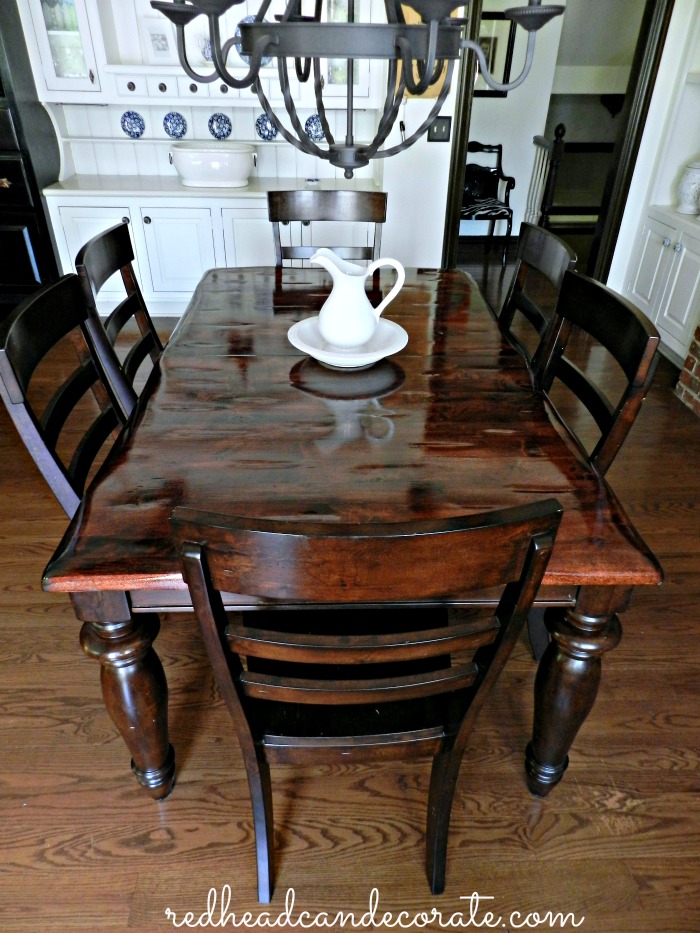
Oh yeah. Now we’re talkin’…
Look at those beautiful wood tones.
I feel like I could actually ice skate on this thing.
Shiny or what?
By the way…this won’t scratch up easily now. See our DIY Refinished Table Top tutorial below…
*** Some of the links in this post may contain affiliate links for your convenience. Read full disclosure policy here.
First of all. We had no idea if the table was even wood. We assumed it was wood, it looked like wood underneath, but who knows these days. We bought this table about 8 years ago from a furniture store here in Michigan. I liked it because it had a rustic appearance with the indentations on the top and she has beautiful legs. I figured it would take a beating and still look great. It did for a while until the light wood underneath would show through the nicks and scratches. We took a risk here, but we figured if it wasn’t wood we could always paint it instead.
Okay here we go…
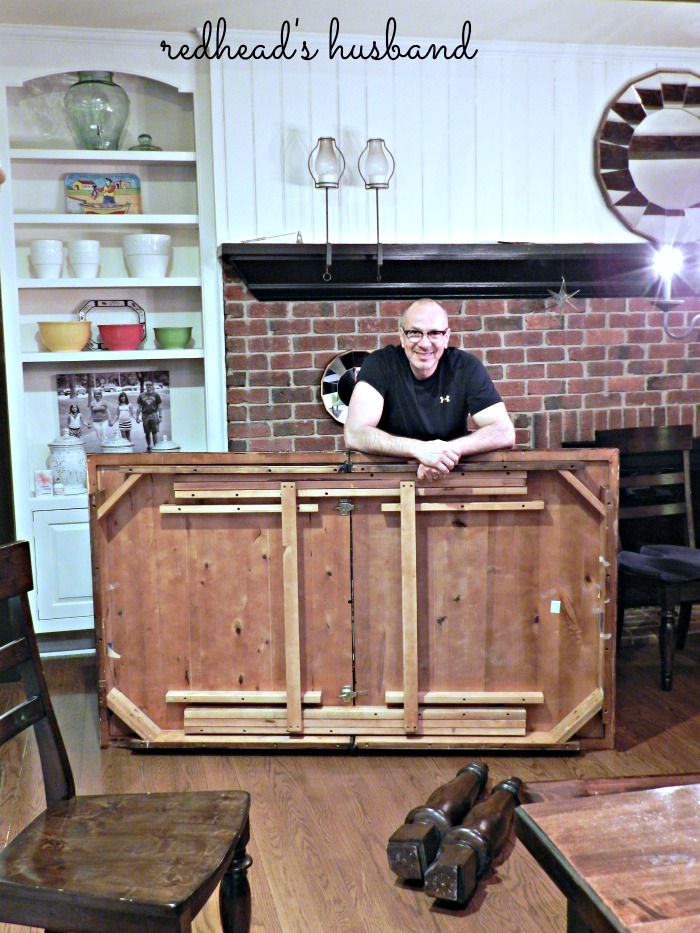
First, we got it out into garage which was an absolute nightmare. We didn’t take off the legs because we thought one of the screws was stripped. This thing is huge and very very heavy.
Then my husband applied this non toxic stripper being careful not to get it on the legs. The directions are on the bottle. It didn’t take long to apply, and it actually smells like oranges. (always ventilate!)
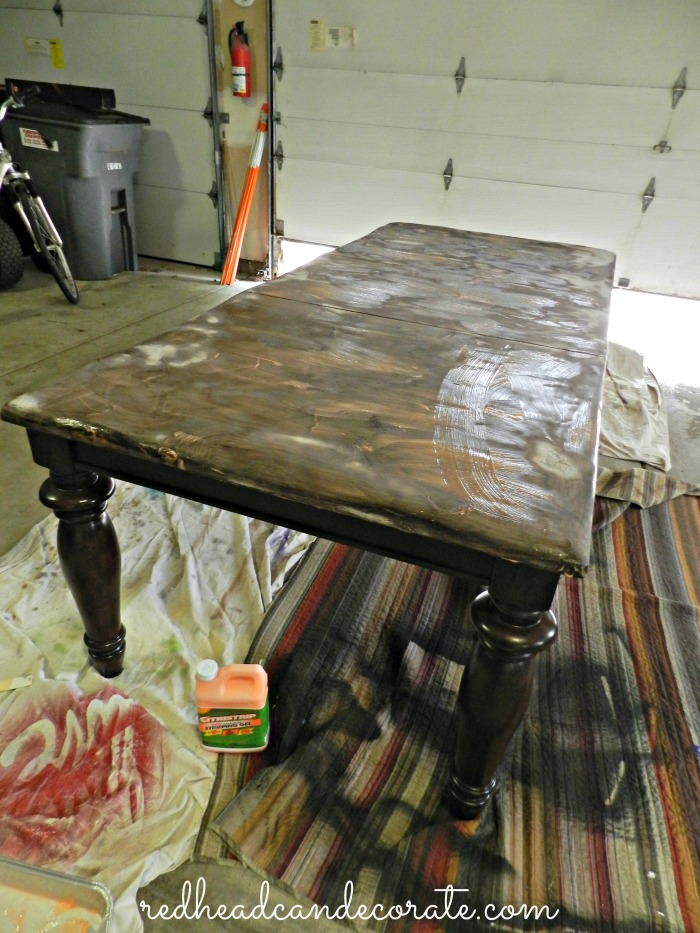
He then scraped off the stripper with a putty knife and this is what it looked like after a lot of scraping.

Next, he used an electric sander to remove the remaining old stain gook. You will need very coarse sand paper and to wear a mask for this.
This is what it looked like after he sanded it.
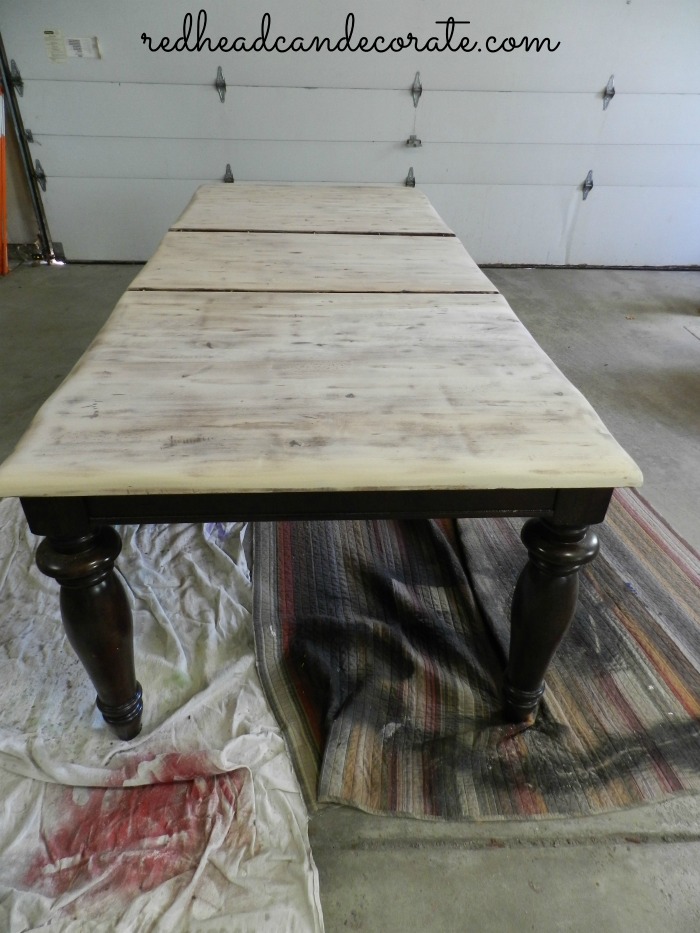
I nearly fell of my rocker when I saw it.
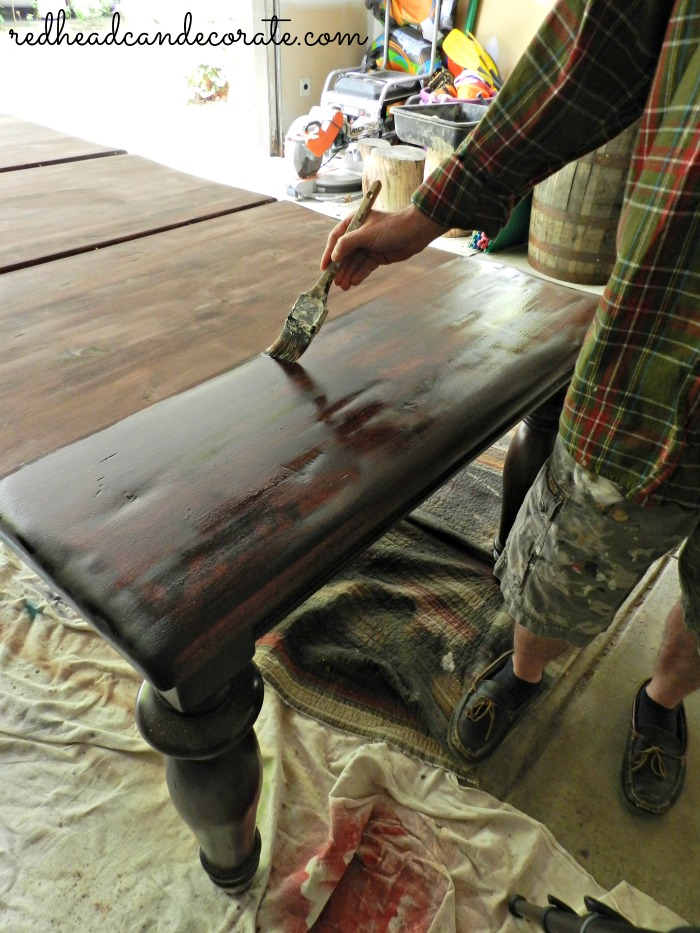
Lastly, it was time for the stain and the polyurethane.
I missed getting a photo of the staining, but he used a rag…always apply stain with a rag and when finished dispose of it properly because it can combust and cause a fire. He applied 1 coat of Minwax Wood Finish Stain in Red Mahogany which is my go-to stain for everything. Our kitchen island is also done this way. In fact, the island is done EXACTLY THIS WAY. See island HERE.
He used a really strong polyurethane that bar keepers use on bars…it’s called Minwax Helmsman Spar Urethane. This stuff is amazing. It works way better than any other polyurethane we have used. He put on 3 coats and let them dry for 12-24 hours in between each coat. He also lightly hand sanded in between each coat with 150 grit sand paper. He used tact cloth to remove the dust before the next coat. Don’t skip that step! We used card tables to eat on for a week. If you need a brush, here’s my favorite one.
This table makeover is one of our best projects to date. It is absolutely gorgeous and I feel like our kitchen is cleaner. Go figure?
Here’s the guy that got it done. He turns 50 this week. I love him like crazy.
Let me know if you have questions…
Please pin this for me 🙂


Wow, You did a GREAT Job, Rickie, Papa and Grandma.
Can you believe the difference, Dad?
Could not of done better, and I am good, love, Papa
Wow!…the table turned out amazing…have to take note of that polyurethane!….So beautiful!….Have a wonderful weekend!
Thank you, Shirley! Happy Memorial Day weekend!
I love the table!!!! It turned out beautiful. Years ago I did ours it has held up really well. Happy Memorial Day!!!
Thanks for stopping by, Erma, this is good to know! Apply Memorial Day wknd! ~ Julie
That table looks amazing! I am in the process of doing a table top right now, Minwax Ebony stain. I did another project not too long ago with the Ebony stain, and did the poylurethane, came back in the morning with a ton of tiny bits in it. Now I have to lightly sand it back and try again. How did you not end up with a ton of little bits in your poly coat? Thanks!! Have a super weekend.
Hi Lisa…Rick says first sand lightly until smooth (no bumps). Then wipe with tact cloth. Then apply poly slowly with a fine nylon brush. Be sure there are no bubbles after you apply it. Dip into the can where there are no bubbles. If you see bubbles form, brush them out. Good luck!
The table is beautiful. Dinning tables do hear lots of good stories!!!
Yes indeed, Treva! Some we won’t repeat! lol
Wow Julie!!! You and your hunk of a husband (happy birthday!!) did a GREAT job refinishing this table! It still has all the character you loved when you bought it and now it is even more durable.
Thanks for all the great tips. Many thanks for starting the Memorial Day weekend off with a great project! (I know the card table time was worth the end result :)))))))
Hi Christina…you just made my husband’s day! 🙂
fantastic job! You guys rock!
Thank you Kyle, I shared your comment with Rick!
Absolutely beautiful!
Thank you, Pat! I am in love with it, too. I like wiping the table, now, lol.
Your house is so beautiful I just love it.
Thank you for that so very kind comment, Karen! We have a garage sale coming up next weekend, you should see the mess, lol.
also wow.
Thank you, Margreth! XO ~ Julie
Just beautiful and I am so thankful you did not paint it white.
No way, Janice!! NEVER!! XO ~ Julie
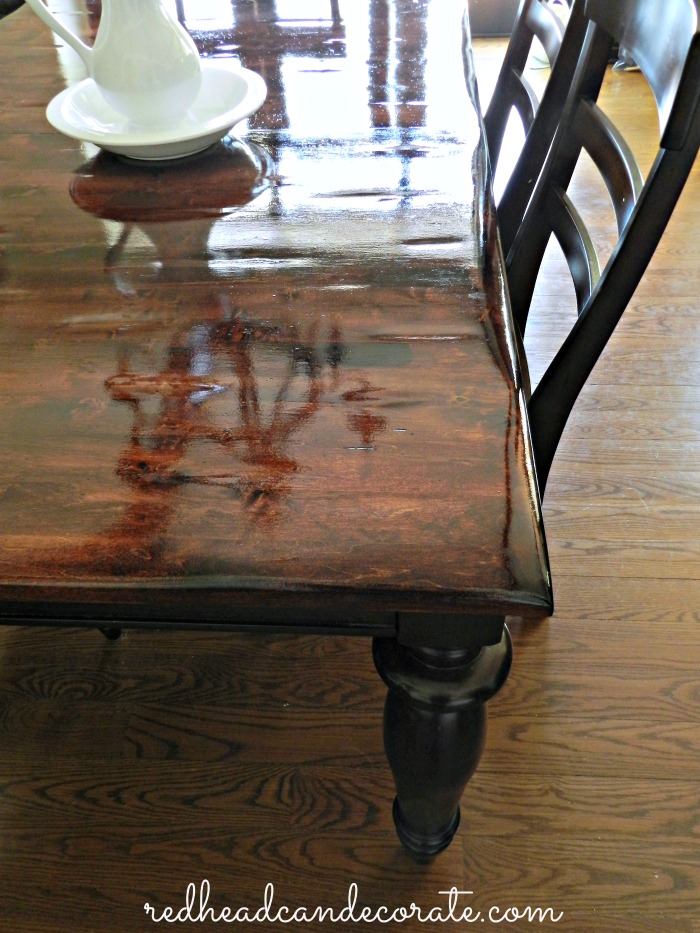
Love your 3rd to last photo, it takes the cake! Gorgeous table, ready for another lifetime of stories…. 🙂
That’s my favorite, too, Linda 🙂
How amazing your sweet and darling man did on this!! He is fantabulous!!! So off the charts great!! Wish him a very happy birthday and treat him really well! He SO DESERVES it!!
Edith…you got it! Thanks so much for your kind words. XO ~ Julie
Such an amazing job! I know how hard it is, but I love it as well. Keep renovating and writing articles, you’re allways a source of inspiration!
Kisses, Fran.
Thank you, Fran! Made my night. XO
I’ve been reading your blog for a while now…anyhow finally had to leave a comment. I LOVE how you incorporate dark woods into your home. I adore white interiors, but I also love traditional looks that are easy to live with. Beautiful rich wood is always a classic. Great job!
Thank you, Tracy! I love all wood, but especially rich tones. Up against white & brick…oh yeah!! 🙂
I need to do this to my table (daughter removing nail polish on table, arghhh). The only question I have to how to match the stain color . . . .
You guys did a fabulous job!
Hi Lori, and thank you! Take a photo of your table to Home Depot and show them it. They will help you match it!
I am so glad you posted this. About a year ago, my mom and I were making curtains for my new house using stitch tape for the hem, and I foolishly ironed on largest space I had, my dining room table. The steam from the iron left huge white spots that thankfully I was able to get out, but you can definitely feel it’s not as smooth as it used to be. I’ve been wondering for awhile now if I could sand it down and restain it, and now that I’ve read your post, I feel more confident!! Yeah!!! Thank you.
That is awesome, Kelly! So happy to help!
Kitchen table is beautiful. Love the poly you used and the shine it leaves.Ideal for a table that gets so much use.
Thank you, Wendy! ~ Julie redheadcandecorate.com
AWESOME, AWESOME, AWESOME!!!!!!!!!!!!!!!!!!!!!!!! Cannot even find words for how awesome that table is; I love it. I think I can talk my hubby into doing this to our table; showed him your directions and products and he’s nodding his head. THANK YOU JULIE & RICK.
Awesome, Carol! The hardest part for us was moving that beast into the garage. It was horrible (super heavy). Rick didn’t want to remove the legs because he thought one of the screws was stripped. I talked him into it when we took it back in, lol. Be careful! XO
Gorgeous!
Your husband done a wonderful job. So good in fact, is he for hire; as I have a dining table just waiting for a new make over. :}
Hi Colleen! Sorry Colleen he is a lawyer, so he’s crazy busy. I snatch every ounce I can out of him when he is home, lol!
Your table came out fantastic!! I am at the point of stripping and restaining our 20 year old table which is similar to yours. The top is made of many different cuts and types of wood. What 3 types i dont recall -ash, walnut and something else. If you had to put 3 wood tone stains together what three colors would you choose?
Hi Rebecca! This article may help with describing the shades I generally stick to: http://redheadcandecorate.com/2015/11/diy-wood-planked-ceiling/
This is my next project!! Was one can of the polyurethane enough? My table is a bit smaller. I was just thinking about doing this last week, I’m excited!!
Hey, Sue! We got a big gallon because we use it so often, but I just asked Rick and he thinks a quart should be enough for you. Good luck, girl!!
[…] DIY Refinished Dining Room Table […]
Hey Julie!
Your redonon the table is beautiful. I did notice on one of the pictures with Rick that the legs were off. Did you redo the legs and chairs too!
My Mother’s dining room table
Is mahogany but it has been in a pod waiting for some work to e done on it. Never stripped anything before but you made it sound doable. Could you tell me how to do the legs and chairs. Do you follow the same steps for them as you did for the table surface? I know the grooves in the legs would be more difficult. How will I ever get those clean? I mean is there a tool for those also? Thanks you so much for sharing!
Hello Beth! No we didn’t do the chairs or legs. We had to remove the legs to get the table in our garage. It’s very large. I would be way too scared to do the chairs unless you only did the seat? And yes I would do it the same way. As far as the legs go it would depend on the shape. I’m thinking that if you paint those it would be way easier???
[…] DIY REFINISHED FARM TABLE […]
[…] on line?) and fell in love with how it brings out the warm tones in our farmhouse dining table that Rick completely stripped and refinished back at the old house. I must admit, I am diggin this rather elegant, not overly decorated […]