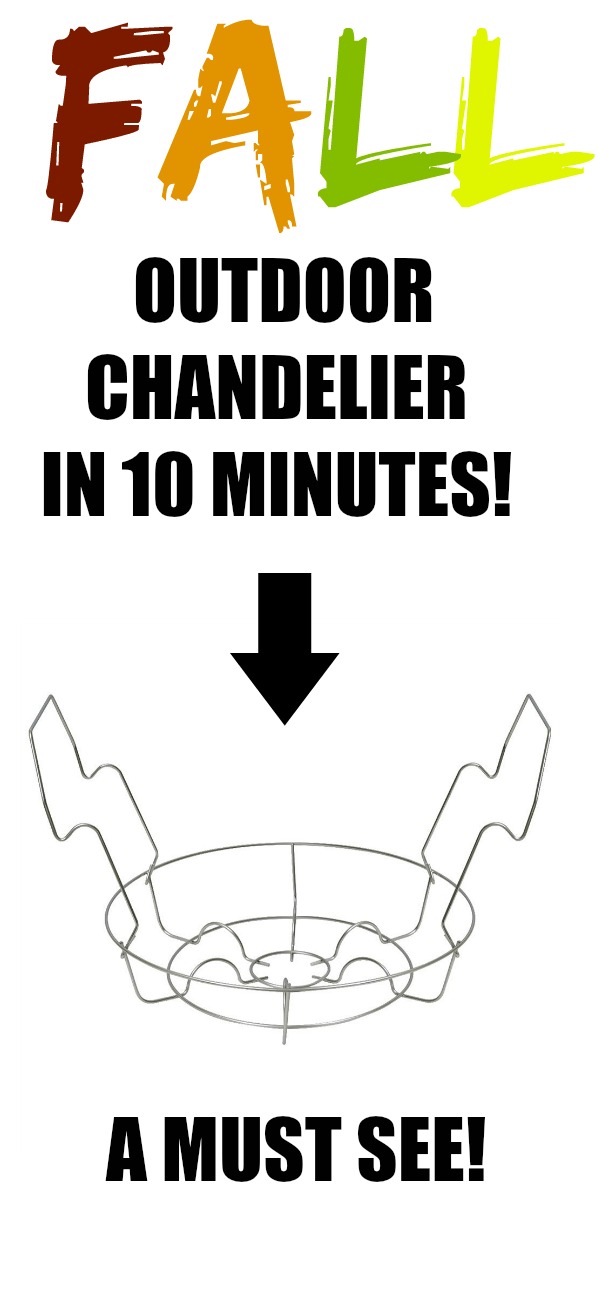
I almost didn’t post this easy chandelier idea because I was worried you may think it’s a little “too easy” and things that are “too easy” don’t really take much thought, or effort and you might think I’m becoming a slacker dude. Then I thought a little more and realized, I gotta be real. I mean in all honesty guys, you can’t possibly think that I decorate all day? I wish! In fact, decorating is only a very small part of my work load here on this blog. I actually spend the majority of my time photographing, writing, editing, promoting, and dealing with other issues that websites deal with behind the scenes, so I have very little time to decorate. I also know that the majority of my readers have very little time to decorate, so when I can share something quick & easy, gosh darn-it I will. Who’s got time for a “10 Minute Outdoor Fall Chandelier”?
Look how cute she is. Even the crow seems interested…
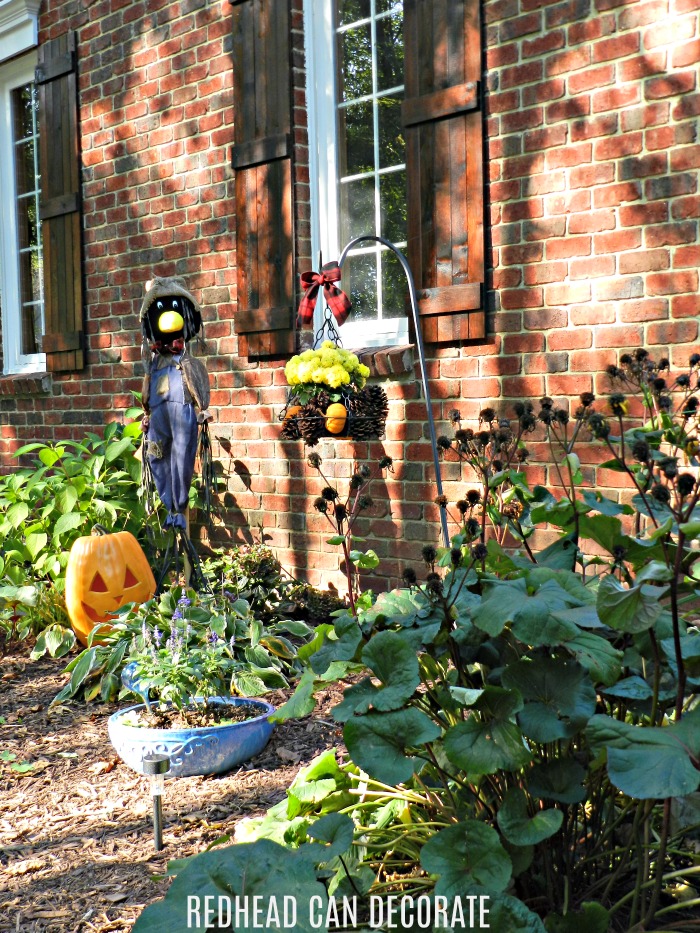
Actually, I really just wanted to show off our new shutters we put up 😎 . You can really see the warm tones in the shutters here. If you missed it last Friday, here’s the full tour:
So, last Sunday when I was watering our thirsty flower baskets I noticed that the one I had here in this little nook was all dried up and really tired out from the Summer. I felt bad for it, but it had go bye bye. Then I started looking around our garage for something I could hang there real quick.
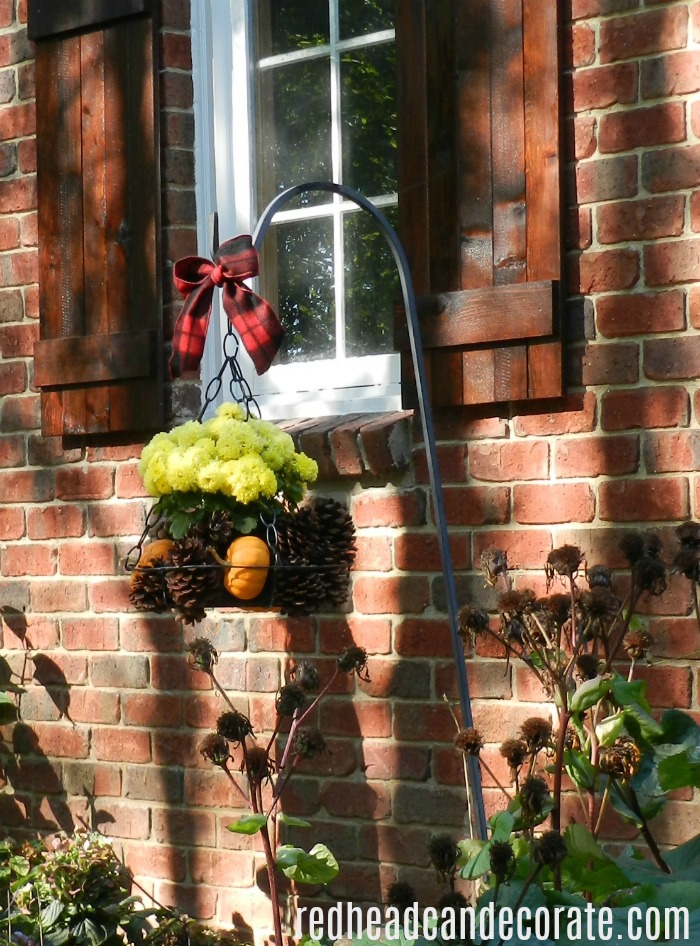
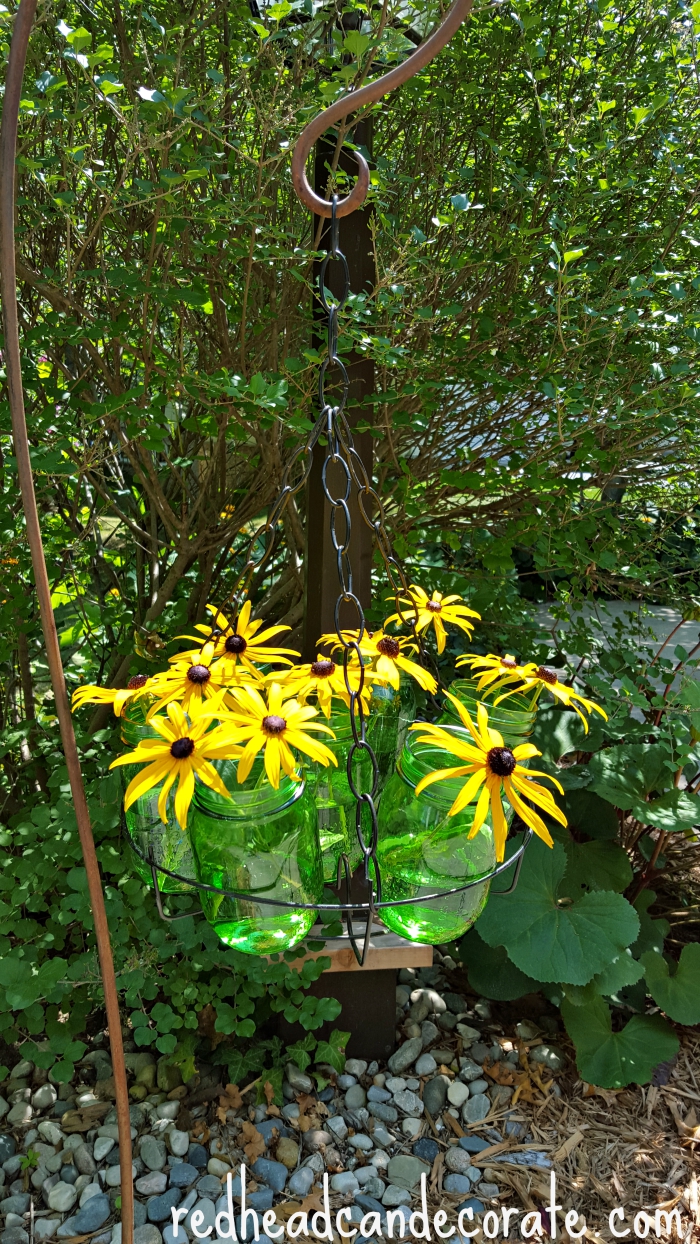
I spotted the “Ball Jar Chandelier” I made a few years back. It was perfect, but I didn’t feel like filling it with jars again, even though it does look super cute that way.
I remembered that I had a little potted yellow mum on my front steps, so I tried that and it worked. I filled the rest with pinecones, mini-pumpkins, and put a ribbon on top. BOOM. It took 10 minutes.
If you would like to make a “10 Minute Outdoor Fall Chandelier”, here’s my supply list and instructions…
*** Some of the links in this post may contain affiliate links for your convenience. Read full disclosure policy here.
Supplies needed:
2-3 MINI-PUMPKINS
1 SMALL MUM (FAUX OR REAL)
Instructions:
- Spray paint rack (and chain if needed) black.
- Decide how long you want your chandelier to hang. I decided on 10 links on each of the 3 lines leading to the main line which is an additional 4 links. So, I used (3) 10 link chains, and (1) 4 link chain. To get chain apart, put a screw driver into the center of the link and wedge it apart. Or use 2 pliers and grip both sides of the link and pull apart.
- Attach chains to rack like it shows in the photo and close the ring back up. Gather all 3 chains at top and add the last chain that will be used to hang the chandelier.
- Hang chandelier and make sure it sits even. If not, slide the bottom links around until it does. Once there is more weight in there it will be easier to adjust as well.
- Add your mum and decorations. I didn’t use glue, I just stuck them in there. Fairy lights would look cute as well. I also thought about adding beads, but I like it better plain and rustic.
- Add a flannel bow to the top. Don’t forget to water that mum!


Well, how cute is that?! ~ And, Yeah, WAY EASY!! ~ Sometimes the simplest projects are just so fun…& U make it look simple & very Cool, Julie!…. Even tho I LOVE aqua, I guess I am getting in the ‘groove’ of the fall colors ……Happy Weekend ~ ; )
Thank you, Becky! You are the first to camp today 😉 Hey have you ever tried mixing aqua with all of the Fall colors? OMG. It is gorgeous!!! XO
I like it, Dad in NY
Thanks, Dad! What is for supper?
Will have to try this. I love this idea. I do have a turquoise pumpkin that I have added to my fall items and love those colors with my fall. Thanks so much for your great ideas. Your the best.
Awesome, Pam! Have fun!!
Julie, my dear; sometimes the easiest and simplest projects are the best plus it gives great inspiration to others.
It’s so pretty there in your hosta / flower bed and with the patches on it’s clothes, your ‘hobo’ scarecrow………..he’s darn right adorable. All he needs now is his knapsack. :}
Maybe that cute crow just might keep your deer away from eating your hostas, you think? :}
Ha! Shouid have put him out there in July ? Thanks, Colleen! Easy is the best. I need to do more “easy”.
Hi Julie,
It is so cute, simple and not a lot of work. My kids of project. I love fall, my favorite time of year. We had such a heat wave here, we are finally able to open our windows. Im headed down to my daughters to surprise her and decorate her front porch for the fall while she is vacation. Would love to share a simple DIY lamp post with you, Have a great weekend:-)
What a thoughtful idea!! I would love to see it, Ann! Are you on Facebook, or no? I have a group there now. Let me know!
Love easy Julie so don’t fret about sharing such! I bet the squirrels do their best to get at those mini pumpkins!! Thanks for sharing………..
I know, right! This is more like a “deer appetizer tray” ?
??? luv it !!
Have s great day, Linda!!
So cute and pretty (simple is good for me)! Thanks for your idea! I don’t think I need Momo’s help for doing it this time 🙂
Tell Momo, hello!!
This is so amazing. I love this. It’s storming here, as soon as we get a nice day, I will be outside doing this. Thank you, and have a great weekend
Thank you, Ivory! It’s raining here, too!!
Love love love your cute 10 minute chandelier!!!! Funny to see your post today; just a few days ago I came across one of those racks (in my basement) and thought……”that could be a wreath form”. I haven’t done anything with it yet but maybe for the Christmas holidays. Thanks for sharing.
That is a fantastic idea, Carol! You have me thinking over here, now! I use to go to a wreath making party and we would use real pine branches from the yard and wire. Then just glue on whatever we had. That wreath would last forever. I need to post about and and show how simple it is. Have a great, Sunday!!
It’s awesome chandelier with nice environment. I can’t believe it that take a time only 10 minutes. I’m so excited to make it.
I love all these chandeliers. This is a really outstanding idea. I am gathering my supplies so I can make one. Thanks for sharing this creative idea.
Love the chandeliers! I think it adds a touch of elegance to outside. And there’s such a variety out there now. We will be doing my entryway and I plan on having one over my claw-footed tub. Great pictures.