There’s no better way to celebrate the New Year, Christmas, or any special occasion more than with homemade cheesecake! It’s sweet, creamy, and everyone shares a universal love for cheesecake. These easy no-bake individual serving Cherry Cheesecake Cocktails are a fun alternative to traditional style cheesecake. Serve these gorgeous chilled cherry treats to your guests easily, and germ free with instant clean-up, too. Cheers!

Happy New Year!
Happy New Year from redheadcandecorate.com! I’ve been slowly wrapping up the holidays at our apartment while I enjoy some extra free time with my husband (oolala), and kiddos ♥️. I hope you all had a lovely Christmas and are able to take some relaxing time for yourselves.
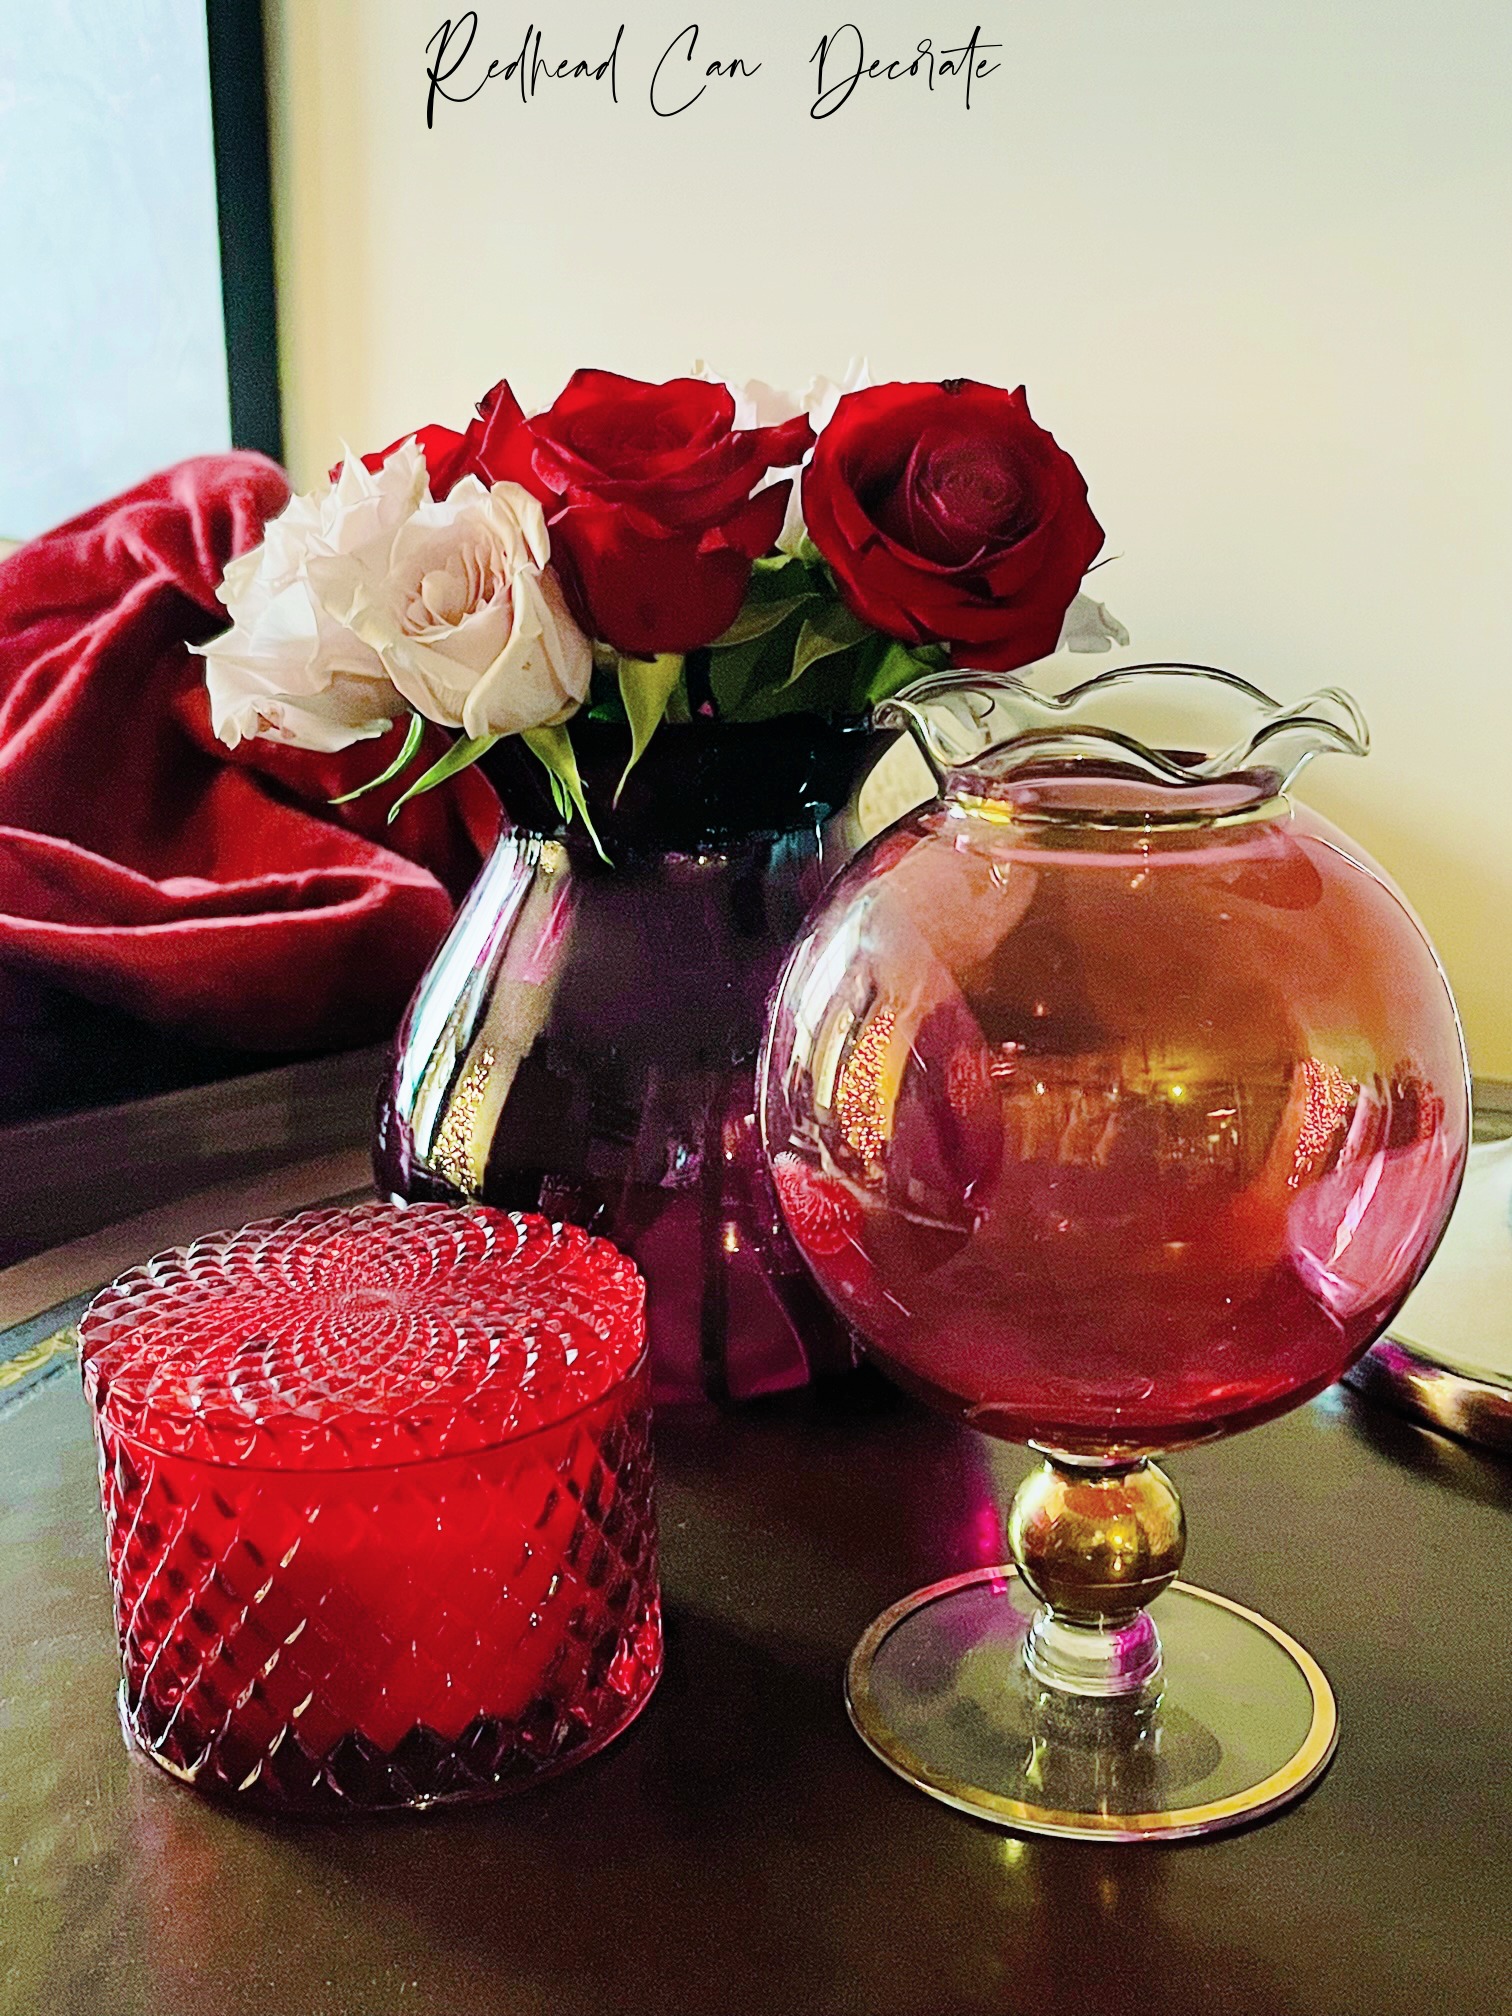
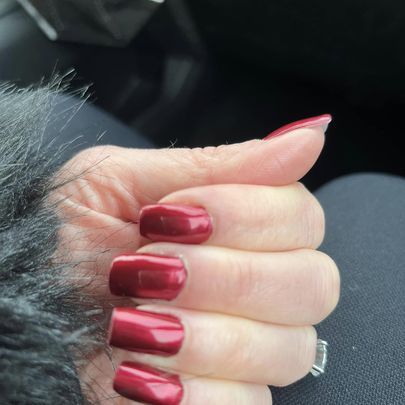
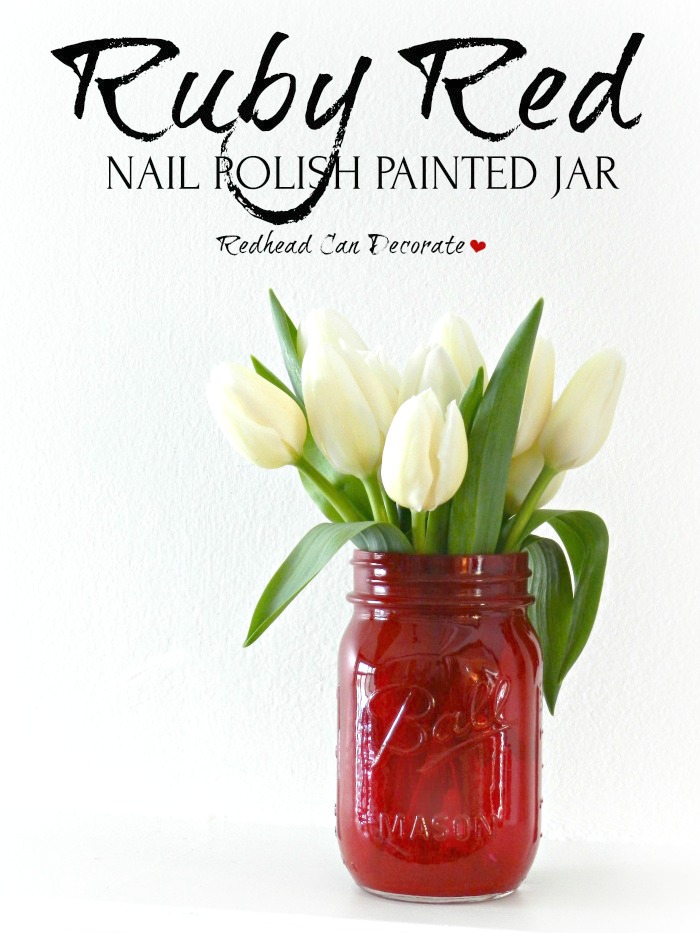
I mentioned in one of my last posts on my Facebook page that my favorite colors to decorate with lately are ruby red, purple, and even pink. I’m not sure if that is why I was craving cherry cheesecake, but it sounds good, so let’s go with it 😆. Not only am I decorating our home with lots of reds, but my nails are red (see my favorite red nail polish below), and now the cherry cheesecake is the finale. Here’s a little sample of the red decor I’m referring to in our apartment. You see, our daughter recently gradated from college, so I splurged on some pink and red roses. The red candle is from HomeGoods, and the goblet vase is from the thrift store. I honestly think that vase is my favorite vase of all time.
Tips for Your Cherry Cheesecake Cocktails
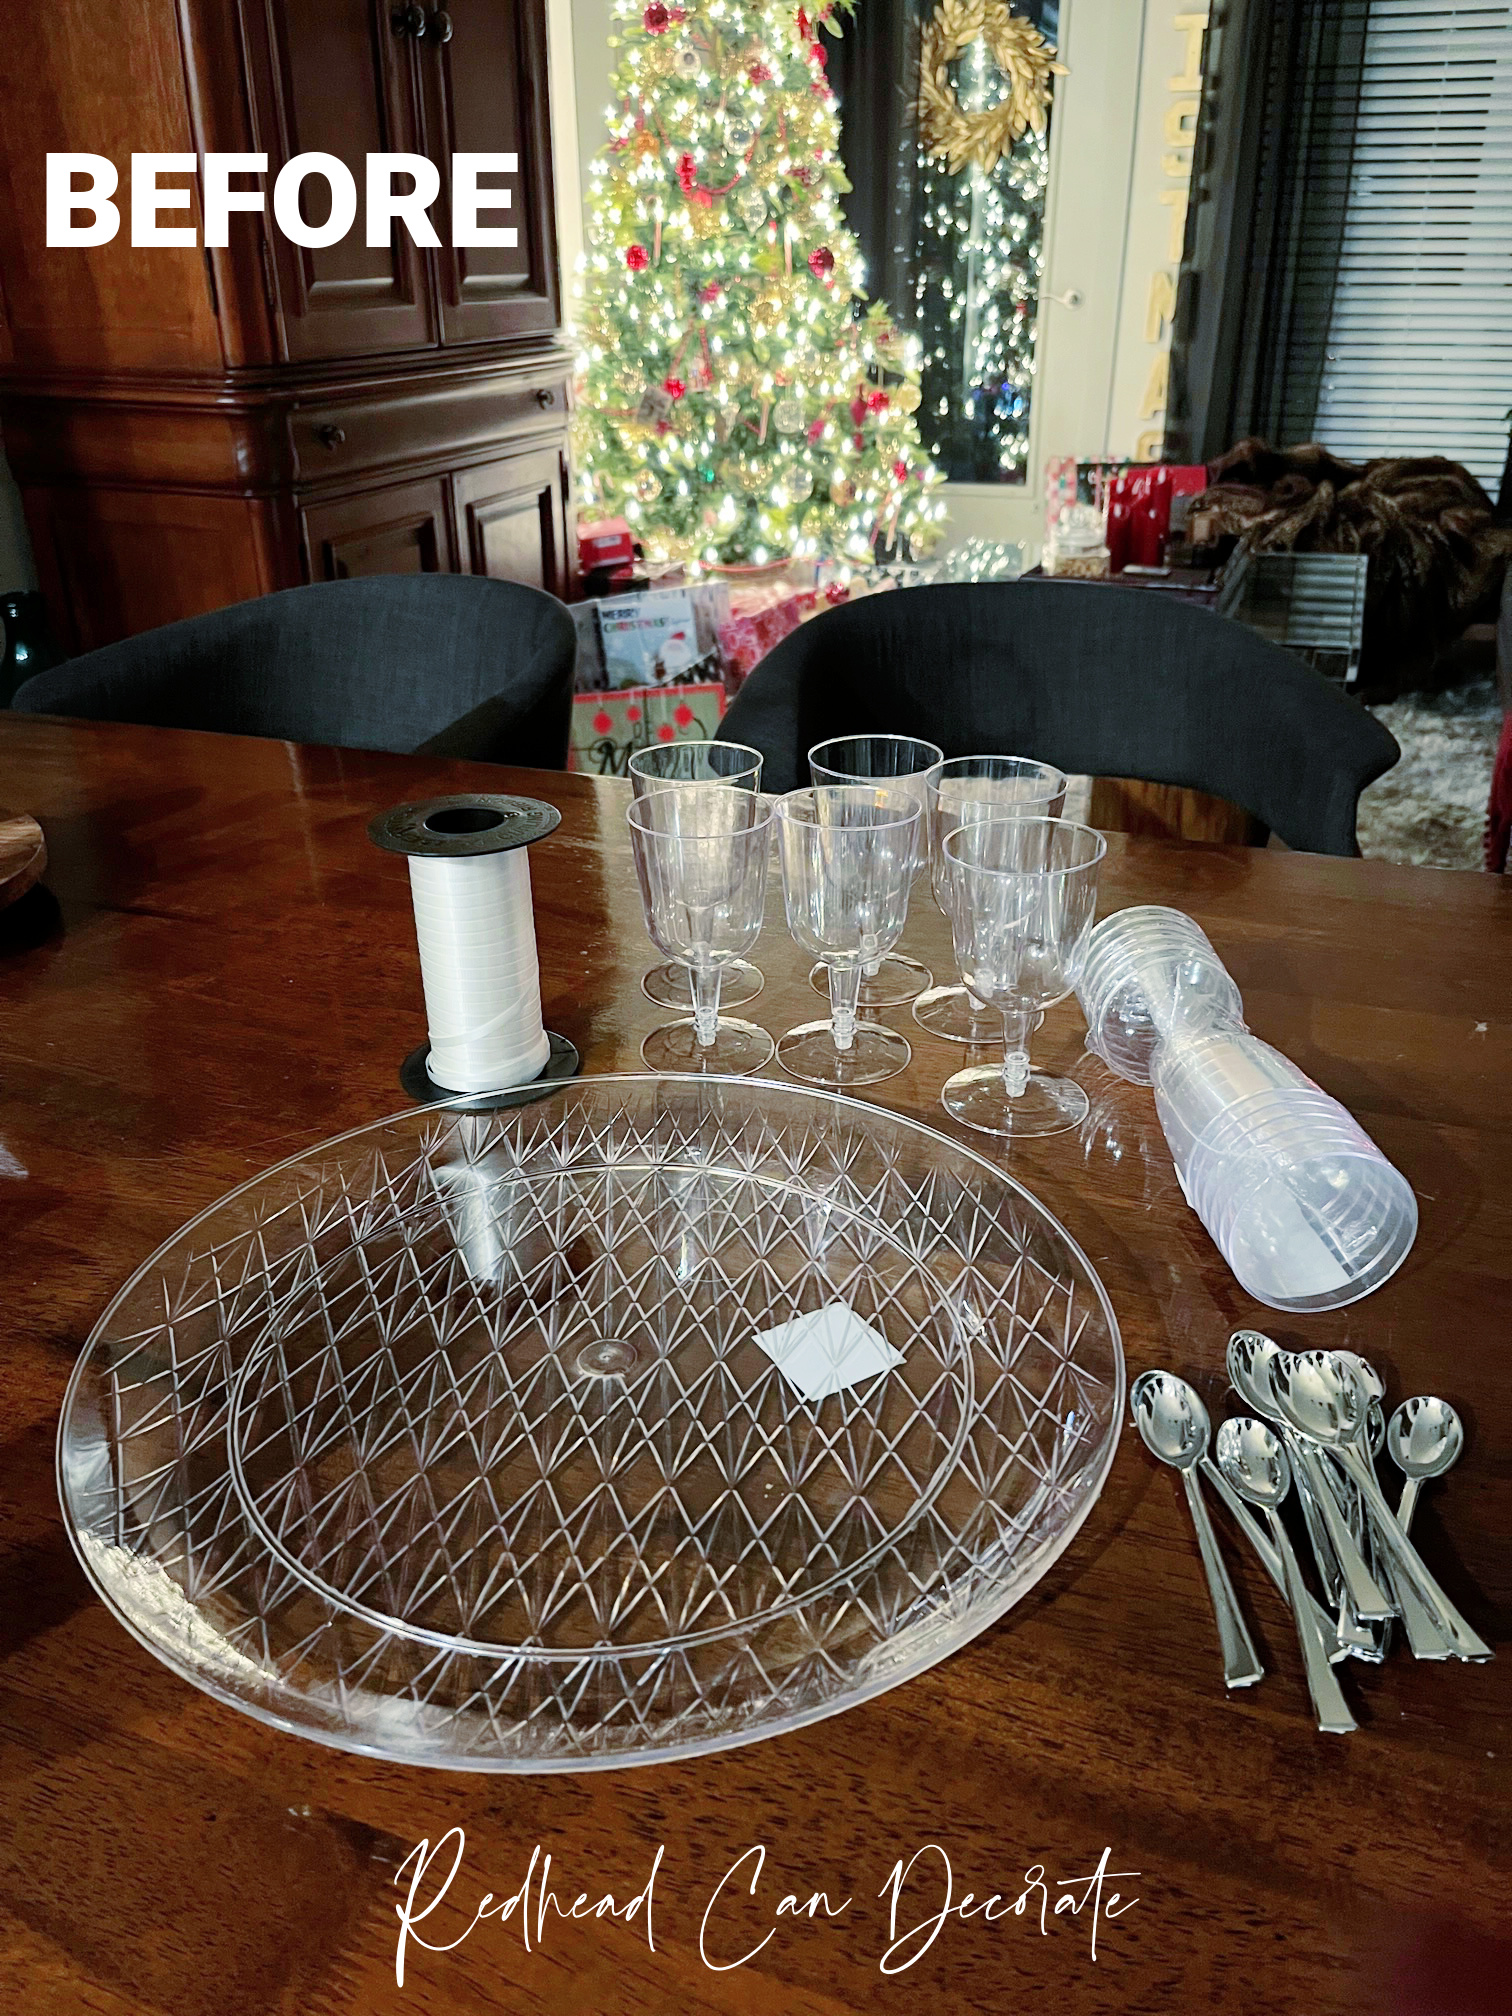
Before I tell you a few little redhead tips I learned while making the individual cherry cheesecake cocktails, I should mention that these really are not cocktails-ha ha. The reason I named them cocktails is more because of what I served them in (dollar store plastic wine glasses), and because New Year’s Eve is tomorrow. Now, if you really want to make these into cocktails, you can add a little cherry liquor over top right before you serve them. You could also marinate the fresh cherries in rum (I’ve read it works very well more details in the recipe 🍒).
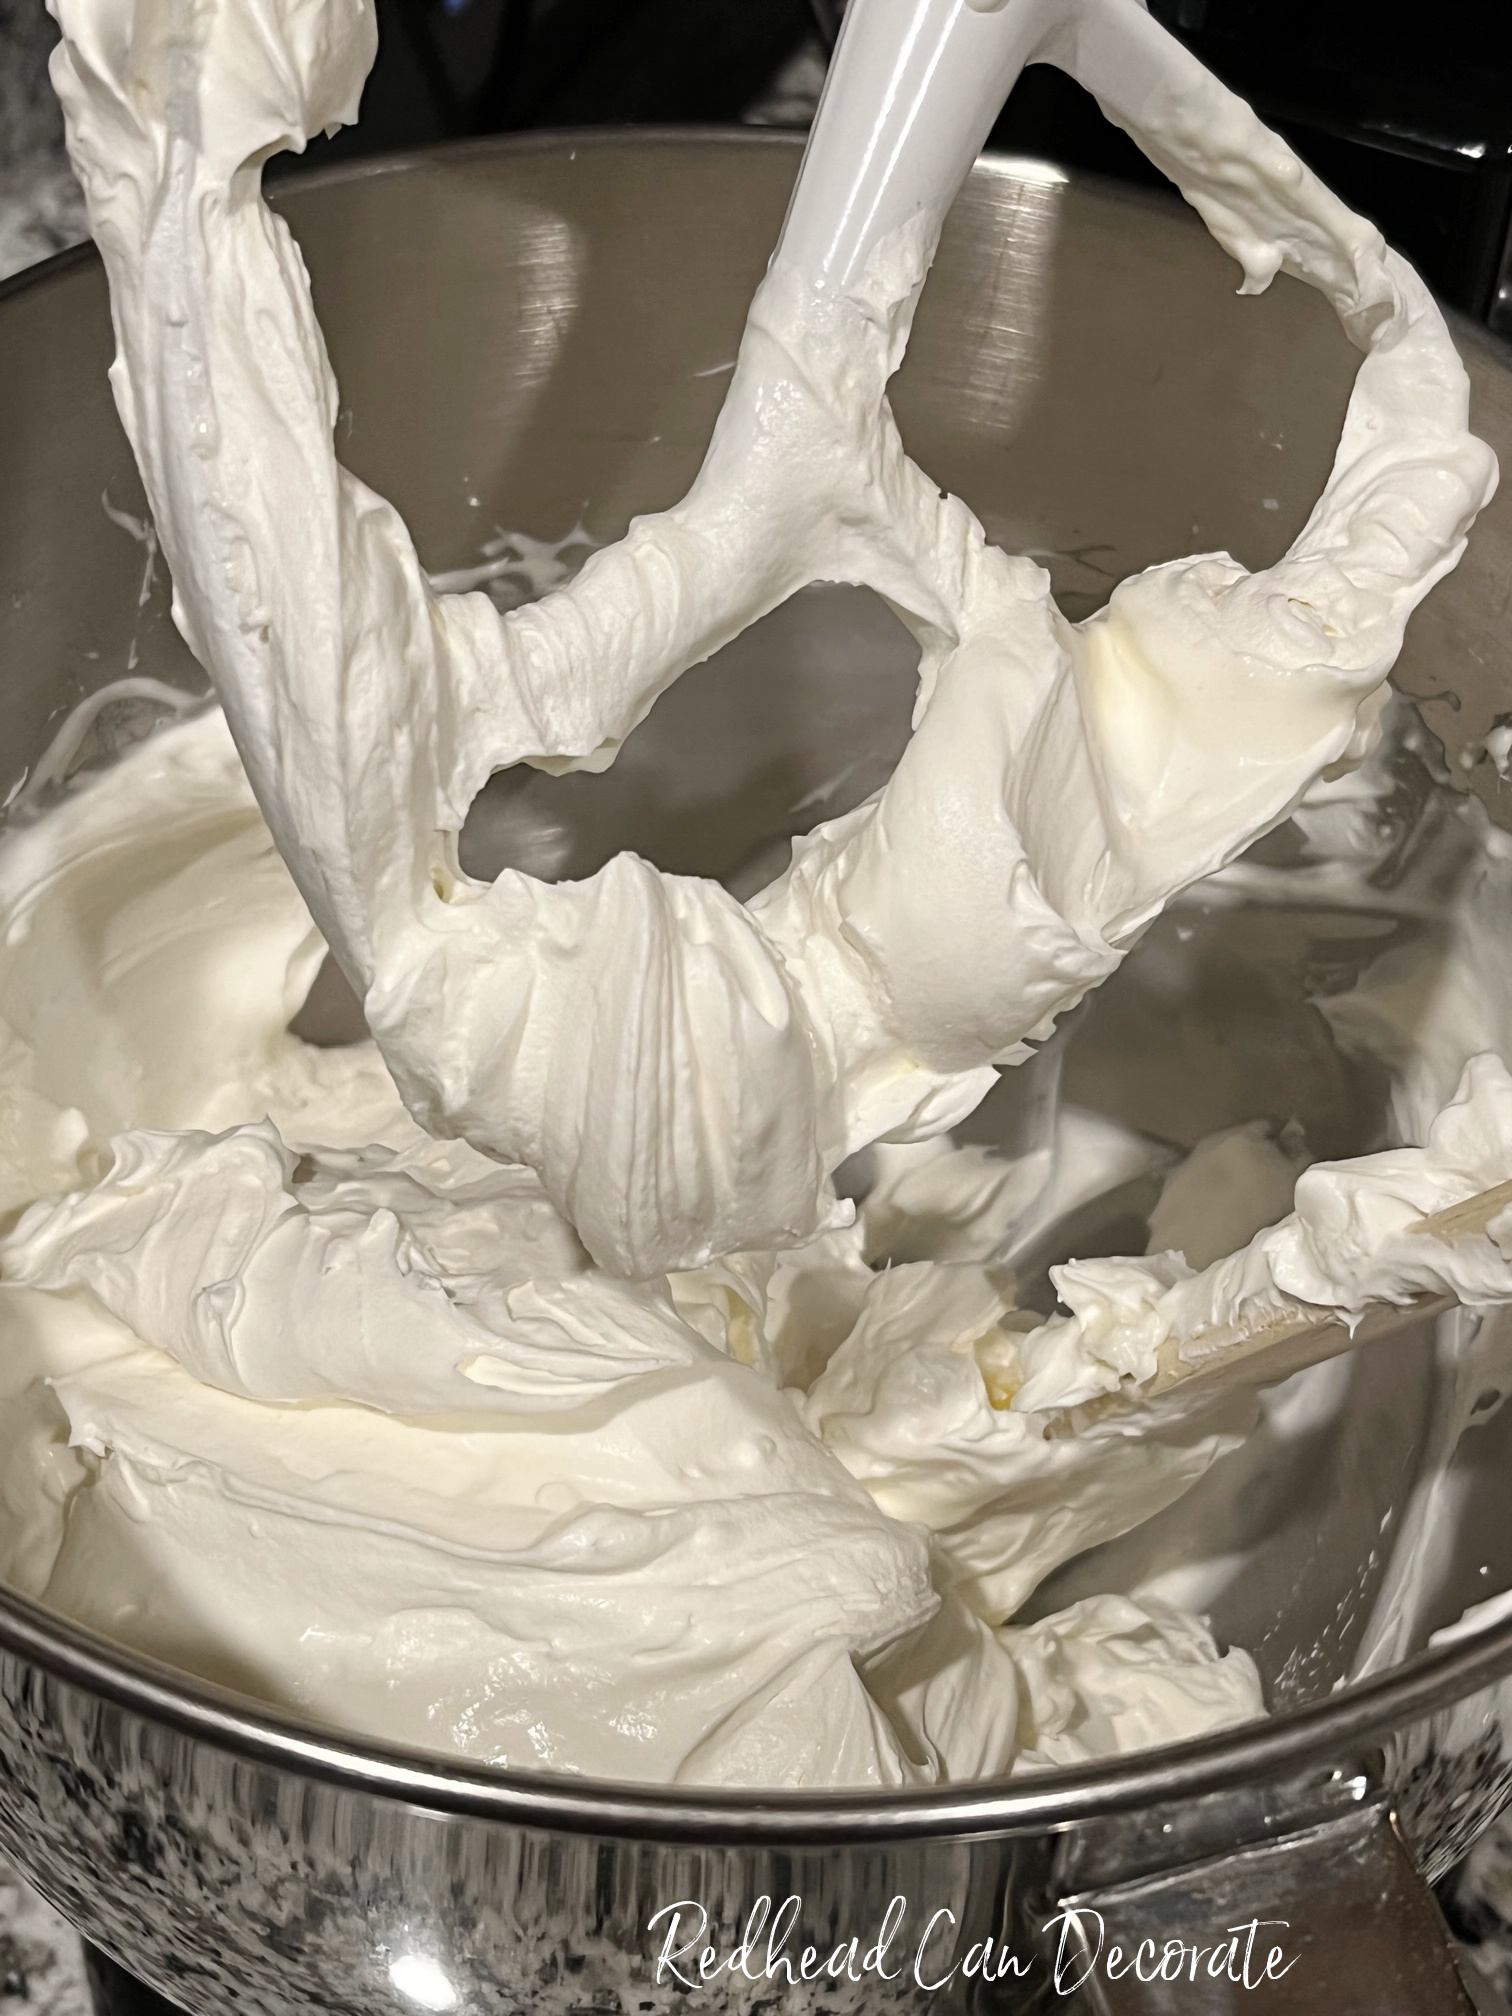
I also want you to know that the cheesecake mixture will take a few minutes to get to a “whip” like you see in my photo above. The original recipe I was inspired by only had it being whipped for 1 minute. It took me about 4-5 minutes beginning on a low speed in our standing mixer, and then finishing up on the highest speed until it came to a very nice thick whipping consistency. Whip it up, baby!
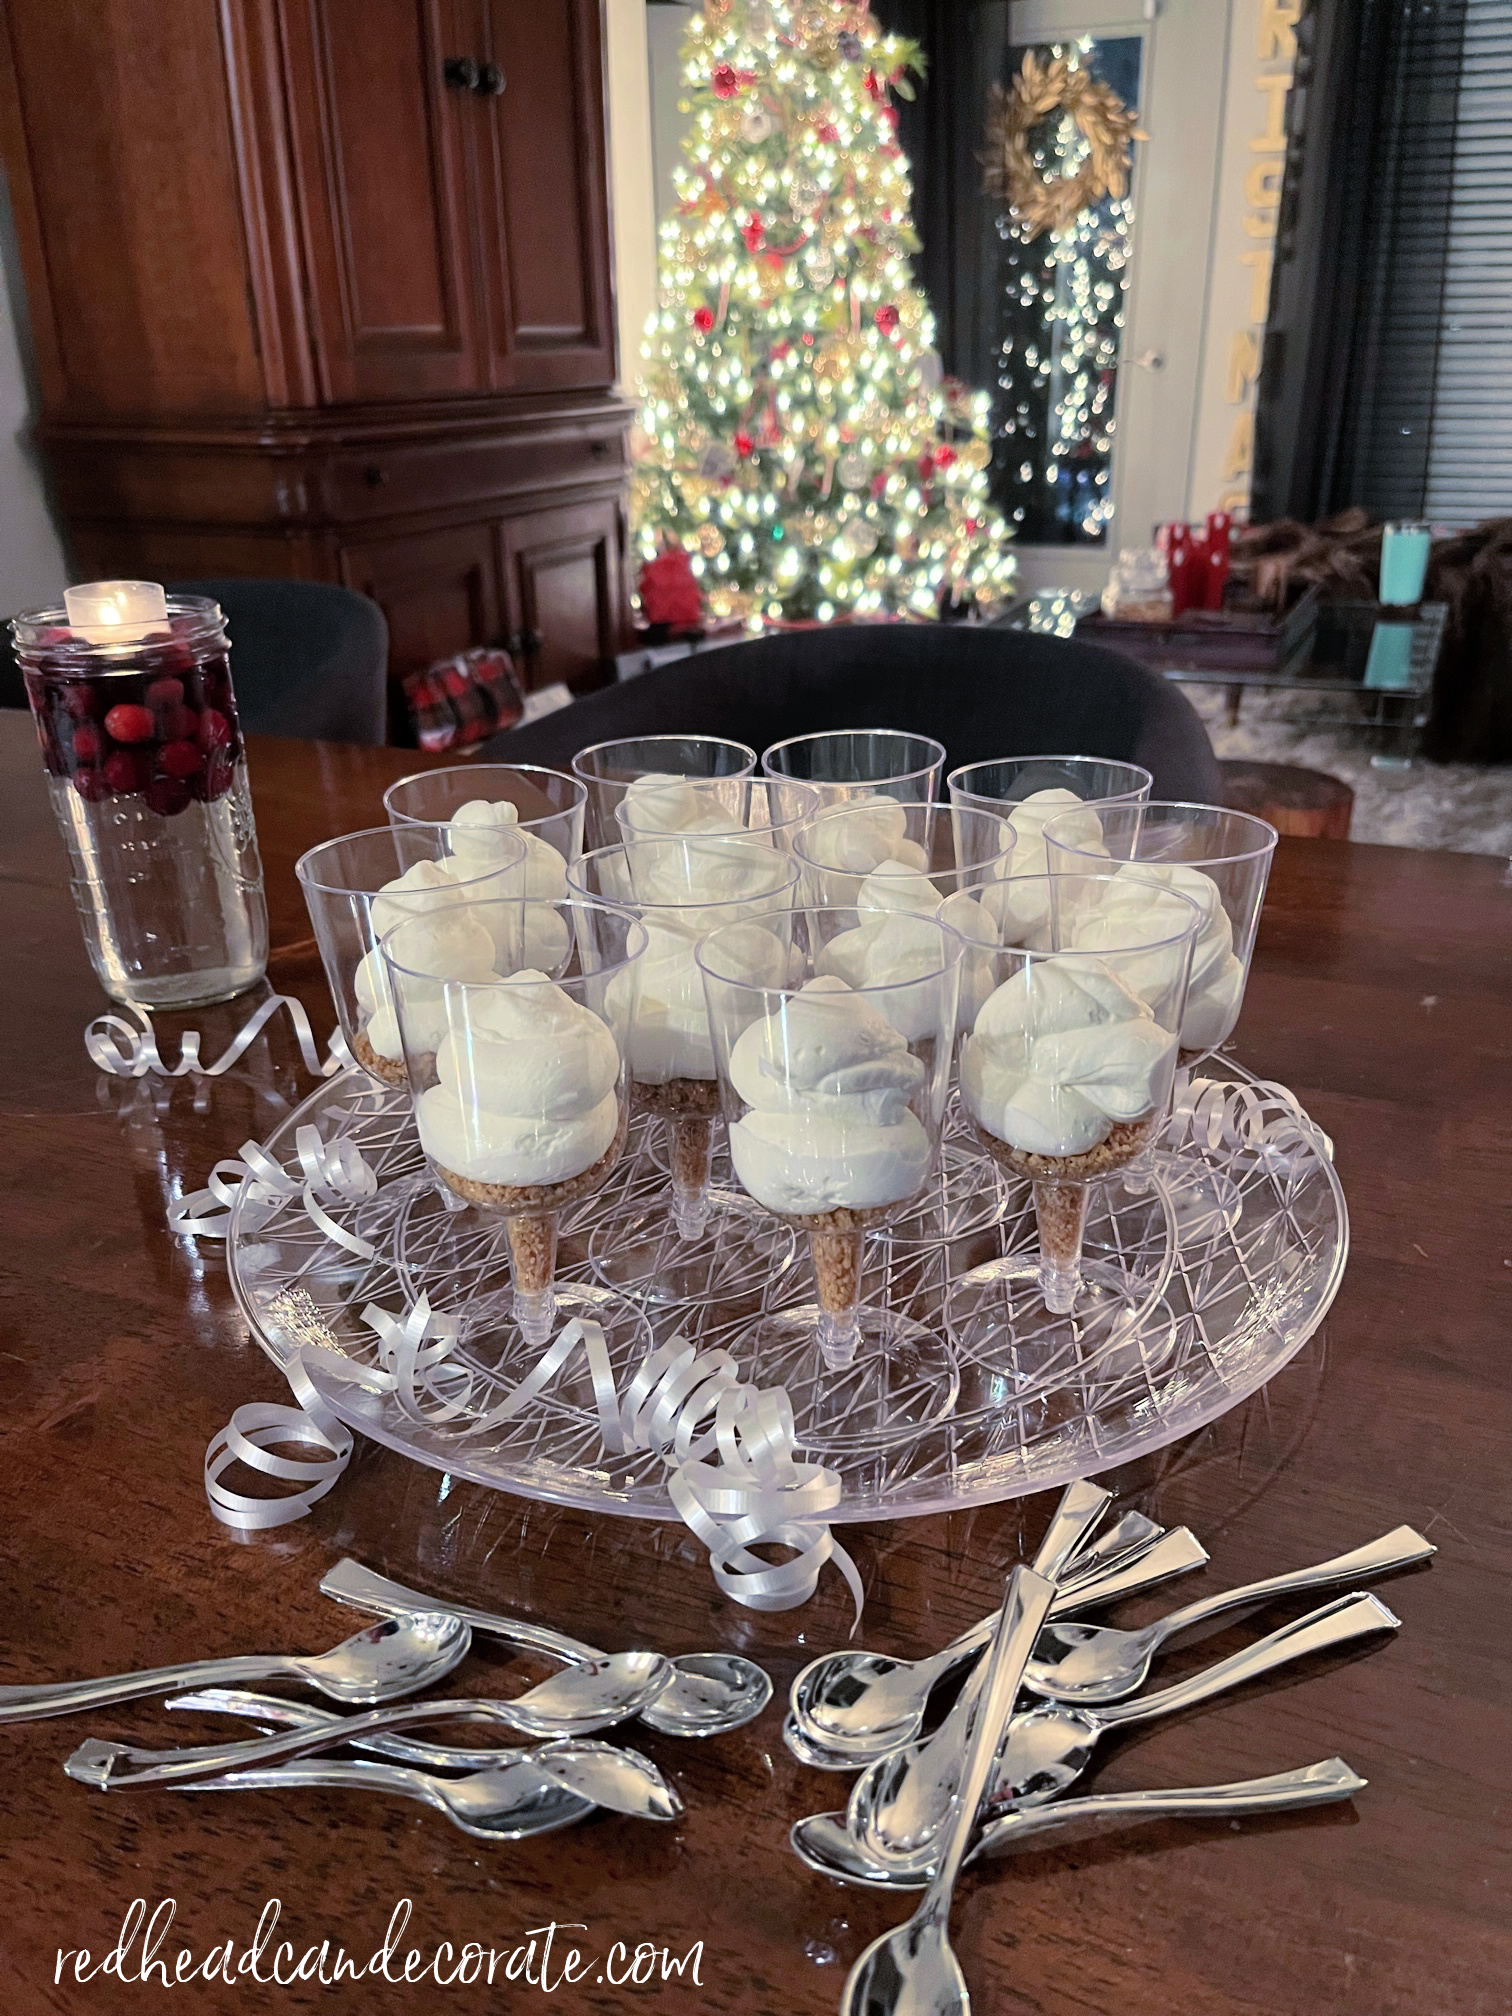
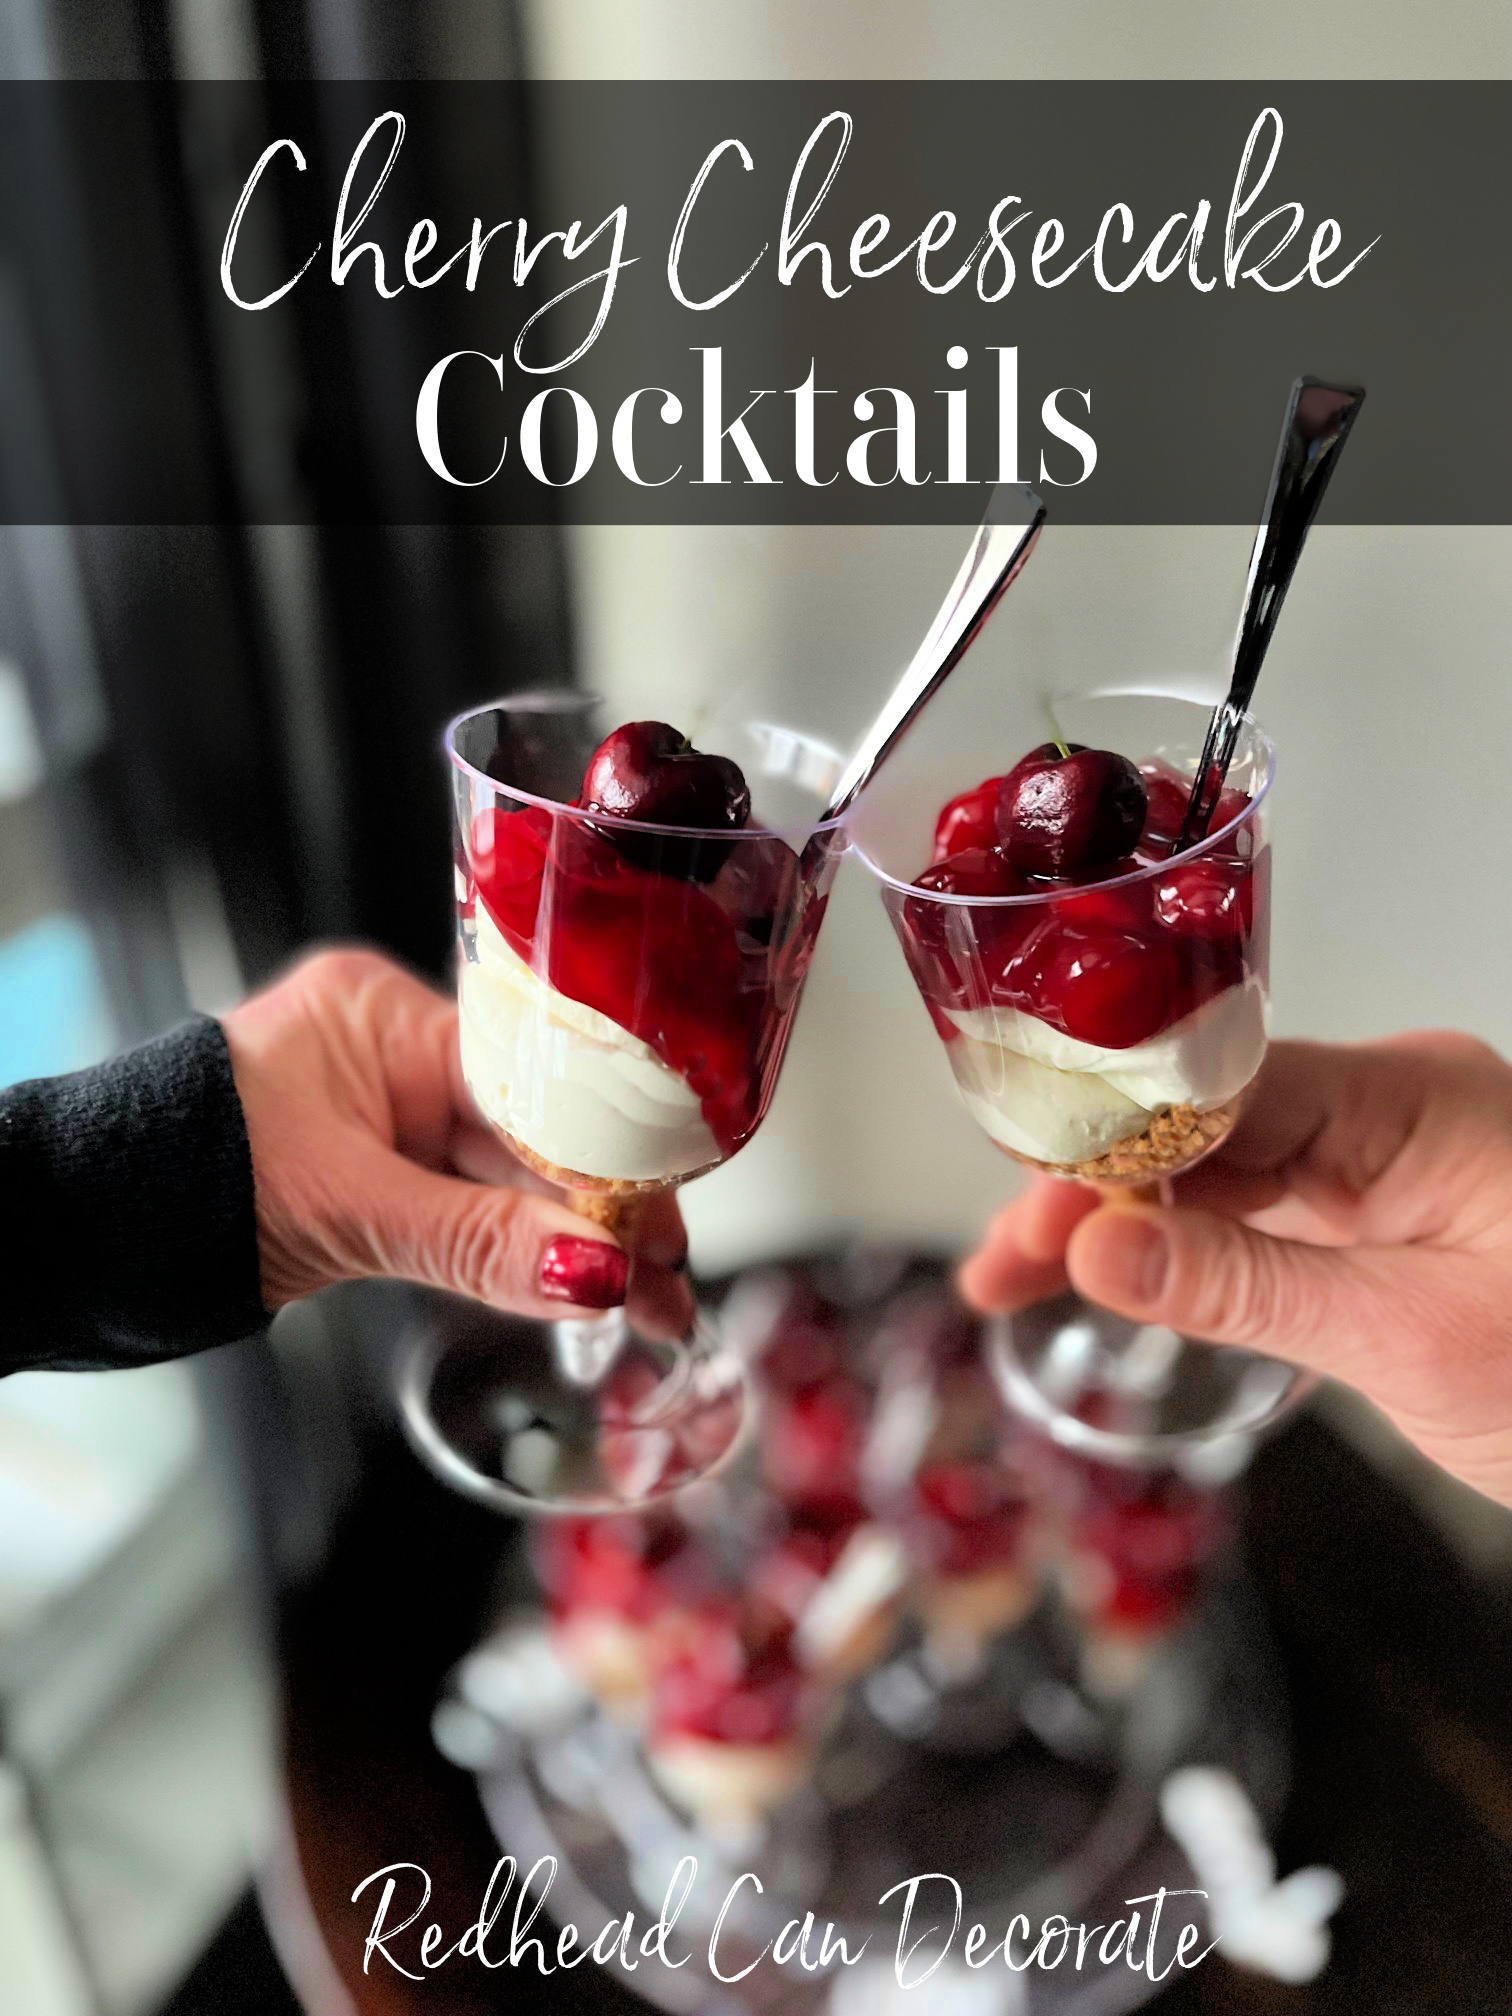
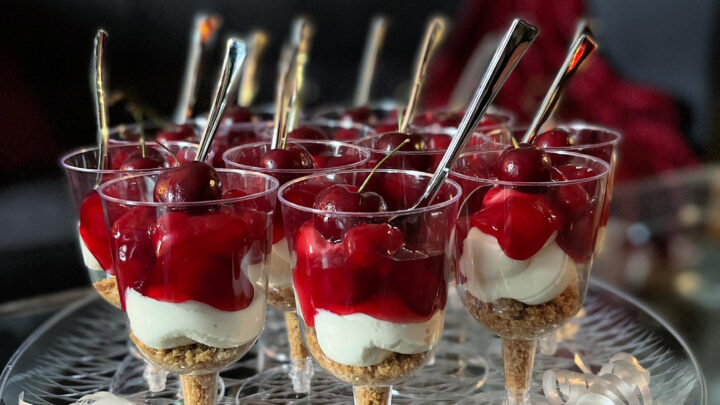
After I filled each cup with my homemade graham cracker crust I used a large zippy bag to squeeze the cheesecake filling into each cup (I was amused at how the crust falls into the cup a little to make them look like like ice-cream cones). Don’t let the photo below fool you with the extra cups in the back ground, this recipe does in fact make 12 servings. Look how scrumptious these little cherry beauties look…
Next, if someone in your family doesn’t like cherries like our daughter, you can substitute chocolate syrup, pre-made pudding, or chocolate fudge and keep everything else the same. I put chocolate fudge ice cream topping on 3 of them for our daughter and she LOVED IT! You can warm the fudge under warm water just a little to get it to lay on the cheesecake nicely.

Lastly, while testing out my recipe I ended up with too much graham cracker crust 😊. I’m adjusting the recipe for you below, however if you find that you still have too much, you can add the graham cracker crust to the top, too. In fact, I truly enjoyed the sweet crumbly topping better on both the top and the bottom. Bottoms up!


Cherry Cheesecake Cocktail Recipe
Cherry Cheesecake Cocktails
These easy no-bake individual serving Cherry Cheesecake Cocktails are a fun alternative to traditional style cheesecake. Serve these gorgeous chilled cherry treats to your guests easily, and germ free with instant clean-up, too.
Ingredients
- CRUST:
- 1 1/2 cup ground graham crackers
- 1/4 cup brown sugar
- 5 tablespoons butter
- 1 teaspoon vanilla
- dash of salt
- CHEESECAKE FILLING
- 8 oz. cream cheese (I used reduced fat version)
- 1/4 cup sugar
- 2 cups heavy whipping cream
- TOPPING
- 1 21 ounce can of cherry pie filling (or for non cherry lovers chocolate fudge topping)
- 12 fresh cherries with stem (or jarred maraschino cherries)
- OPTIONAL: CHERRY LIQUOR or RUM
Instructions
Purchase 12 plastic wine cups from the dollar store or use cups you have at home. I found them in packages of 6. Be sure to clean before use.
CRUST:
Grind graham crackers in food processor until fairly fine. Add remaining "topping" ingredients (brown sugar, butter, vanilla, and a dash of salt). Combine until it forms a nice soft mixture that you can plop into your 12 cups. Divide the "crust" amongst the 12 cups evenly, or save a little for on top, too.
CHEESECAKE FILLING:
Combine cream cheese and sugar in standing mixer using the "flat beater" until sugar is dissolved. Add your cream, and scrape the sides of the bowl to get it started. Start mixing on low and slowly move up to high speed. It took me 4-5 minutes total to get it to a whipped consistency. Place whipped cheese filling into a large zippy bag and cut off a tiny corner of the bag. Squeeze cheese mixture into each cup. Try to get as even as possible, but don't worry if they are not exactly even. Use photo for reference.
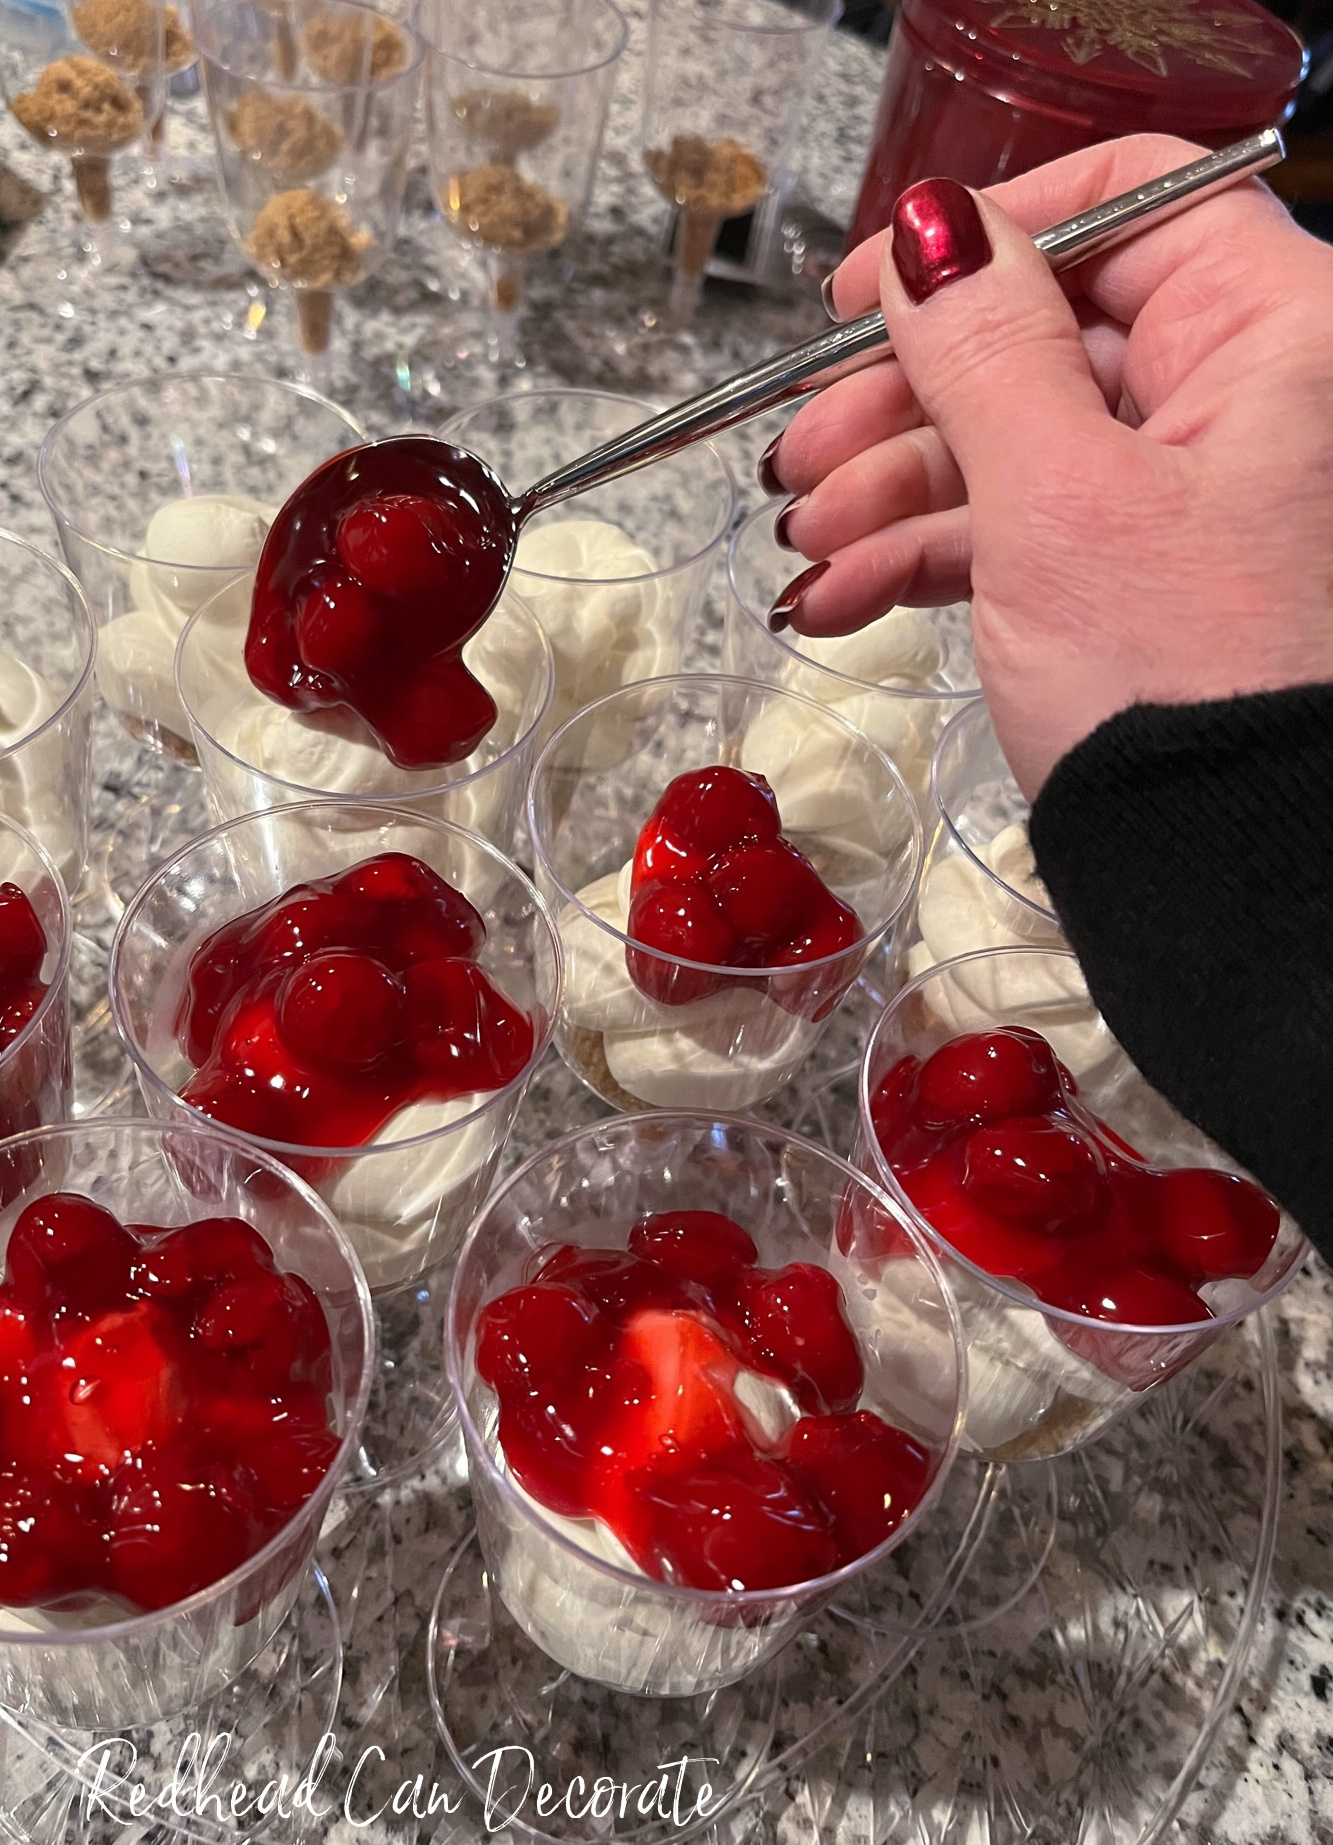
CHERRY TOPPING:
Spoon a little cherry pie filling into each cup, again getting them as even as you can with your eye. I noticed there were about 5 cherries per individual serving. Add a fresh clean cherry with the stem on top. Chill for 1 hour or serve the next day. No need to cover!
OPTIONAL: Pour a teaspoon of cherry liquor on top right before serving or try marinating the cherries in rum for 24 hour prior to putting on top.
Cherry Red Nail Polish
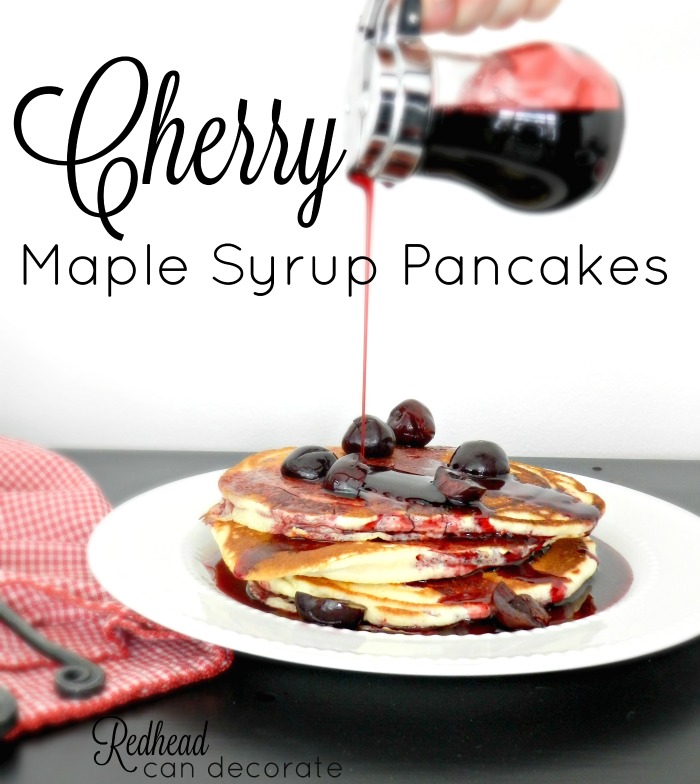
Cherry Maple Syrup Pancakes
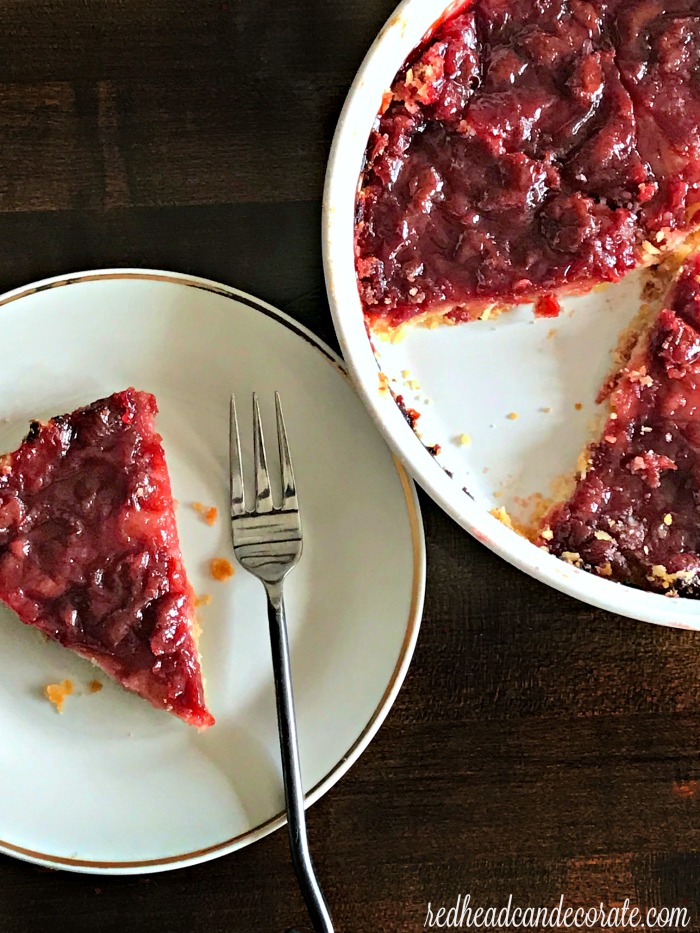
Cherry Tart Recipe
Ruby Red Nail Polish Jar


I love this idea. Cheesecake is one of my favorite desserts. This is a fun way to serve it during those family and friends get togethers.