There’s something about a shiny piece of wood that makes me feel very happy. If I was able to have you over for cheese & crackers, I could take you through the house on a shiny wood tour. Wouldn’t that be fun? Most folks think that using a high gloss finish will make the imperfections in the wood stand out, or make it harder to clean. Well, I do it anyway. I guess I’m a SWR… “Shiny Wood Rebellion”. Maybe I can turn you into a rebel too, after I tell you about our “DIY Refinished Butcher Block Kitchen Island”…
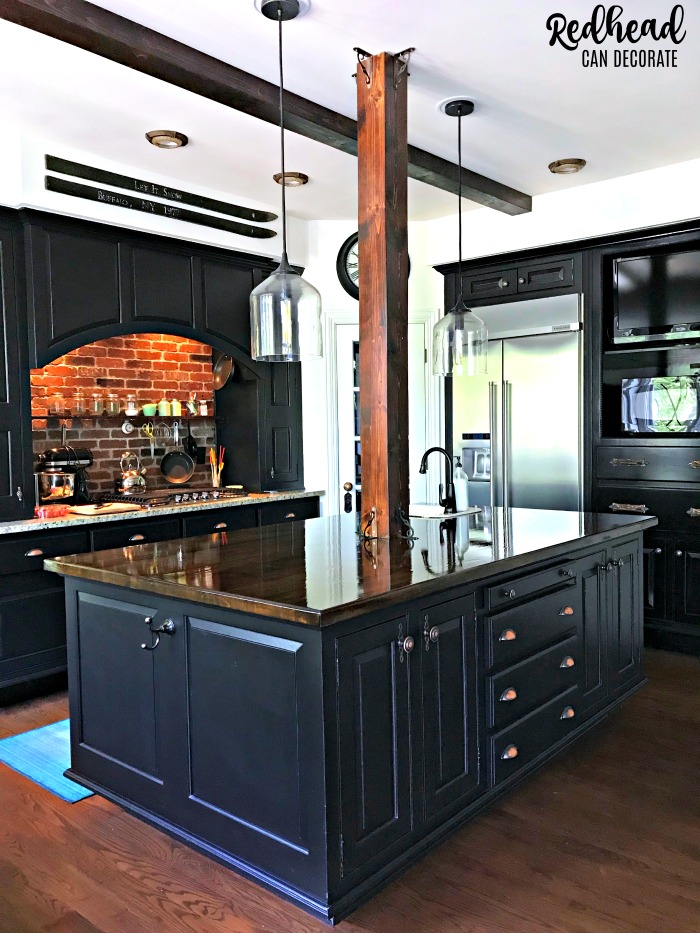
There she is up there, in her glistening glory all ready for that snack I promised, and heck it almost looks clean enough to skip the plates. Well, let’s not go that far, but this 25 year old island butcher block sure looks clean and shiny for her age.
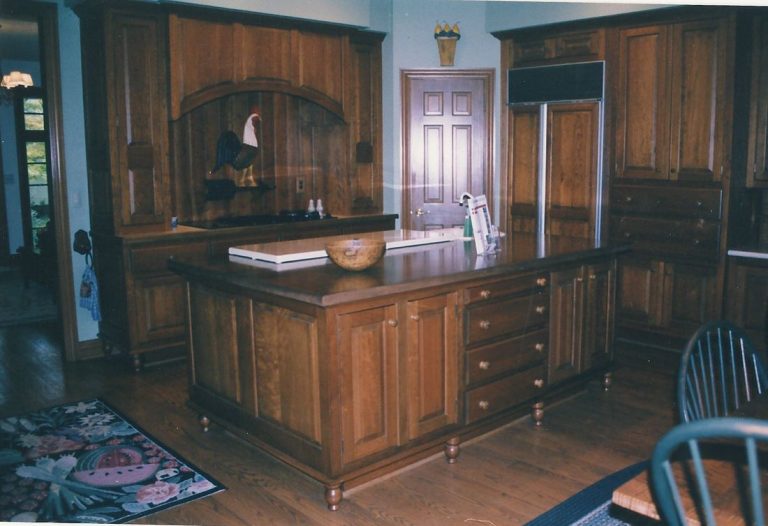
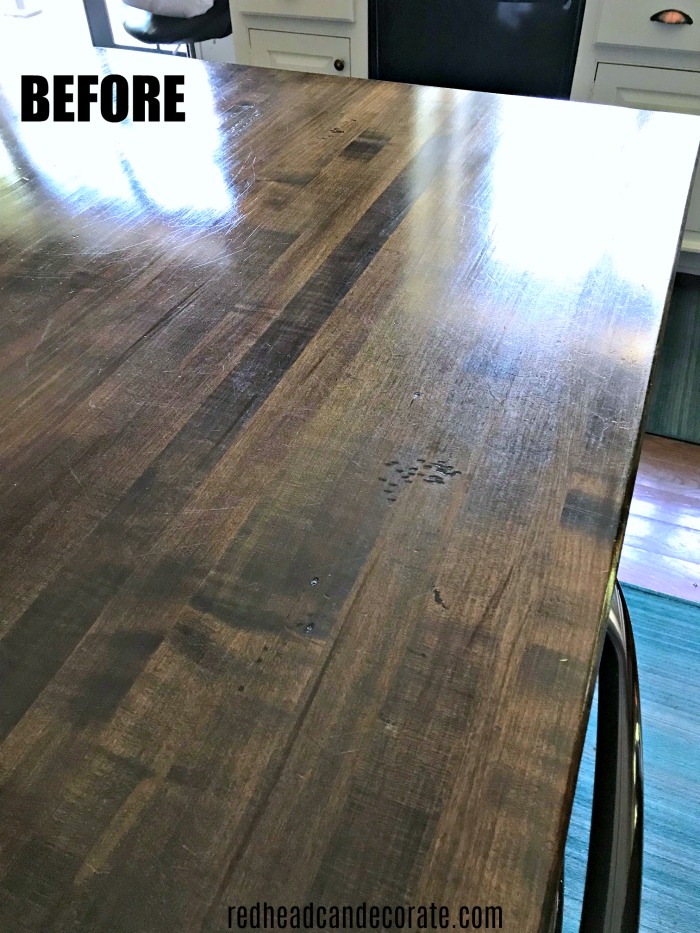
If we go back 10 years, here’s what the island looked like when we first moved in. If you look closely you can see that the butcher block had a very strange coating on it. To be honest, it made it look like veneer, and the wood grains were completely covered up. We didn’t even know that there was an oak butcher block underneath all that crud until my husband decided to sand it off.
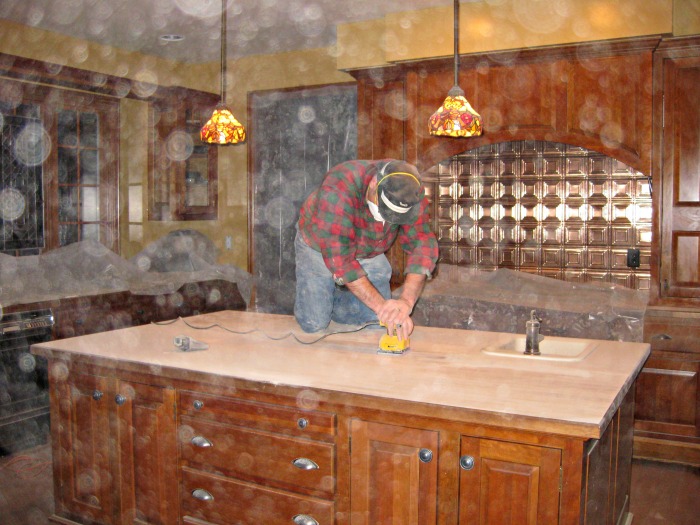
Rick really worked his booty off that night first using a non-toxic stripper & putty knife to scrape off what he could, and then finally using his electric sander (all sources below). FYI, if you plan to strip something yourself, you’ll also need a mask, and some tack cloth to get all that sand off the stripped wood before you stain & seal it (all sources are listed below).
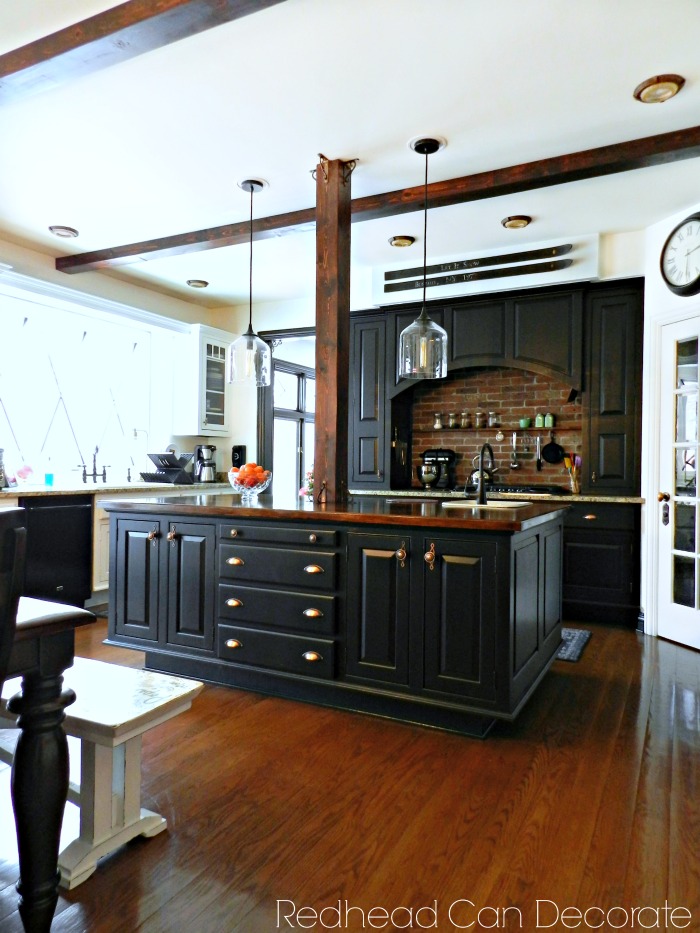
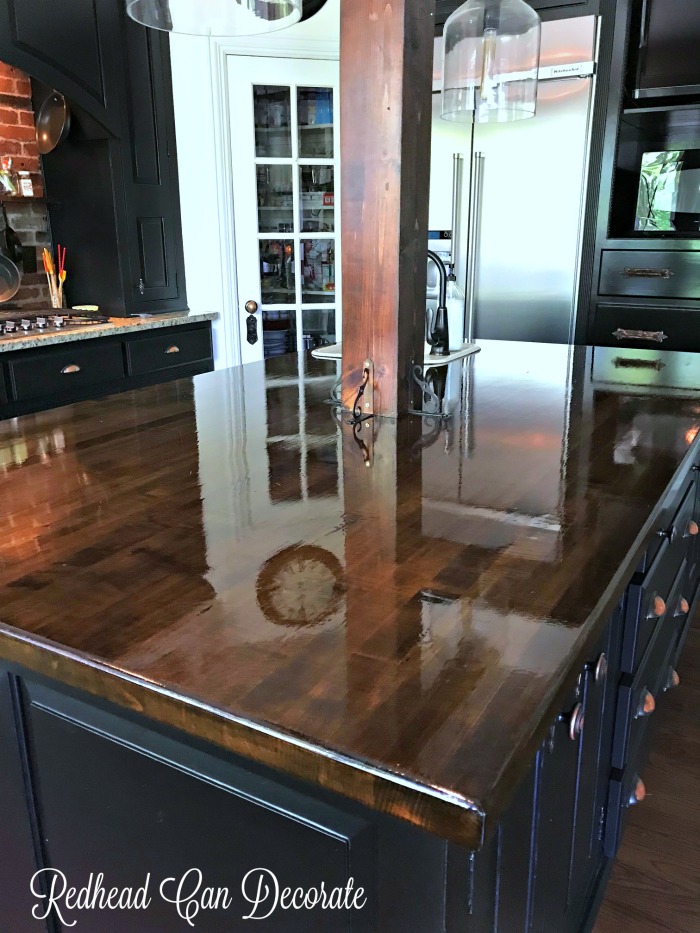
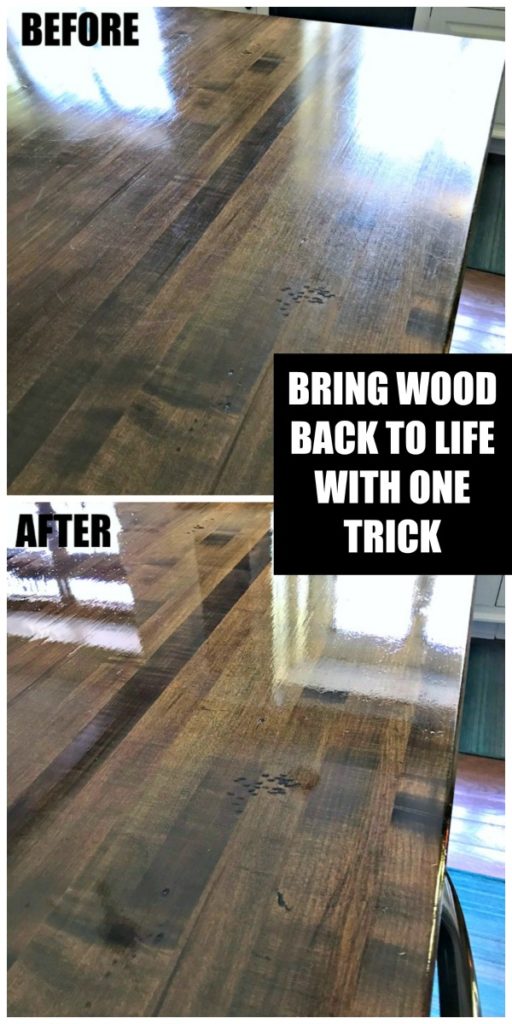
So, here we are, 10 years later 👆🏻 and the island still looks pretty darn good (with our DIY wood pillar) with the lovely staining job Rick did. Especially considering how much I cook. However, if you look below you can see the top coating is wearing off, and the scratches are getting pretty bad. It was definitely time for a fresh coat of urethane.
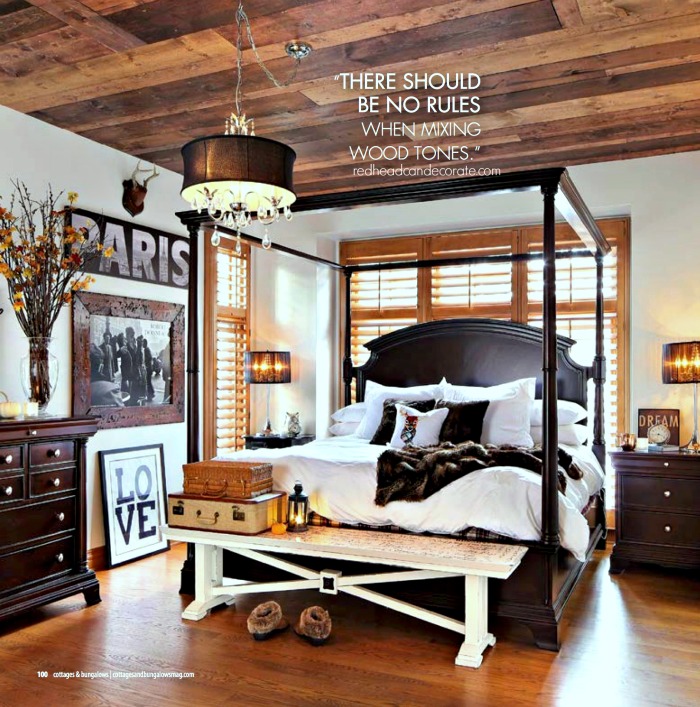
By the way, those little dark peck marks were made on purpose by me and the kids before we stained it to help give the wood some character. It scared Rick a little, but it ended up being a cool idea. We did the same thing to our master bedroom’s planked ceiling and even added our initials.
Okay, I think it’s time for after photos This is how shiny our DIY refinished butcher block kitchen island is now…
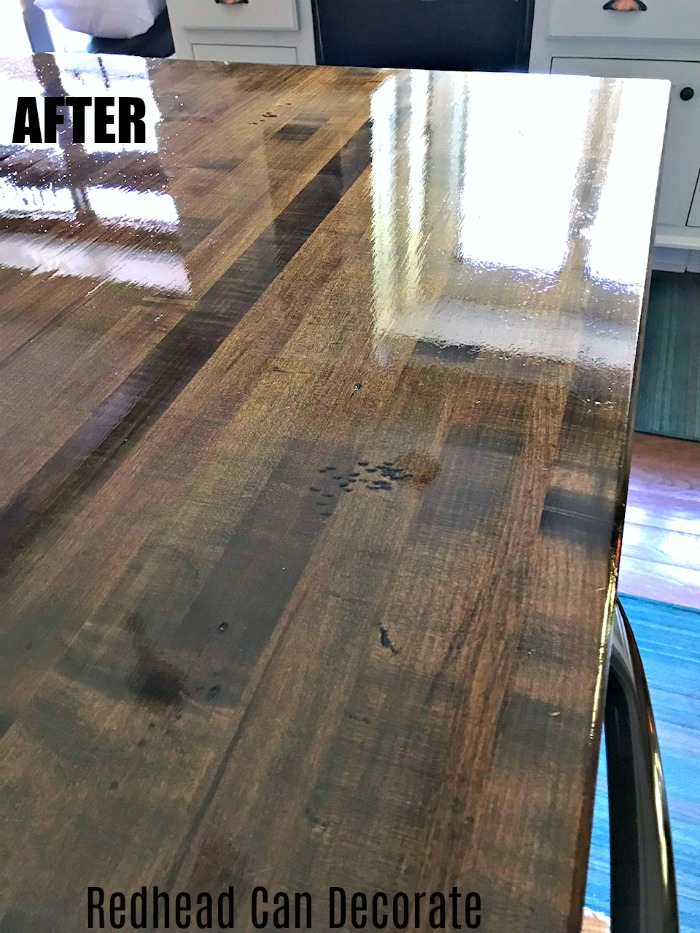
It’s look good enough to sit on and spin, right? Well, I’m a little too old for that, but I can tell you how Rick did it quick and easy. Not the spinning silly, but the refinishing 😆.

How to: DIY Refinished Butcher Block Kitchen Island
ALL SOURCES LISTED BELOW
First, I cleared off all the mail, and other things that pile up there.
Second, Rick lightly sanded it with 100 grit sand paper, then 150 grit sand paper and wiped off any dust with tack cloth.
Lastly, Rick used a 2 1/2 inch angled brush to put on 2 coats of urethane allowing that first coat to dry for a couple hours before applying the second. Then we waited 24 hours before using the island.
ALL SOURCES LISTED BELOW

Apparently, I am a shiny person 😆, but if you are not a shiny person 👍🏻, and you prefer more of a flat or semi-gloss finish, then you would just switch the sheen of the product you use. The product we used, which is listed below, comes in whatever sheen you prefer.
Now, who wants to come over for some cheese and crackers? I will be sure to get some vino for us.
*** Some of the links in this post may contain affiliate links for your convenience. Read full disclosure policy here.


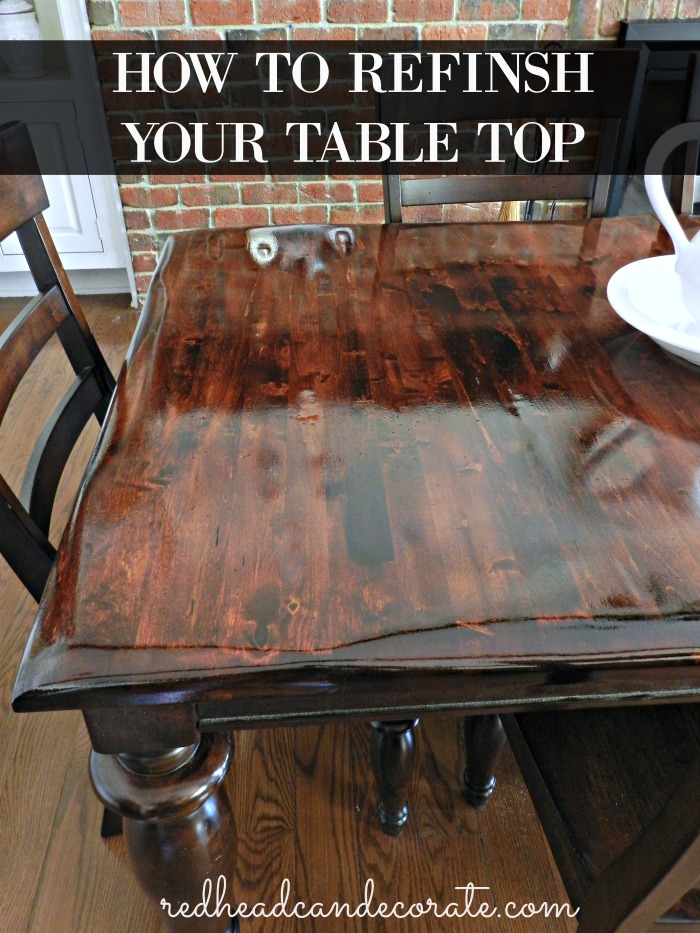
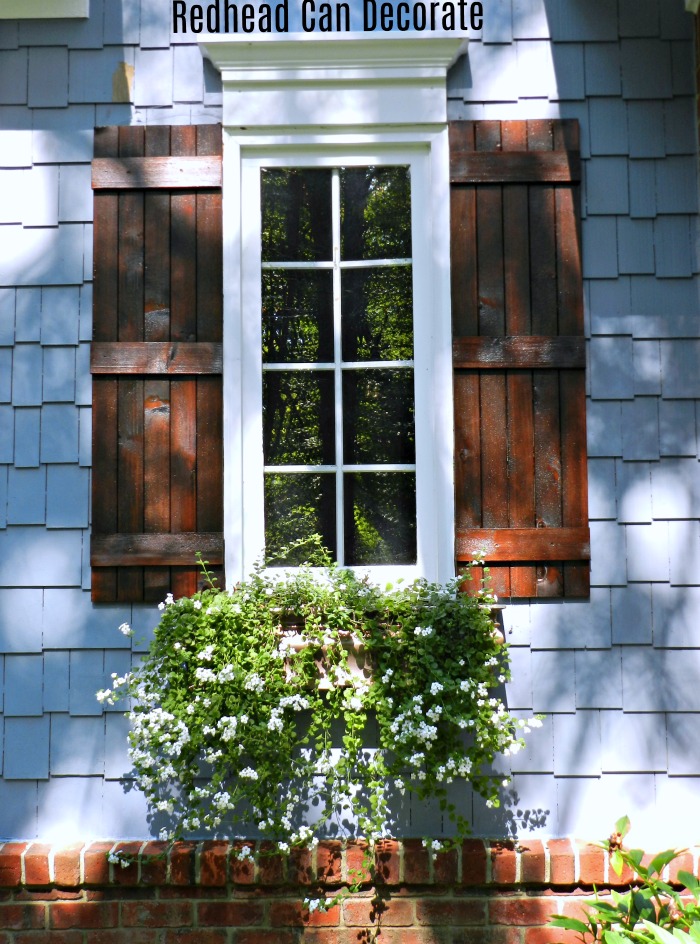
HOW TO UPDATE/ADD EXTERIOR SHUTTERS


Julie, in the older pics there is no vertical beam in the center of your island, in newer shots there is. Is there a reason for the beam, as in support or decoration purposes only? I think the island would look much better without it, unless there is a support issue. Just curious about the beam.
The pillar is for decorative purposes only. I explain more below in the other comment, but it’s added beautiful character to our kitchen. I still love it and can’t imagine our kitchen without it. I forgot to address it in my post. Thank you for asking!
Of course you are a “shiny” person! You are a sparkly gal all around. Thanks for sharing this, Julie. We just downsized a bit. Our new to us but not new home is in fine condition but has some spots where life has left its mark on trim. I am going to share this with my husband as I know in time he will tackle those improvements.
For now I just have to tackle boxes!
One box at a time…I remember doing 1 box a day and boom! You’re done!! Good luck, my shiny friend!
Looks great! I would like my island to be butcher block some day. Can you tell me about the post in the middle, how did that come about? Thanks!
That was an idea I had to help bring the kitchen together around the island. The island is so big it seemed like it needed something. My husband and his best friend made the post like they made the beams on the ceiling. I’ve never done a tutorial on them, but need to. They used wood from Home Depot and stained them the exact same way we did the island, except with a flat sheen.
Looks Great , love, Dad in NY.
Thanks, Dad!
OMG, what a great looking island and table. Very inspirational, I have been thinking of redoing my dining room table and was puzzled on the finishes. Thank you so much and keep up the great work, you guys are wonderful.
Thank you, Renee! Good luck with that table!
Amazing job and looks amazing also!
I do a lot of refinishing and the gloss look is so popular (again!
Just refinished a beautiful 2 piece China Cabinet. It was requested
The Body of the cabinet be painted and the top of the bottom piece
Be stained with a gloss finish as well as some detailed crown molding
On the very top of the cabinet. Gloss holds up well under much used
Areas. Owner loved it and so did I but
it’s a personal choice!
Your island just knocked it out of the ball park with gloss!!!
Thank you, Darlene! I didn’t realize it was “back”! I would love to see this china cabinet!
Hi Julie, You guys did a beautiful job on your shiny butcher block island! I know you are serving cheese & crackers with wine, but, tell me you have already poured a beer into a nice, frosty mug and slid it down the shiny butcher block island to your hubby…….right????