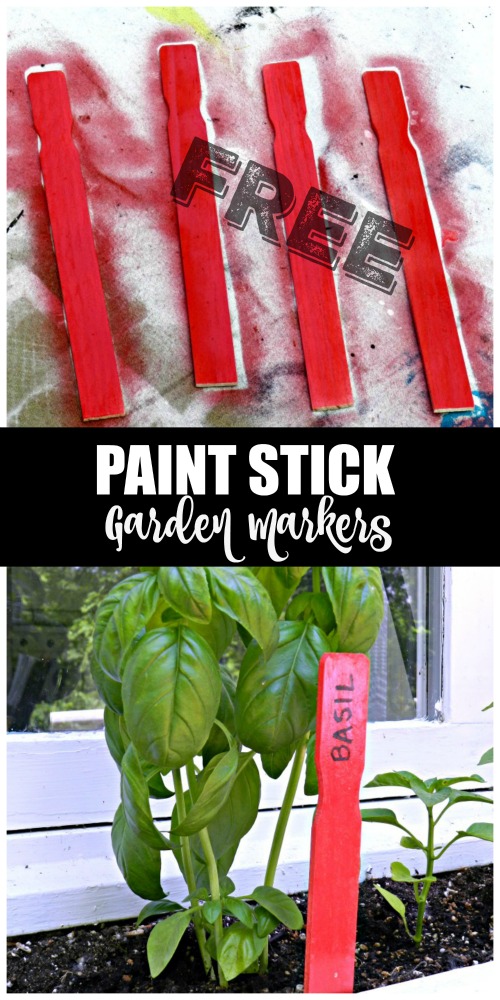
What’s the deal with free sticks? Is it written somewhere that all sticks must be free? You can get free tooth picks at most restaurants, right? Then there’s free coffee stir sticks at coffee joints. Hey, how about all those free chop sticks!? What the heck? I mean seriously…sticks are free people! So, I decided to take full advantage of this sticky stick situation, and do something clever with the free paint sticks they give away at Home Depot when you buy paint (or when you buy nothing). I made “Free Paint Stick Garden Markers” and they turned out super cute!
![]()
Before I show you the sticks, today is Thrifty Style Team day so there are many other fabulous blog friends joining me with their thrifty styling ideas and you can sift through those below. First though…lets check out the free paint stick garden markers I made in literally minutes…
Here’s the sticks before:
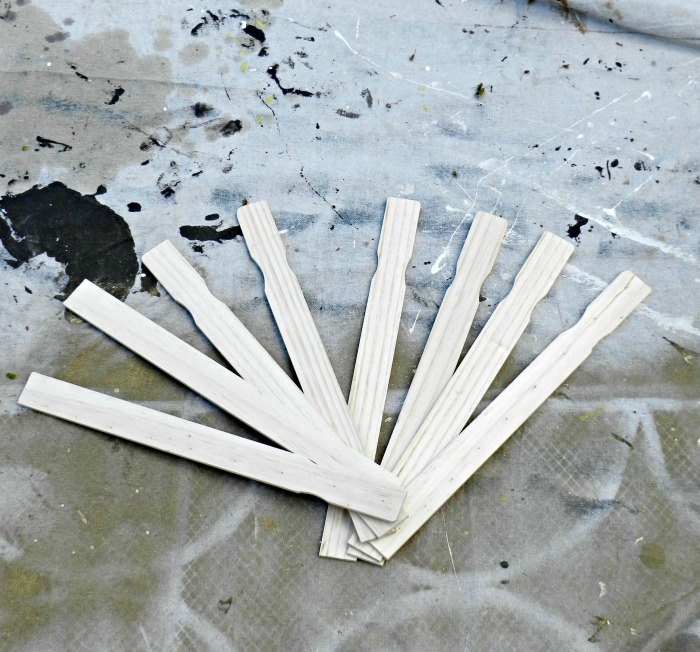
Maybe you didn’t know that Home Depot hands these out like candy. They usually give you one when you buy a can of paint, but if you ask for more, you shall receive 😆 . The lady I asked said, “How many you need?” I then told her about 20, and she counted out 20 and said, “Have fun.”
Well, I did have fun. I got them home and painted them with spray paint I already had on hand. I guess if you don’t have spray paint, you can use any paint you have. You could get really crazy and stain them. That would be super cool. Just make sure you have a lot of ventilation where ever you are painting, you use a mass, and you are far from fire.
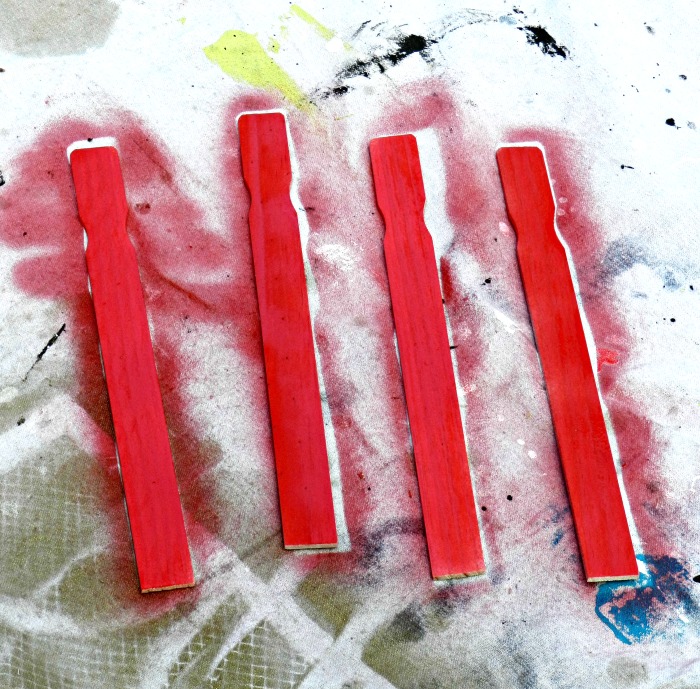
I gave each side 3 coats and was very careful to get the edges. After they dried, I sprayed on 1 coat of glossy spray polyurethane. This is not necessary, but I had some so I did it.
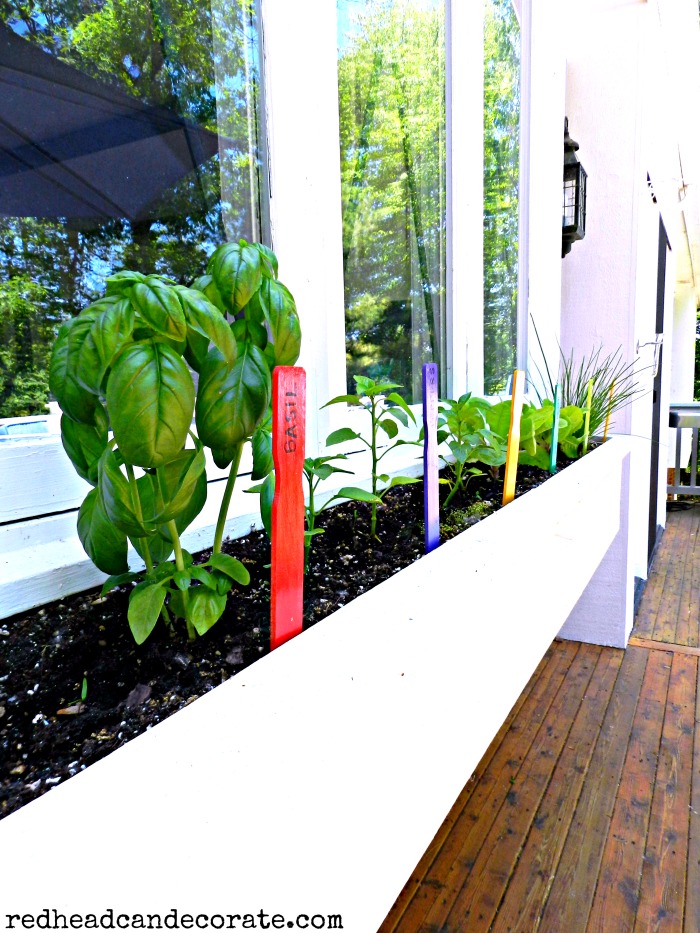
After they were painted all pretty and completely dry, I took a black permanent marker and wrote the name of what I was marking in our garden on the end of the stick. We have a herb and veggie window box outside of our kitchen window on the deck that I stuck these in. I also stuck them in some potted veggies on our deck.
TIP: HOW I STORE BASIL IN THE FRIDGE WITH OLIVE OIL.

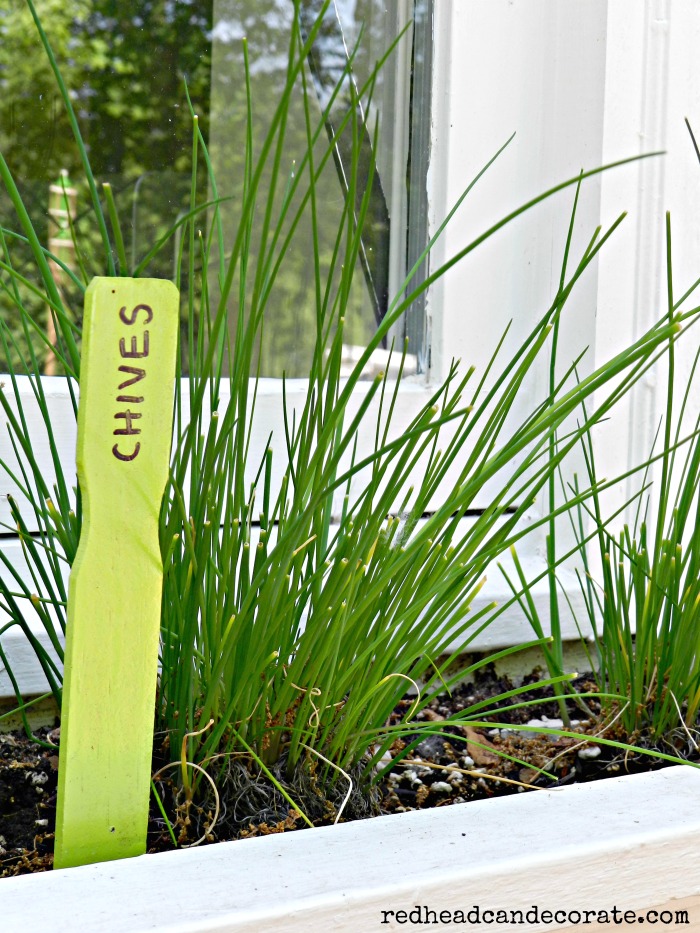
I was actually thinking that they would look cute in front of flowers, too. If you wanted to get really creative you could put little fun sayings on them like, “Jive w/ my Chive”, or “Clip Free Chives Here”. You could put anything your heart desired on them.
TIP: CHIVE STORING IDEA THAT IS A MUST SEE IF YOU LOVE CHIVES.
If you need to trim the paint sicks, you can use a hand saw, but be very careful.
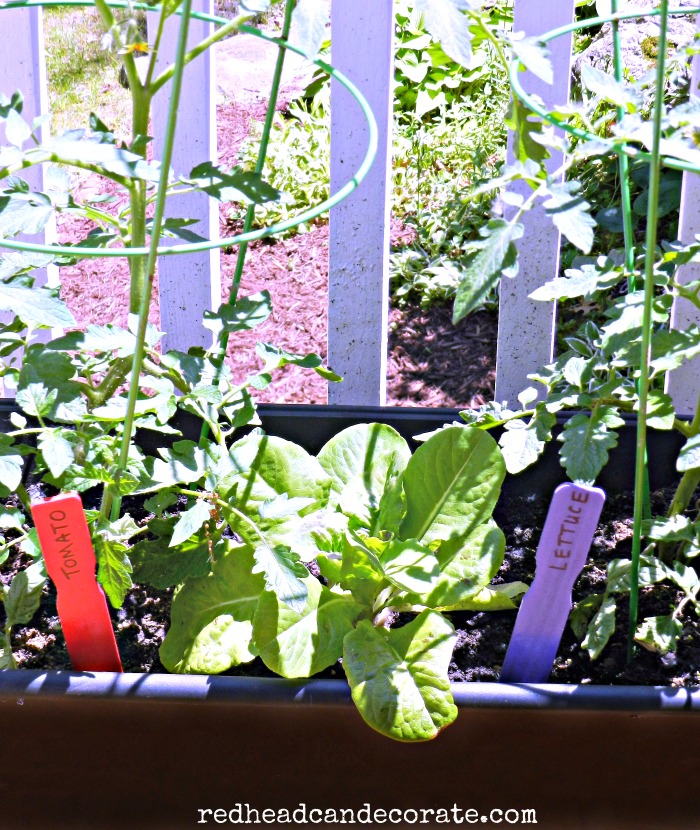
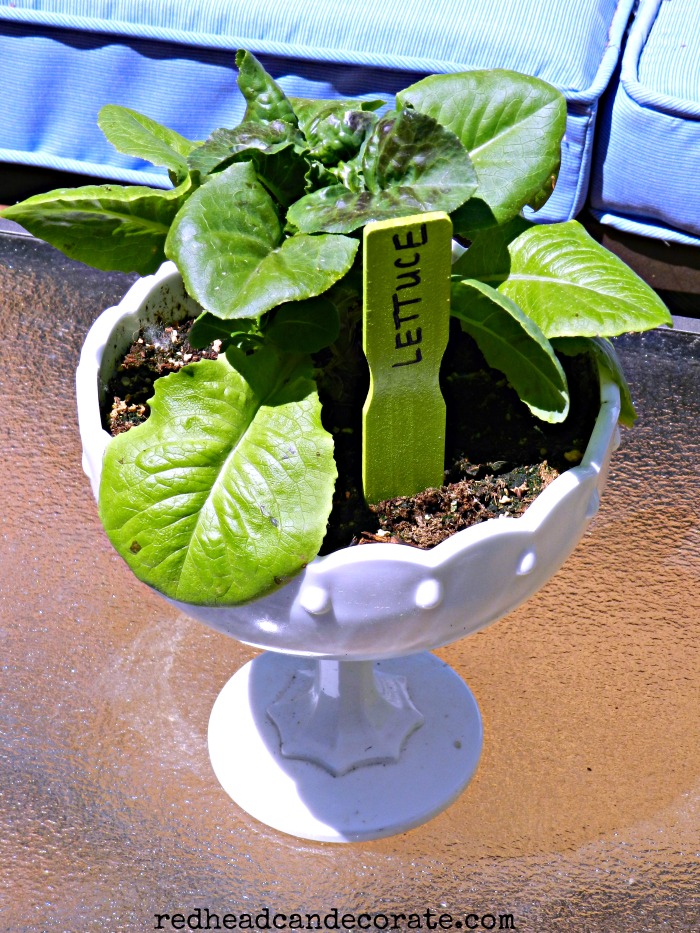
Oh, and I can’t forget to tell you, that I used one of my lettuce garden markers for some buttercrunch lettuce I planted in a pretty milk glass bowl. I set this out on our deck coffee table and it is growing like crazy. Once it gets a little bigger I can tear off what I need for sandwiches. If you try this, be sure to use a very good veggie potting soil, and water every day when the heat hits. Here’s my OLIVE GARDEN SALAD DRESSING HACK if you’re getting hungry  .
.


![]()


I’m almost convinced to try yet another garden just so I can have cute markers. Yours looks great…. I do have one very sad little cilantro plant.
Thank you, Bliss! I wish I could send you 1 “CILANTRO” marker in the mail…I actually could!! 😉
They look Great.
The Home Depot here put paint sticks in bundles and selling them that way cause people where taking more than what they needed. People would come along and take big handfuls even if they weren’t buying paint.
Wow! That sounds about right. What a shame!
Super cute COLORFUL idea!
Thank you, Pam! I’m so happy you joined our team! Will be stopping by your place soon 😉 ~ Julie
I can see a run on these sticks at any paint store soon! haha And spray paint? Ah I have so many different color cans of spray paint like a 64 box of crayons! I have a very colorful backyard where everything and anything has been touched by a can of spray paint! Love the summer colorful look!! =)
I know, right, Julie? These spray paint companies owe me!! 😉
I have a friend who is a manager at Rustoleum in Buffalo Grove, Illinois I believe. For the stories shared of what I’ve done with the product, she tells me I should be a product spokesperson! ha I tell her anytime!! =-)
These are so fun and creative Julie!!! I love the bright colors, and free is the cherry on top.
Thank you, Jessica! I didn’t mention this in the post, but I actually tried to make a wind-chime out of them and it totally flopped! It was REALLY bad. Luckily I could recover with this! ?
I have used these sticks to paint scarecrows, pumpkins and santas on, then I put a magnet on the back.
How cute, Patti! My youngest made a snow man ine year ?
These are SO fun, Julie! I love the colors you chose! They are a great “pop” for any garden or bed! I’m so glad to be on this Thrifty Team with you! <3
Thank you, Kristi!
I love paint stick crafts, and this one is soo cute as well as functional!
Very clever, love, Dad in NY
Thanks, Dad! ???
Thanks for such a cute idea! My mom will love these in her garden. I can make these for her birthday present. Thanks for the invitation to the Thrifty Style Team. I am honored.
We are honored, Meegan! What a great idea for a gift. I didn’t think of that!
lord knows i have had my share of these paint sticks, but how come i never thought of using them this way. i love this idea.
Super Duper idea Julie. Sharing your idea with my daughter, she will love it. And my grandsons would be over the moon to have the stick
Painting job! So cool thank you.
That is a great idea…perfect craft for the kiddos! Throw in some rocks, too. I know kids love that. Heck I love that.
Such a great idea Julie, and I love that they’re free! Painting them different colors is a fun touch. I’ve been trying to grow lettuce since we moved to NC and not having much success. Your healthy buttercrunch makes me want to try again. 🙂
I don’t have a veggie/spice garden, but I love what you did with the paint sticks.
Julie, this is an awesome idea and looks great! I’ve never done an herb garden, but looking at yours makes me want to try one. Love it!
Thank you so much, Pam! My favorite part is the chives because they are perennials! Took me about 10 years to figure that out ?
These are so cute and colorful, Julie, and such a great use of paint sticks! Happy to be hopping with you again this month. xo
Julie, what a great idea! It’s so simple but serves as perfect markers! I’m so glad to be on this Thrifty Team with you 🙂
This is such a great idea! Perfect for any garden size. Thank you so much for the tutorial, I’m definitely going to make some!
WOW ! Such as amazing idea. Really, as a gardener, I appreciate your work. Thanks