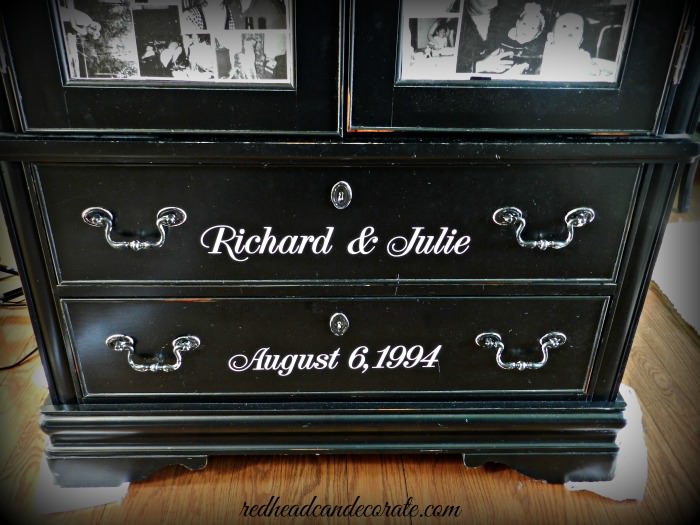
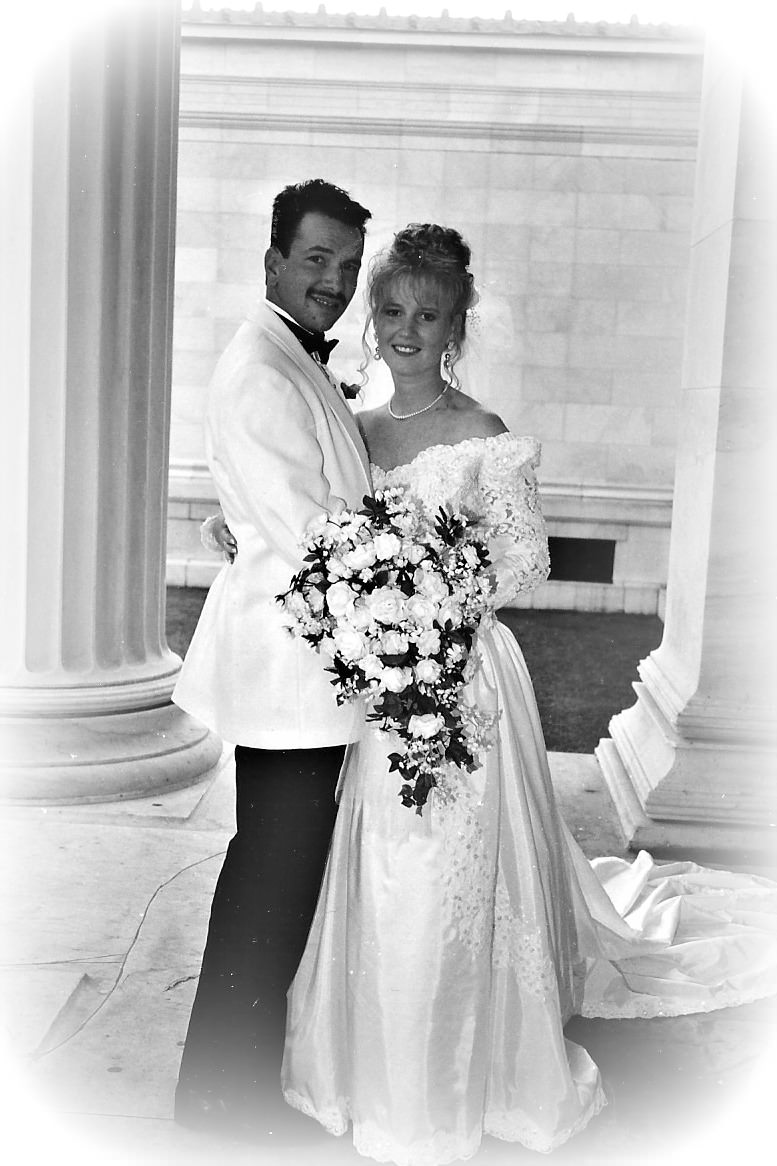
We were married on August 6, 1994 at 3:00 in Grand Island, NY.
Everyone warned me that I would be hot in my long sleeve dress.
I lucked out, and it was in the low 70’s, sunny, and no humidity.
It was perfect.
—
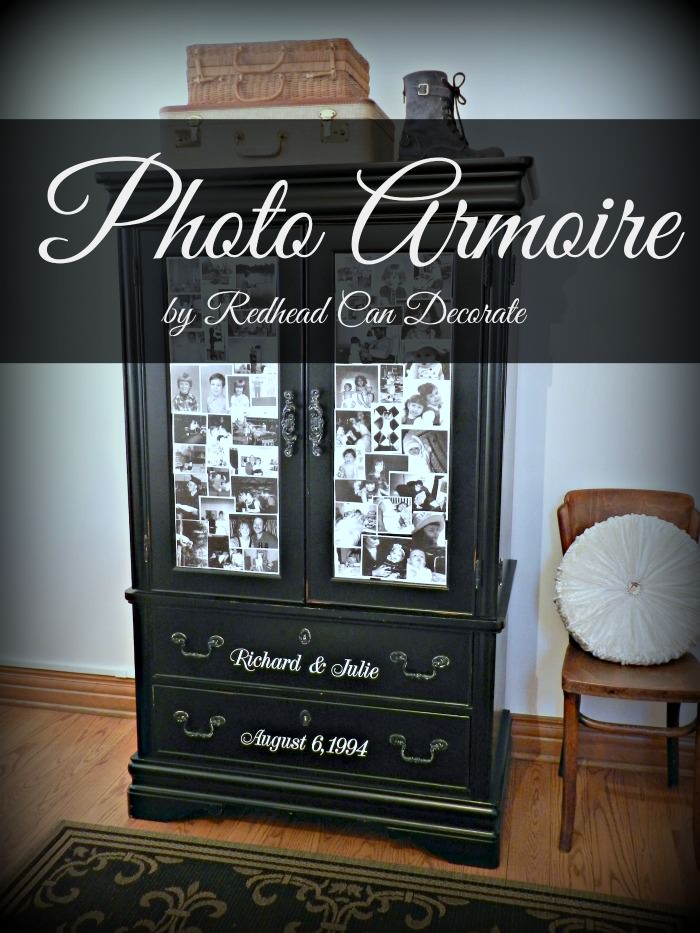
This year marks our 20th wedding anniversary 🙂
My “Anniversary Photo Armoire” will remind us daily of how much we’ve endured, conquered,
and achieved in 20 years of marriage.
It will take us back through the years and fill our hearts with memories we will cherish forever.
It joins us together forever, just like our vows.
Each hinge representing our commitment.
Each cabinet door working together to make a whole.
Each drawer full of what we need and love.
Each other.
{how do you like that Fiat? wink}
If you look at the photo above, you’ll see the photo in the bottom left corner of the left cabinet door.
It’s my hubby and his beloved Mom cutting his birthday cake when he was little.
Now every time he bends over to get his socks out of his drawer, he can see her 😉
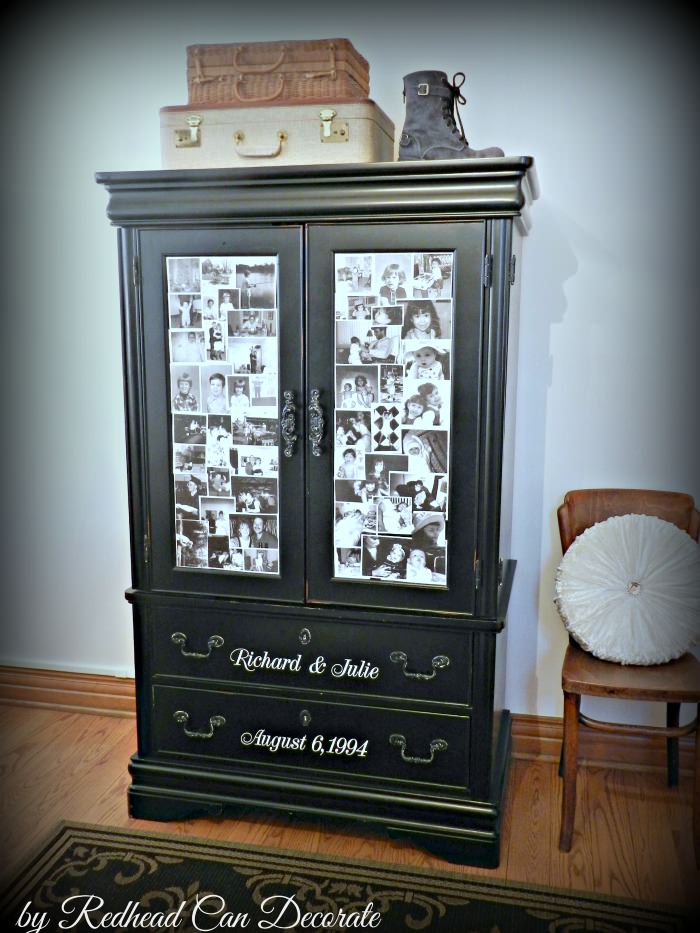
Here is where you’ll see the armoire “before” in the corner of our bedroom, a few years back.
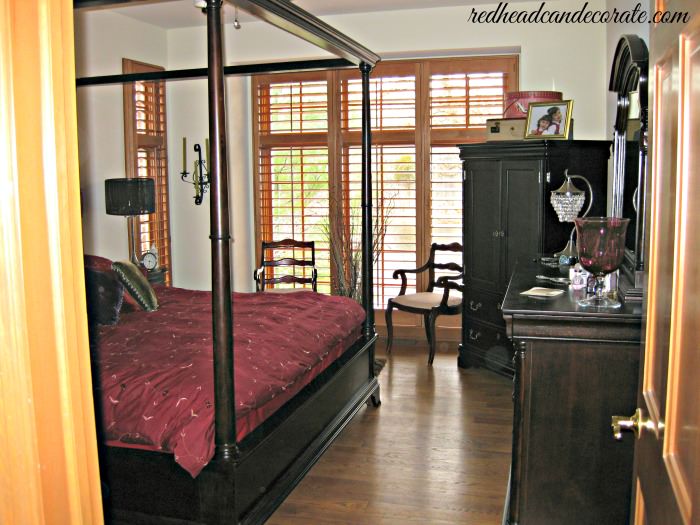
Our bedroom has changed quite a bit since then.
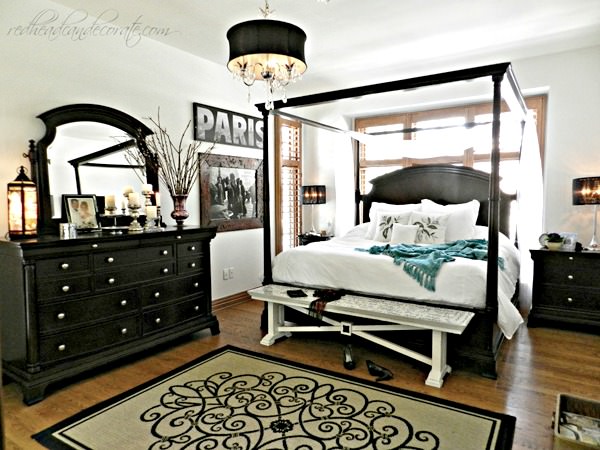
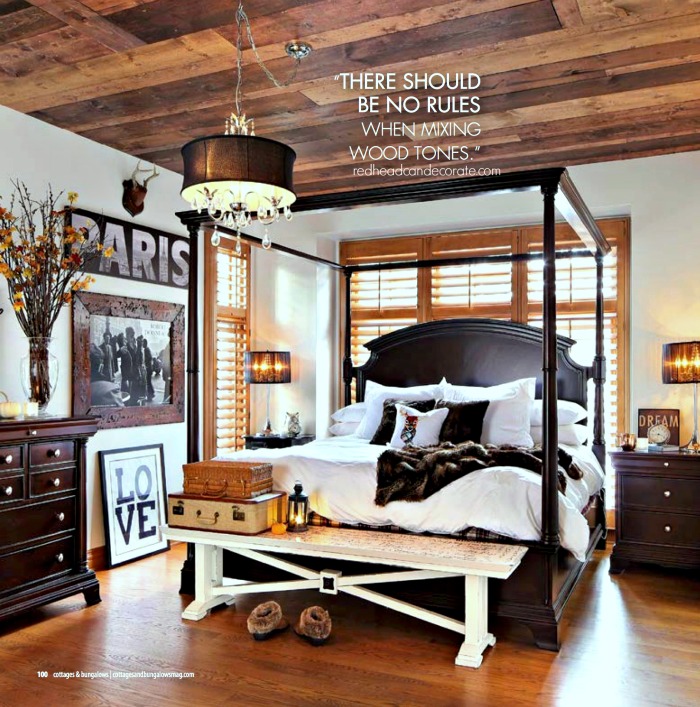
Here’s now…
You can’t see it here, but the armoire is on the right and we keep clothes in it.
It was very plain, and recently my Mom said she never even noticed it before.
Now it fits in perfectly with our “romantic, rustic, cottage, retreat” bedroom.
If you would like to see more of our bedroom makeover, click here: master bedroom
—
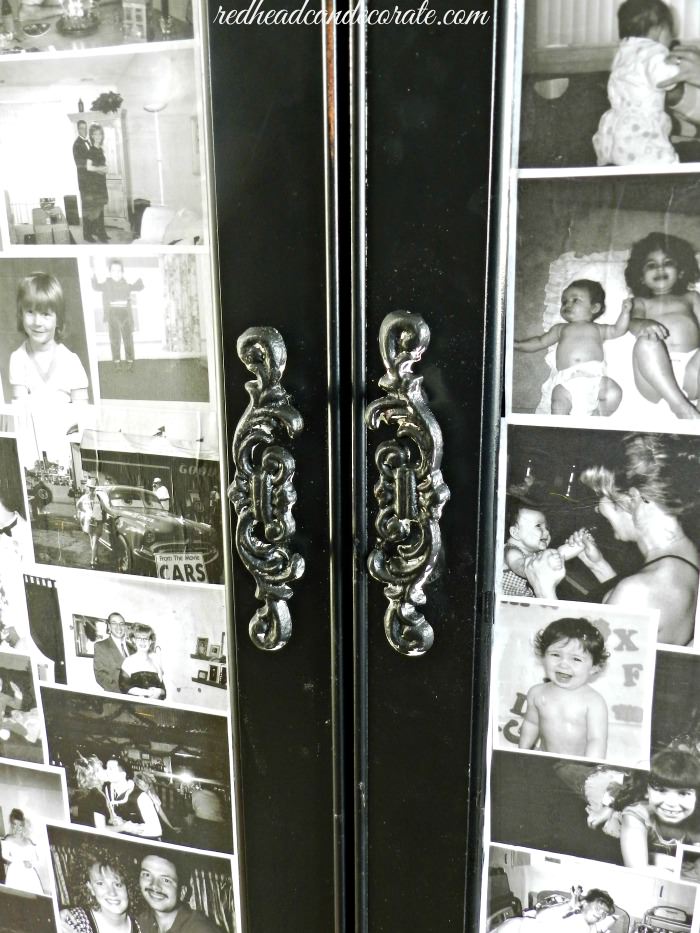
To get the look, first I replaced the door handles with pretty ones I found at Hobby Lobby.
I painted the other hardware with white paint that has the primer in it.
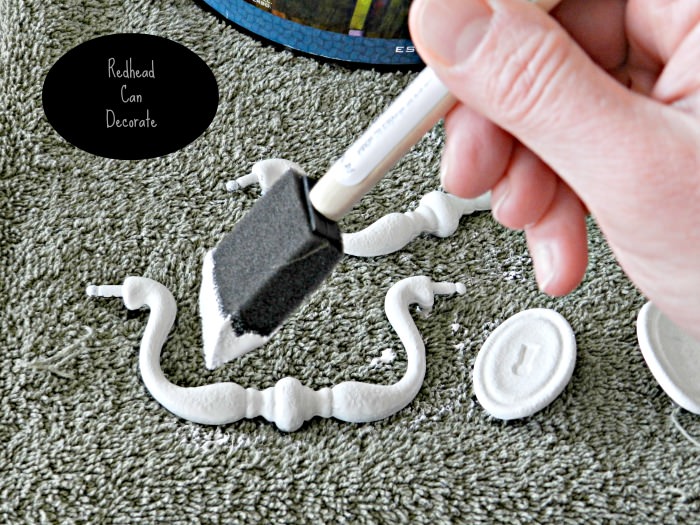
After I attached all of the hardware, I began adding the photos.
I copied my favorite photos in black and white onto regular computer paper.
Then, I cut them so there was a little white border.
*** Some of the links in this post may contain affiliate links for your convenience. Read full disclosure policy here.
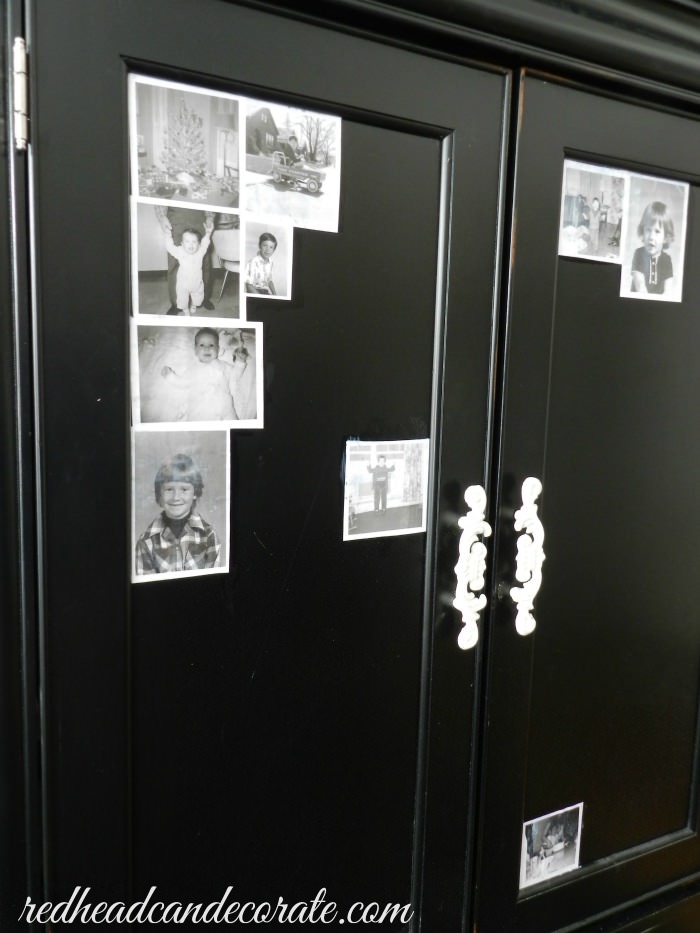
I applied them with Mod Podge.
(You can find Mod Podge here.)
First, I brushed a little on the armoire, and then attached the photo.
Then, I brushed it all over the photo (you can find paint brushes here) and got the wrinkles/air out with a flat scraper (credit card works too).
I wasn’t too picky about the wrinkles, but I did make sure to cover the entire photo.
I didn’t measure a thing. I just winged it and over lapped when needed.
It dried fast.
Once everything was finished, I realized the hardware stood out too much.
So, I decided to add black paint over top to give it a more antique look.
I ordered the fancy vinyl letters on line.
There are tons of places to find those, and they apply easily.
Happy Anniversary, Baby!
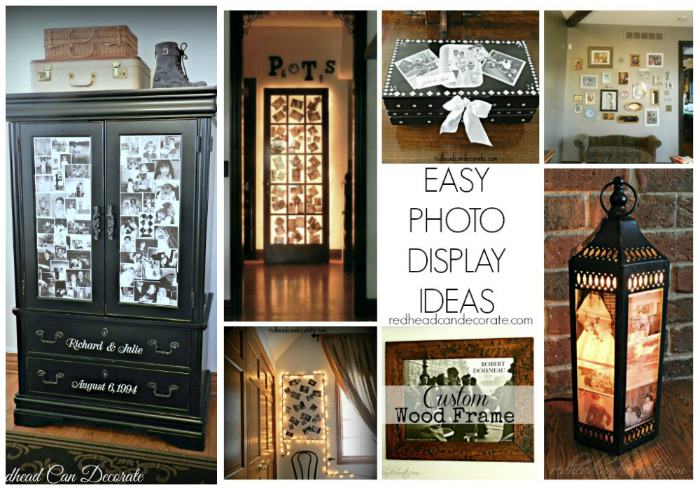
Decorating with photos in unique ways has become one of my favorite ways to personalize my home.
Here are more of my easy photo display ideas…
(the links to the projects are under the collage)
Subscribe to redheadcandecorate.com – Home/Julie’s Blog
Sharing at:
Savvy Southern Style


This looks awesome! I can’t wait to see it in person!!
So pretty Julie – I love it! Pinned! xo
Thanks, Claire! XO
Julie! Your armoire is absolutely gorgeous!!
xoxo
Denyse
I’m so happy you like it. We like it too! XO
What a great idea and a lovely reminder of your special day!
Thank you, Heather 😉
What a treasure and such a one of a kind gift. I love your creativity!
Thank you Sharon, I hope you are feeling better!
Wow, I love this idea. I will be looking for thrift store Armoires to do the very same. What paint did you use to paint the armoire? Any tips on what I should look for in the furniture?
Love this! Such a beautiful way to display memories!
Does it matter if the printer is ink jet?
Worth a try, Melissa!
[…] Anniversary Photo Armoir […]