Happy December! I hope you are enjoying the holiday season and are getting to do all of the memorable things that make this time of year special. With the big day only a week away, you might be sick of Christmas projects already? So I thought I’d change things up and show you how to do a quick winter craft, that way it will beautify your home well past the 25th, and maybe even into January. How is that for easy?
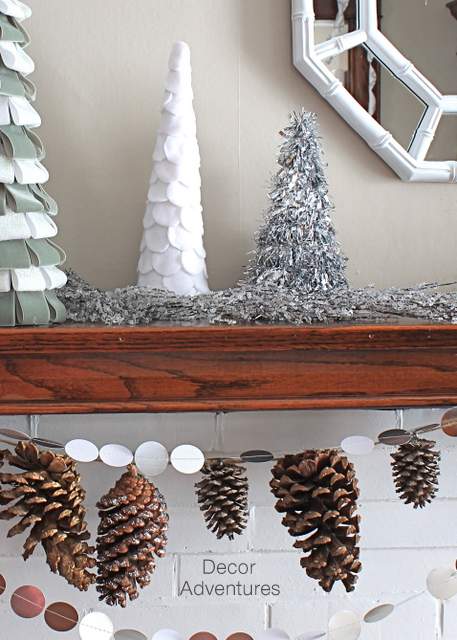
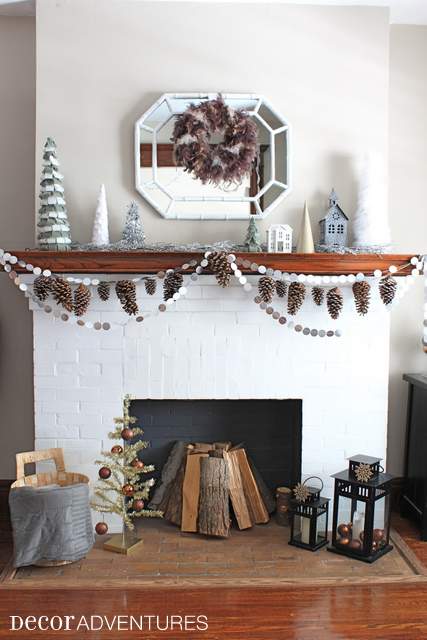
This year I’ve been feeling the “decorate for winter” vibe more than the “decorate for the holidays” one. As evident by my woodsy mantel and foyer with a neutral metallic look seen on my holiday home tour. All those decorations may stay up for a long while, shh! Our little secret.
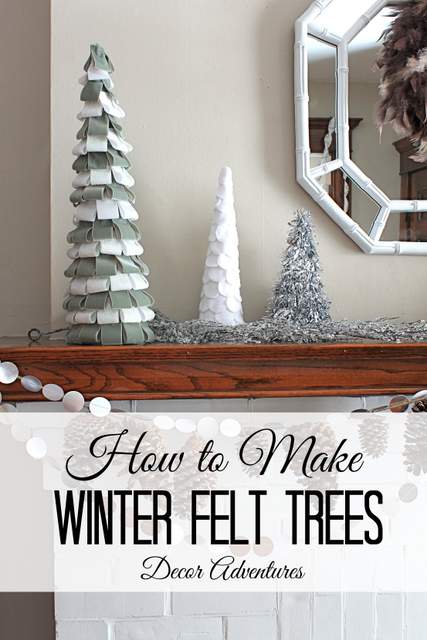
One craft I made for the mantel were these little felt trees. I’m a fabric lover, I have bins of it and am always thinking of what I can make with my stash. These trees were the answer and are so easy, plus you can make them in all kinds of colors. And if you made Julie’s spice gels {Gum Drop} tree, it will match! Here is how to make winter felt trees.
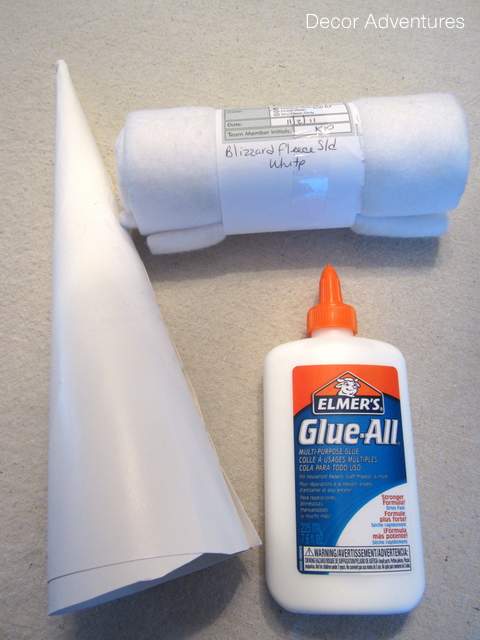
Supplies
First you need a tree shape, either from a paper mache cone, a styrofoam one, or one you made yourself with poster board and tape. And you’ll need felt in the color of your choice. I found this partial yard in the remnants section of the craft store but use any color you like. Also, you’ll need glue, regular Elmers or fabric glue works, a marker or pencil, scissors, and a small circle shape if you want to trace a circle.
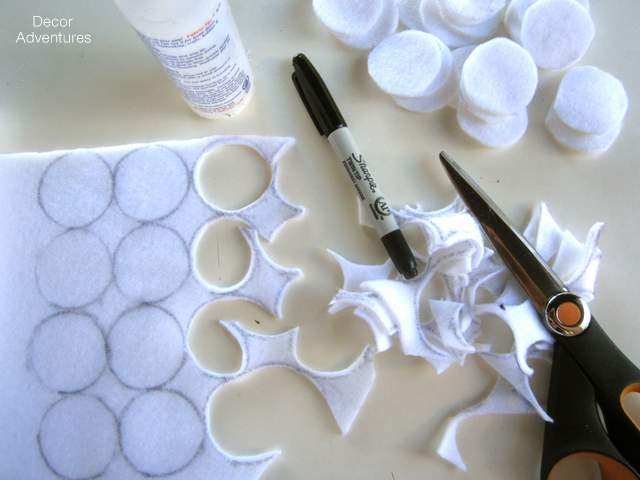
Instructions
For this tree I cut out circle shapes. Sadly the circle paper punch didn’t work on this {believe me I tried it}, so I had to draw and cut out all of the circle shapes. Turn on Nexflix and get tracing! I used the bottom of a glue bottle, and a sharpie since it worked better than a pencil.
Trace and cut, trace and cut. It will go by fast.
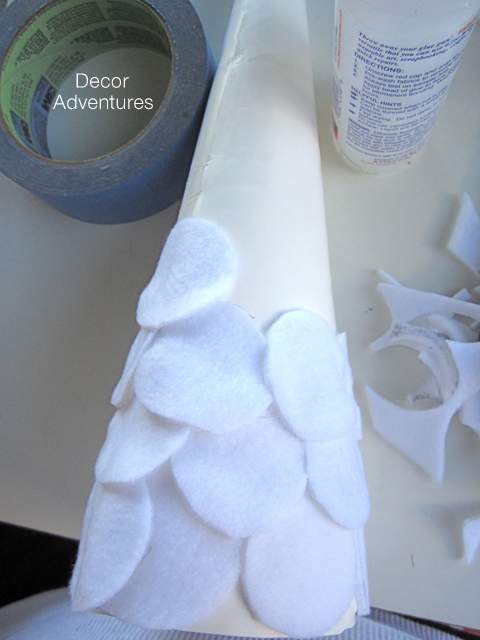
Since my tree is about 10 inches tall, I could guess how much fabric I needed, there is no set amount. Once you think you have enough, now comes the fun part, putting the tree together!
To do this start at the bottom and overlap the circles as much as you’d like for the effect you want. I was inspired by overlapping shingles on a gingerbread roof, so that’s what I tried to create. If your tree shape is a different color than your felt, you may want to paint it quick to blend in. And you can put felt where any parts of the tree cone show through.
A holiday movie later {OK, not that long} and you’ll be done! Every once in a while I love a simple project like this as a change from all the other DIY I usually do.
I was so into trees this year in my decorating. Come over to Decor Adventures on Friday and see how I made some with ribbon, a feather boa and washi tape. Clearly I have a craft forest started….
And if you missed any of my holiday projects, here is my holiday home tour, how to sew holiday stockings with a cuff, and Monday I showed the behind the scenes of how I put together a holiday staircase.
Next time I’m here it will be 2014! I wish you and yours a happy, healthy new year. P.S. Come visit Decor Adventures here and find me on at the links below.


Jessica…you are right, it would go perfect w/ the spice gel (lol) tree!!!
What a pretty tree and it looks great on the mantle! Thanks and Pinning, too cute!
Very cute… love the idea using felt for a tree!
So pretty ~ what a great idea!