A couple years ago I made a “Pallet Christmas Tree” that was a huge hit. After I realized how much everyone enjoyed it, I vowed to make something out of a pallet for Halloween one day. Our girls LOVE Halloween. I enjoy seeing them excited & happy, so I mainly do this for them. Our oldest daughter’s birthday is right before Halloween so we celebrate by decorating and having a huge costume party for the kids. We prepare the “Haunted Hall” in the basement, and it’s blast for everyone. So, this year…we have a new display to add to the mix…
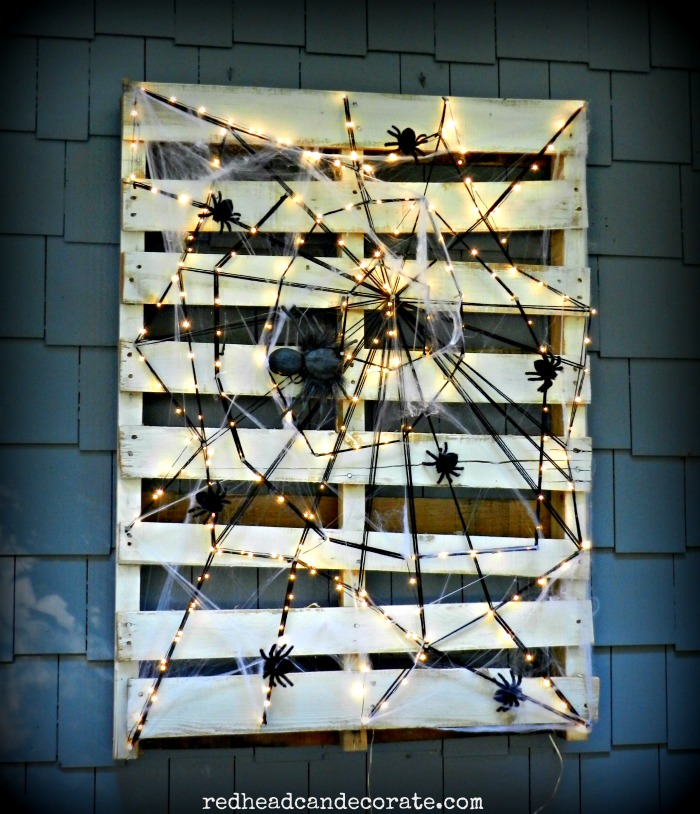
I call it the “Pallet Spider Web” [insert evil laugh here]. Be careful now. It’s pretty spooky.
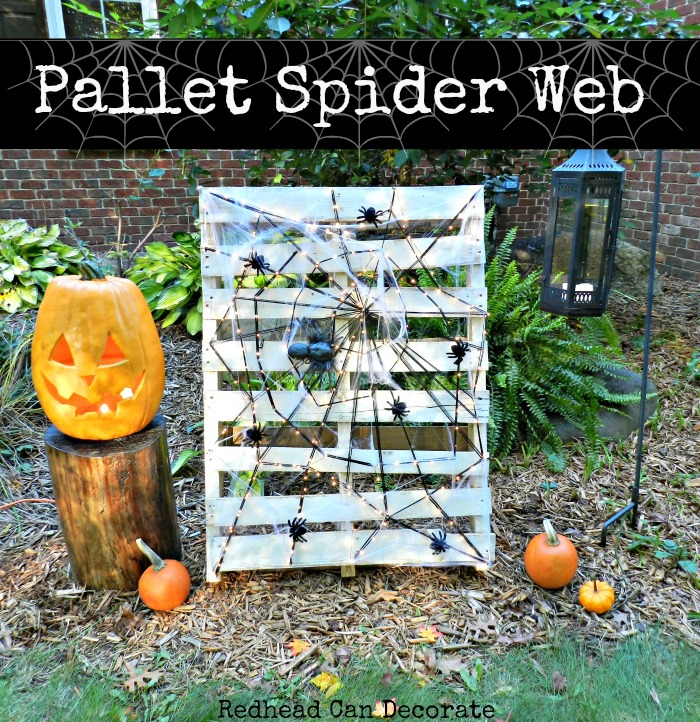
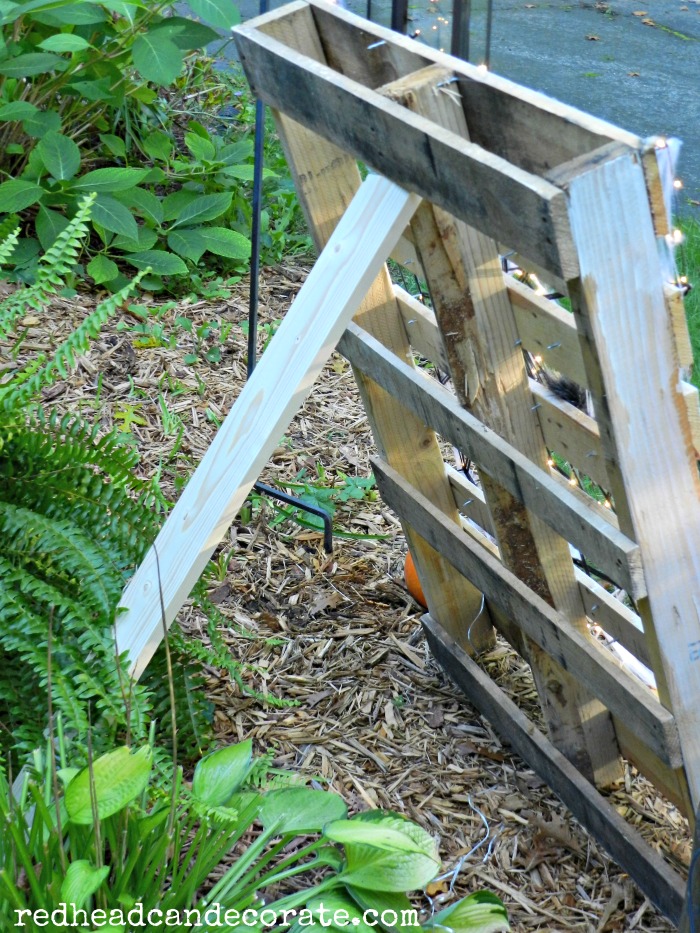
Okay, maybe not spooky at all. Actually, it’s more cute than I envisioned. It was also super fun to make. The hardest part was finding a spot to display it since our front porch is still under renovation.
[See full supply list & tutorial below.]
Just look at that mama spider watching all her spiderlings leave the sac…she looks super STRESSED OUT!
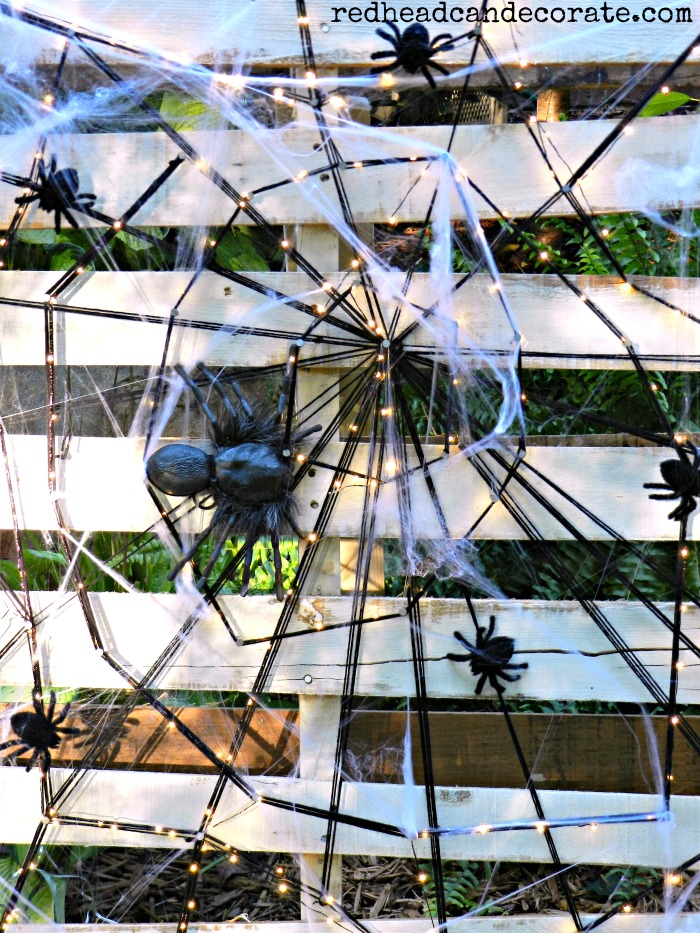
While you’re baby sitting the baby spiders…I’ll explain how it’s easily made. At least I hope I explain it easily.
First you need a pallet. Ours came under bricks that we had delivered. I’ve heard that you can ask hardware stores for free pallets no longer in use. I don’t plan on bringing this pallet in the house, so I wasn’t concerned about insects on the wood, however… I have read where pallets can carry harmful chemicals so research how to tell if it safe! Once you know it is safe, get your supplies…
*** Some of the links in this post may contain affiliate links for your convenience. Read full disclosure policy here.
Supplies for Pallet Spider Web
large safe pallet-mine is 3 1/2′ x 2 1/2′ (discussed above)
lights (I used 40 ft. worth)
Instructions:
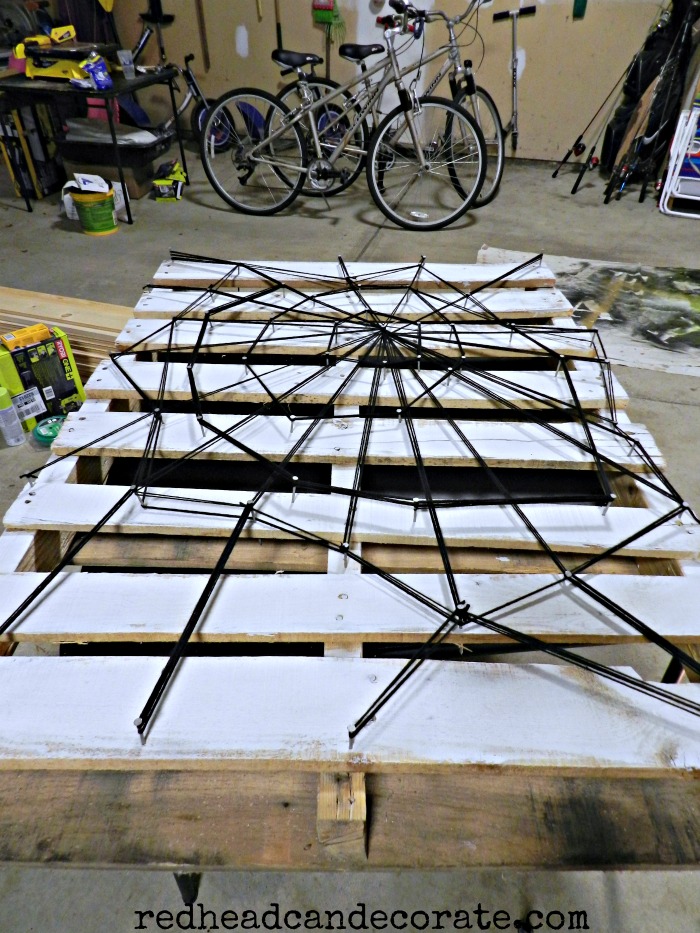
After you clean off the pallet, paint it white with a dry paint brush. That just means to not have a lot of paint on the brush. That way, it still looks old, but the web will stand out. Check out the photo above for reference.
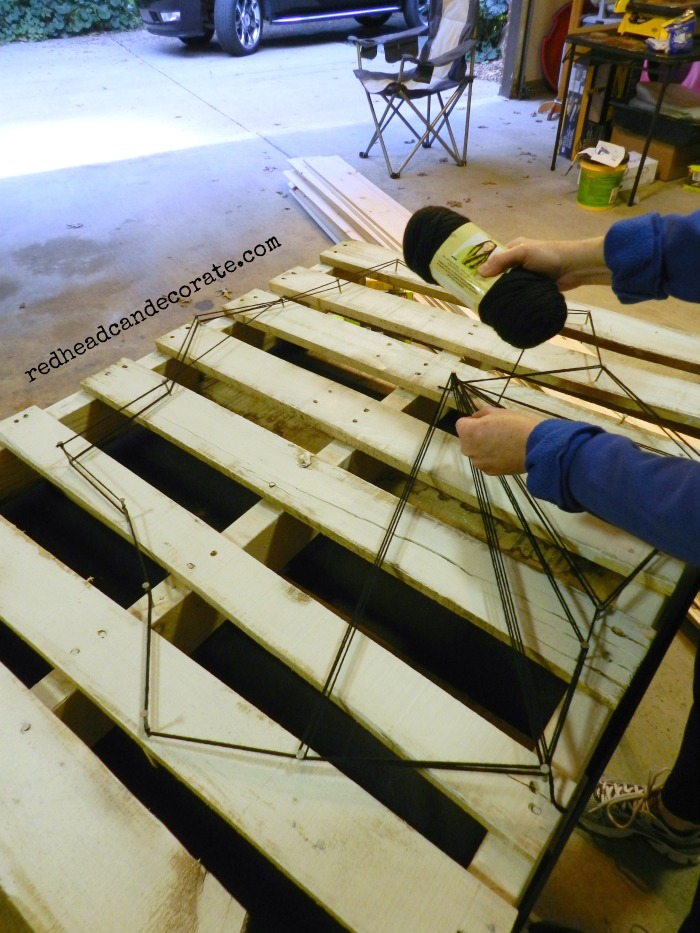
Next, hammer nails into the pallet where you want them to shape your web. You can draw your web on your pallet first, however I did not. I used an image of a spider web as a guide, and kind of did a dot to dot plan. I didn’t want mine to look perfect so I experimented a little. Remember, if you mess up, you can always remove the nail (I did that a lot).
Here’s an image of a spider web you can use as a guide. I began with the middle nail and used that as home base (notice my middle nail is not centered on the real project). Then I did the “exterior” nails. I then zig zagged the yarn back and forth from the center to the exterior nails (extend those to the corners). Lastly, I put in the nails to make the circles on every string leading to the center (dots). I wrapped the yarn around each nail and moved around in a circular pattern until it looked like a real web.

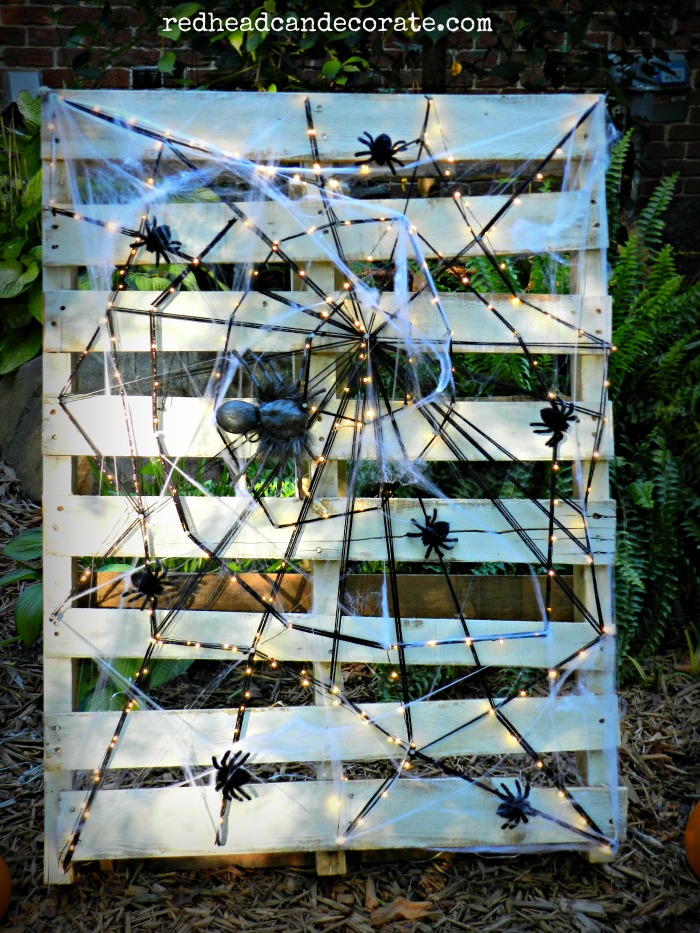
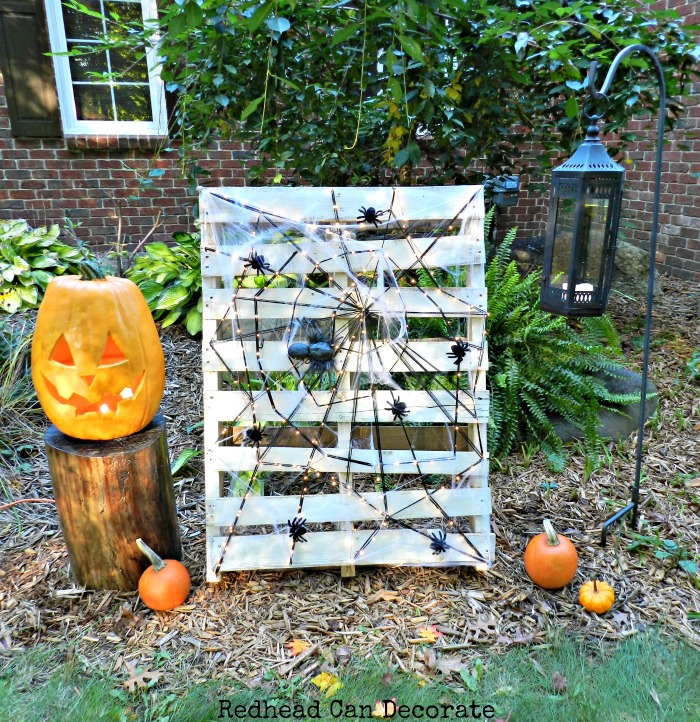
To add the lights, I followed the same paths. Then adding the spiders was easy with just a little wire. At first I was going to hang it on the house, but it looked odd. I ended up propping it up in our landscaping with a board. I lit it up with an outdoor extension cord.
BOO!


Wow, you outdid yourself with this, a lot of work, and it came out GREAT, love, Dad
Thank you, Dad! I have to figure out what to do with that light you gave me…
Brilliant – thanks!
Love this idea. It is more cute than scary. But that’s what I like.
So cute! I have a pallet I’ve been saving. I think this might just be the project to use it on.
Oh awesome, Belinda. FYI, a pumpkin would be cute, too!