|
I am a lover of leaded glass.
I can’t afford to have it throughout my home, so I have found my own little ways to help me feel satisfied. One of my first posts on RCD was about “Gallery Glass” which is a product I used on my “dining room/turned office“ door. 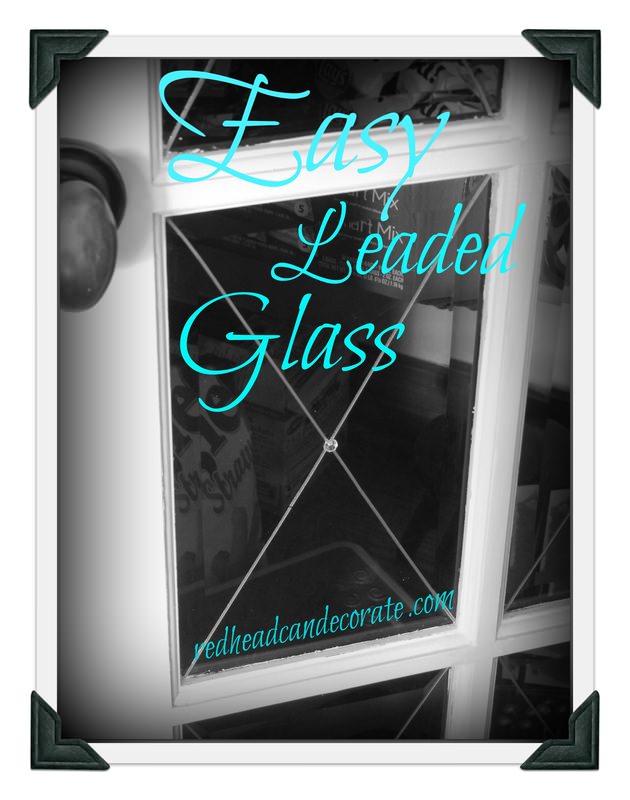
You honestly can’t get any easier. I worked on this mostly at night for a few minutes between chores and every morning I loved it more & more!
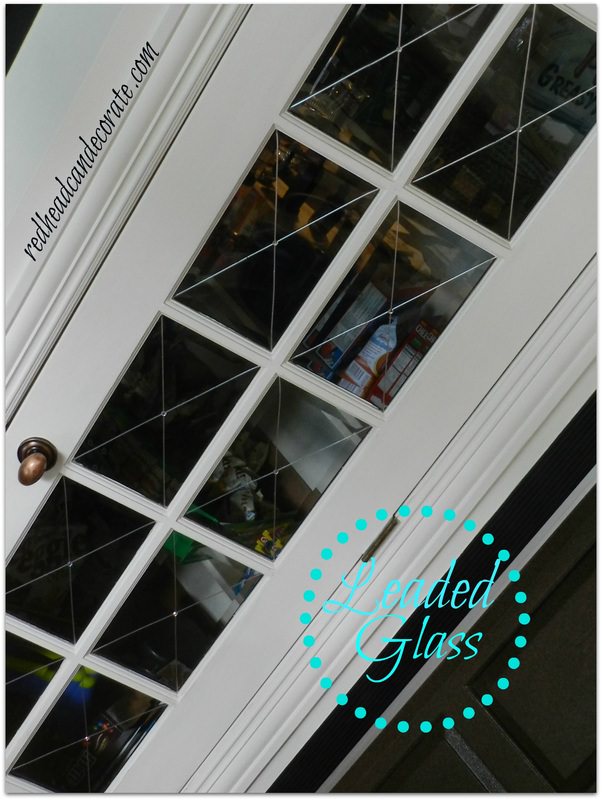
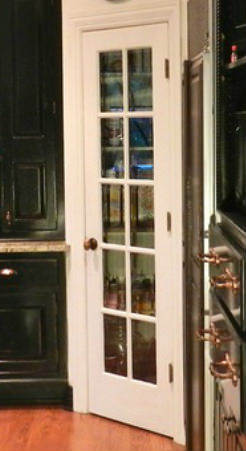
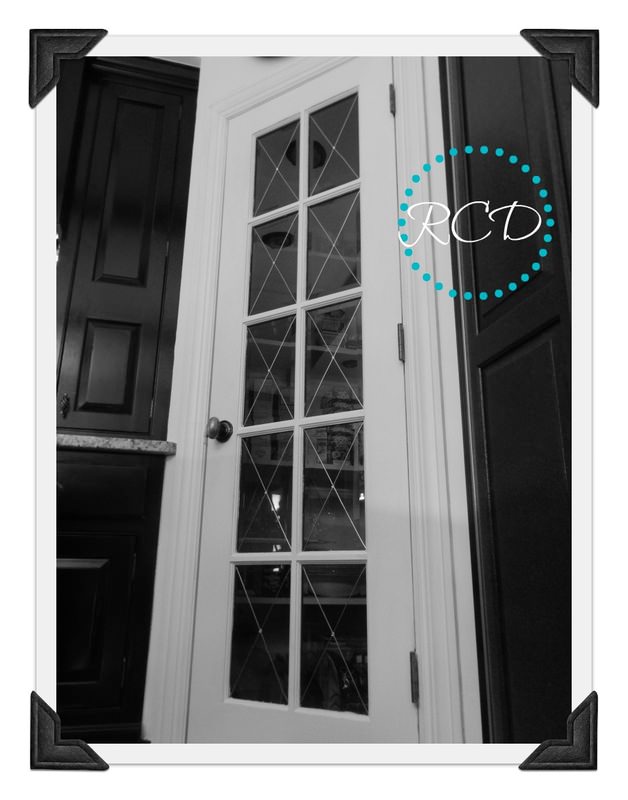
I realize it’s not exactly the look of real leaded glass… but it sure looks darn cool to me 🙂 Welcome to my new pantry door! 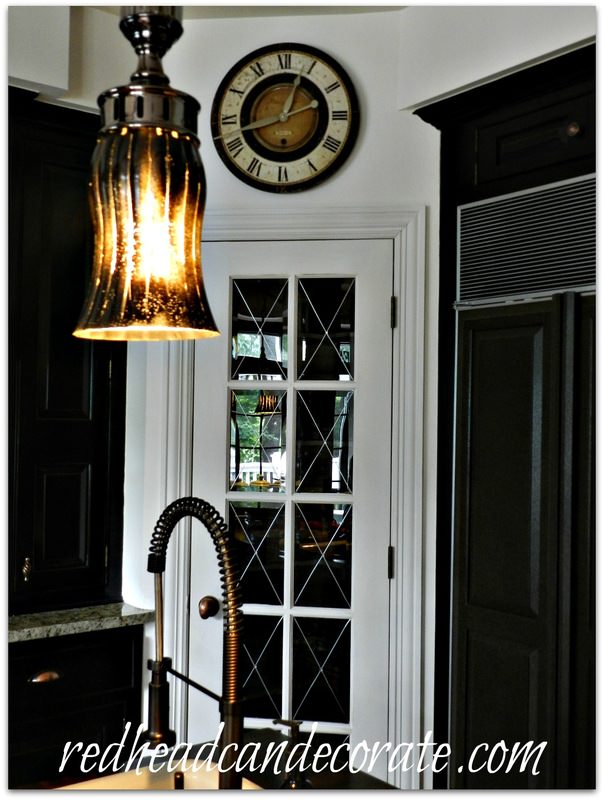
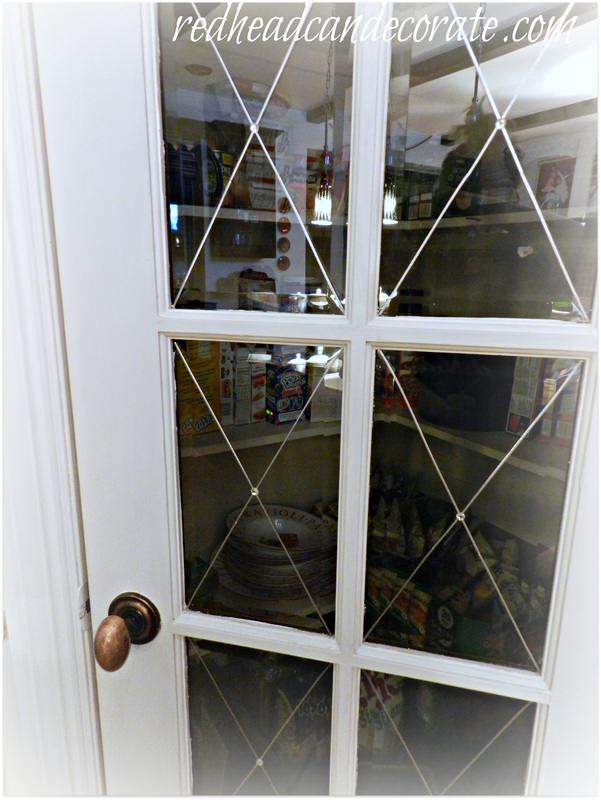
Too bad I forgot to hang some banana’s on that nail in there! You will find the banana “tip” here 🙂
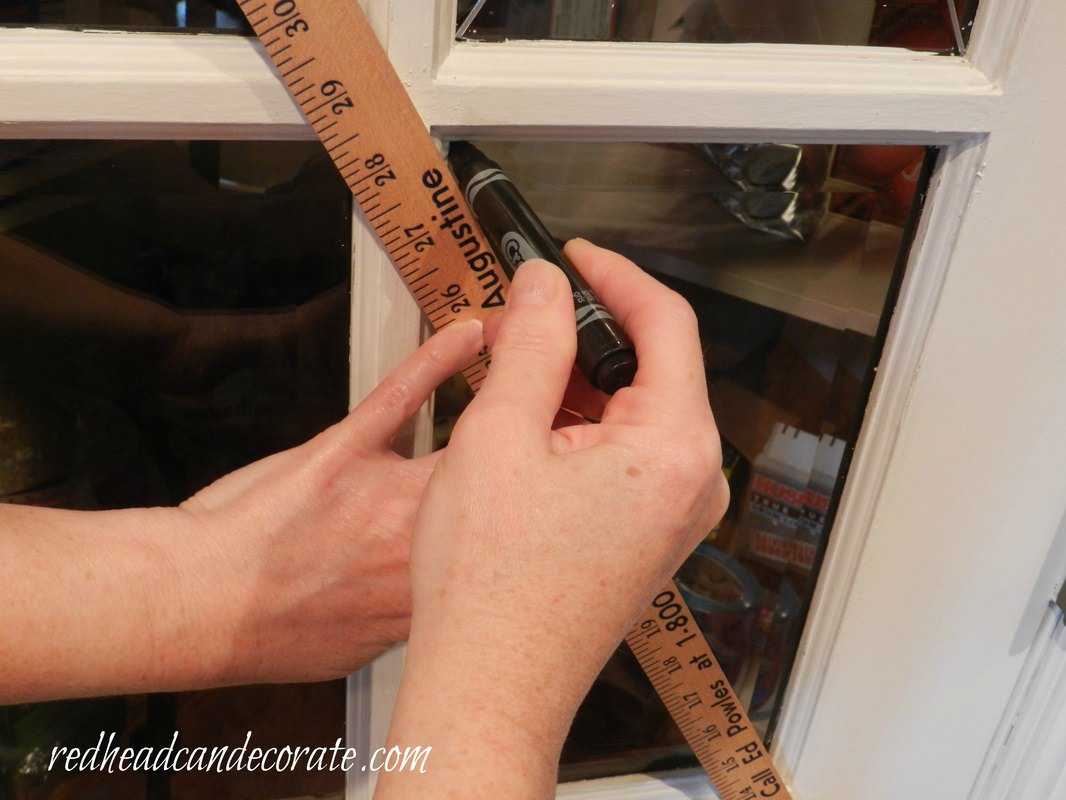
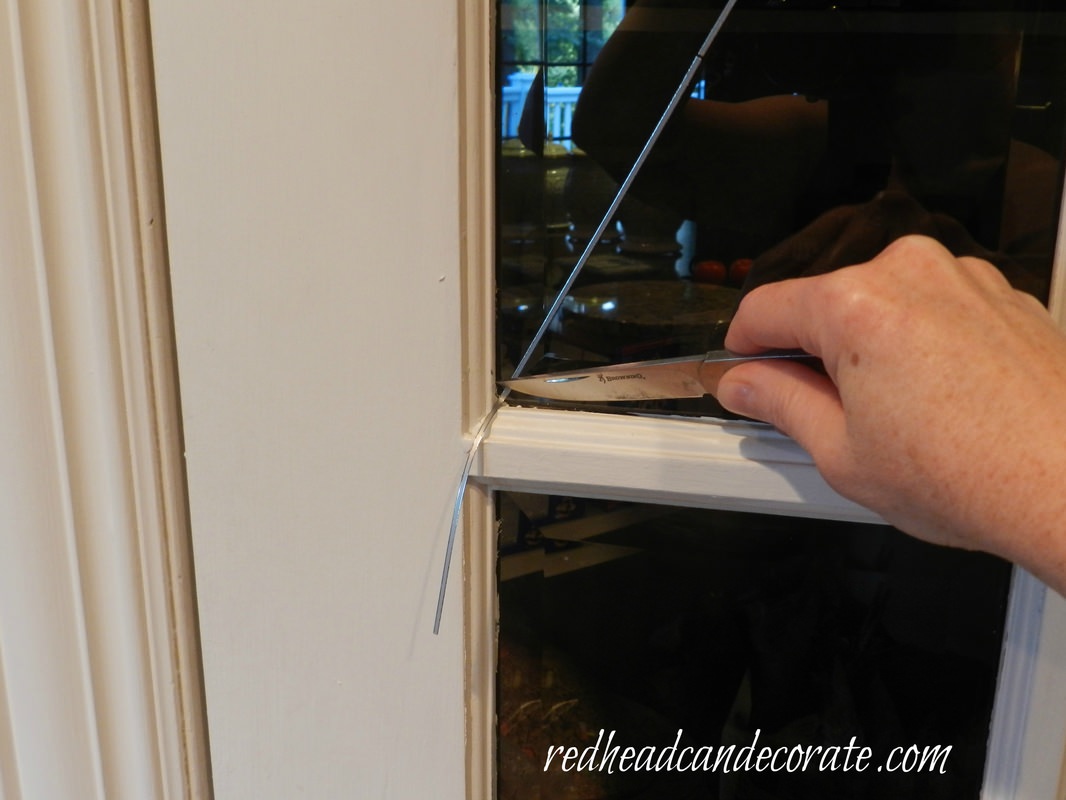
Ok…enough of the fun with photos…Here’s how I did it if you want to try it!!!
If you do try it… I found everything I needed at Michael’s. It was all for under $10.
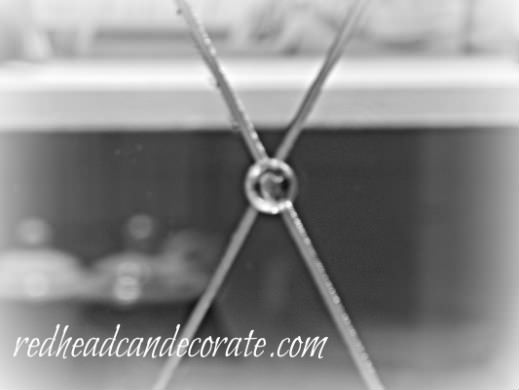
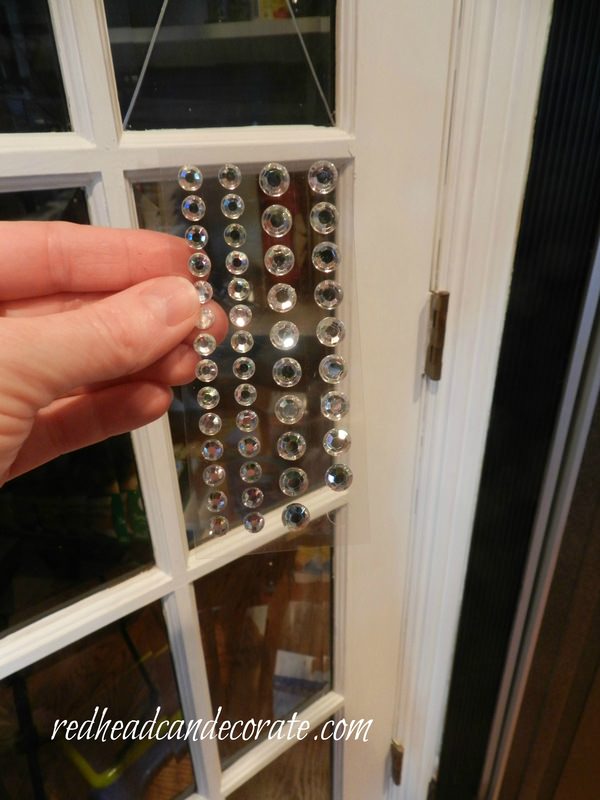
Don’t forget placing the crystal in the center!

Love,
Julie
|


Hi Julie, really like the leaded glass look on the door. I think I’m missing a few steps on what exactly you did. Did you only put the stickers on the front side? Also, how do the self adhesive crystals stick to the lumpy X without some glue?….. and then how do you not see the “fake hack” from the backside?….or do you not care about how it looks from the back? (assuming you only did the one side)
The gems aren’t stickers. They adhere to the glass “glue” when it is still wet after painting on your design. The paint acts as glue when wet. It’s doesn’t look fake from the other side. It’s looks the same as on the front, only looking through the glass.
[…] and tape. It’s not exactly a common practice so you should first check out this post from redheadcandecorate to see what this is all about. It’s quite simple really. You just use the stickers to make a […]
[…] and tape. It’s not exactly a common practice so you should first check out this post from redheadcandecorate to see what this is all about. It’s quite simple really. You just use the stickers to make a […]
[…] jazz it up with a few decorations like crystals and tape. First, though, check out this post from redheadcandecorate to see how easy it is. Just use stickers to create a simple X-shaped pattern on each glass panel […]
[…] jazz it up with a few decorations like crystals and tape. First, though, check out this post from redheadcandecorate to see how easy it is. Just use stickers to create a simple X-shaped pattern on each glass panel […]
[…] jazz it up with a few decorations like crystals and tape. First, though, check out this post from redheadcandecorate to see how easy it is. Just use stickers to create a simple X-shaped pattern on each glass panel […]
[…] jazz it up with a few decorations like crystals and tape. First, though, check out this post from redheadcandecorate to see how easy it is. Just use stickers to create a simple X-shaped pattern on each glass panel […]
[…] glass panels, jazz them up with crystals and tape. First, although, take a look at this put up from redheadcandecorate to see how simple it’s. Simply use stickers to create a easy X-shaped sample on every glass […]
[…] door has glass panels, jazz them up with crystals and tape. First, though, check out this post from redheadcandecorate to see how easy it is. Just use stickers to create a simple X-shaped pattern on each glass panel […]
[…] door has glass panels, jazz them up with crystals and tape. First, though, check out this post from redheadcandecorate to see how easy it is. Just use stickers to create a simple X-shaped pattern on each glass panel […]
[…] glass panels, jazz them up with crystals and tape. First, although, take a look at this put up from redheadcandecorate to see how simple it’s. Simply use stickers to create a easy X-shaped sample on every glass […]
[…] door has glass panels, jazz them up with crystals and tape. First, though, check out this post from redheadcandecorate to see how easy it is. Just use stickers to create a simple X-shaped pattern on each glass panel […]